FOCAL DRAWING
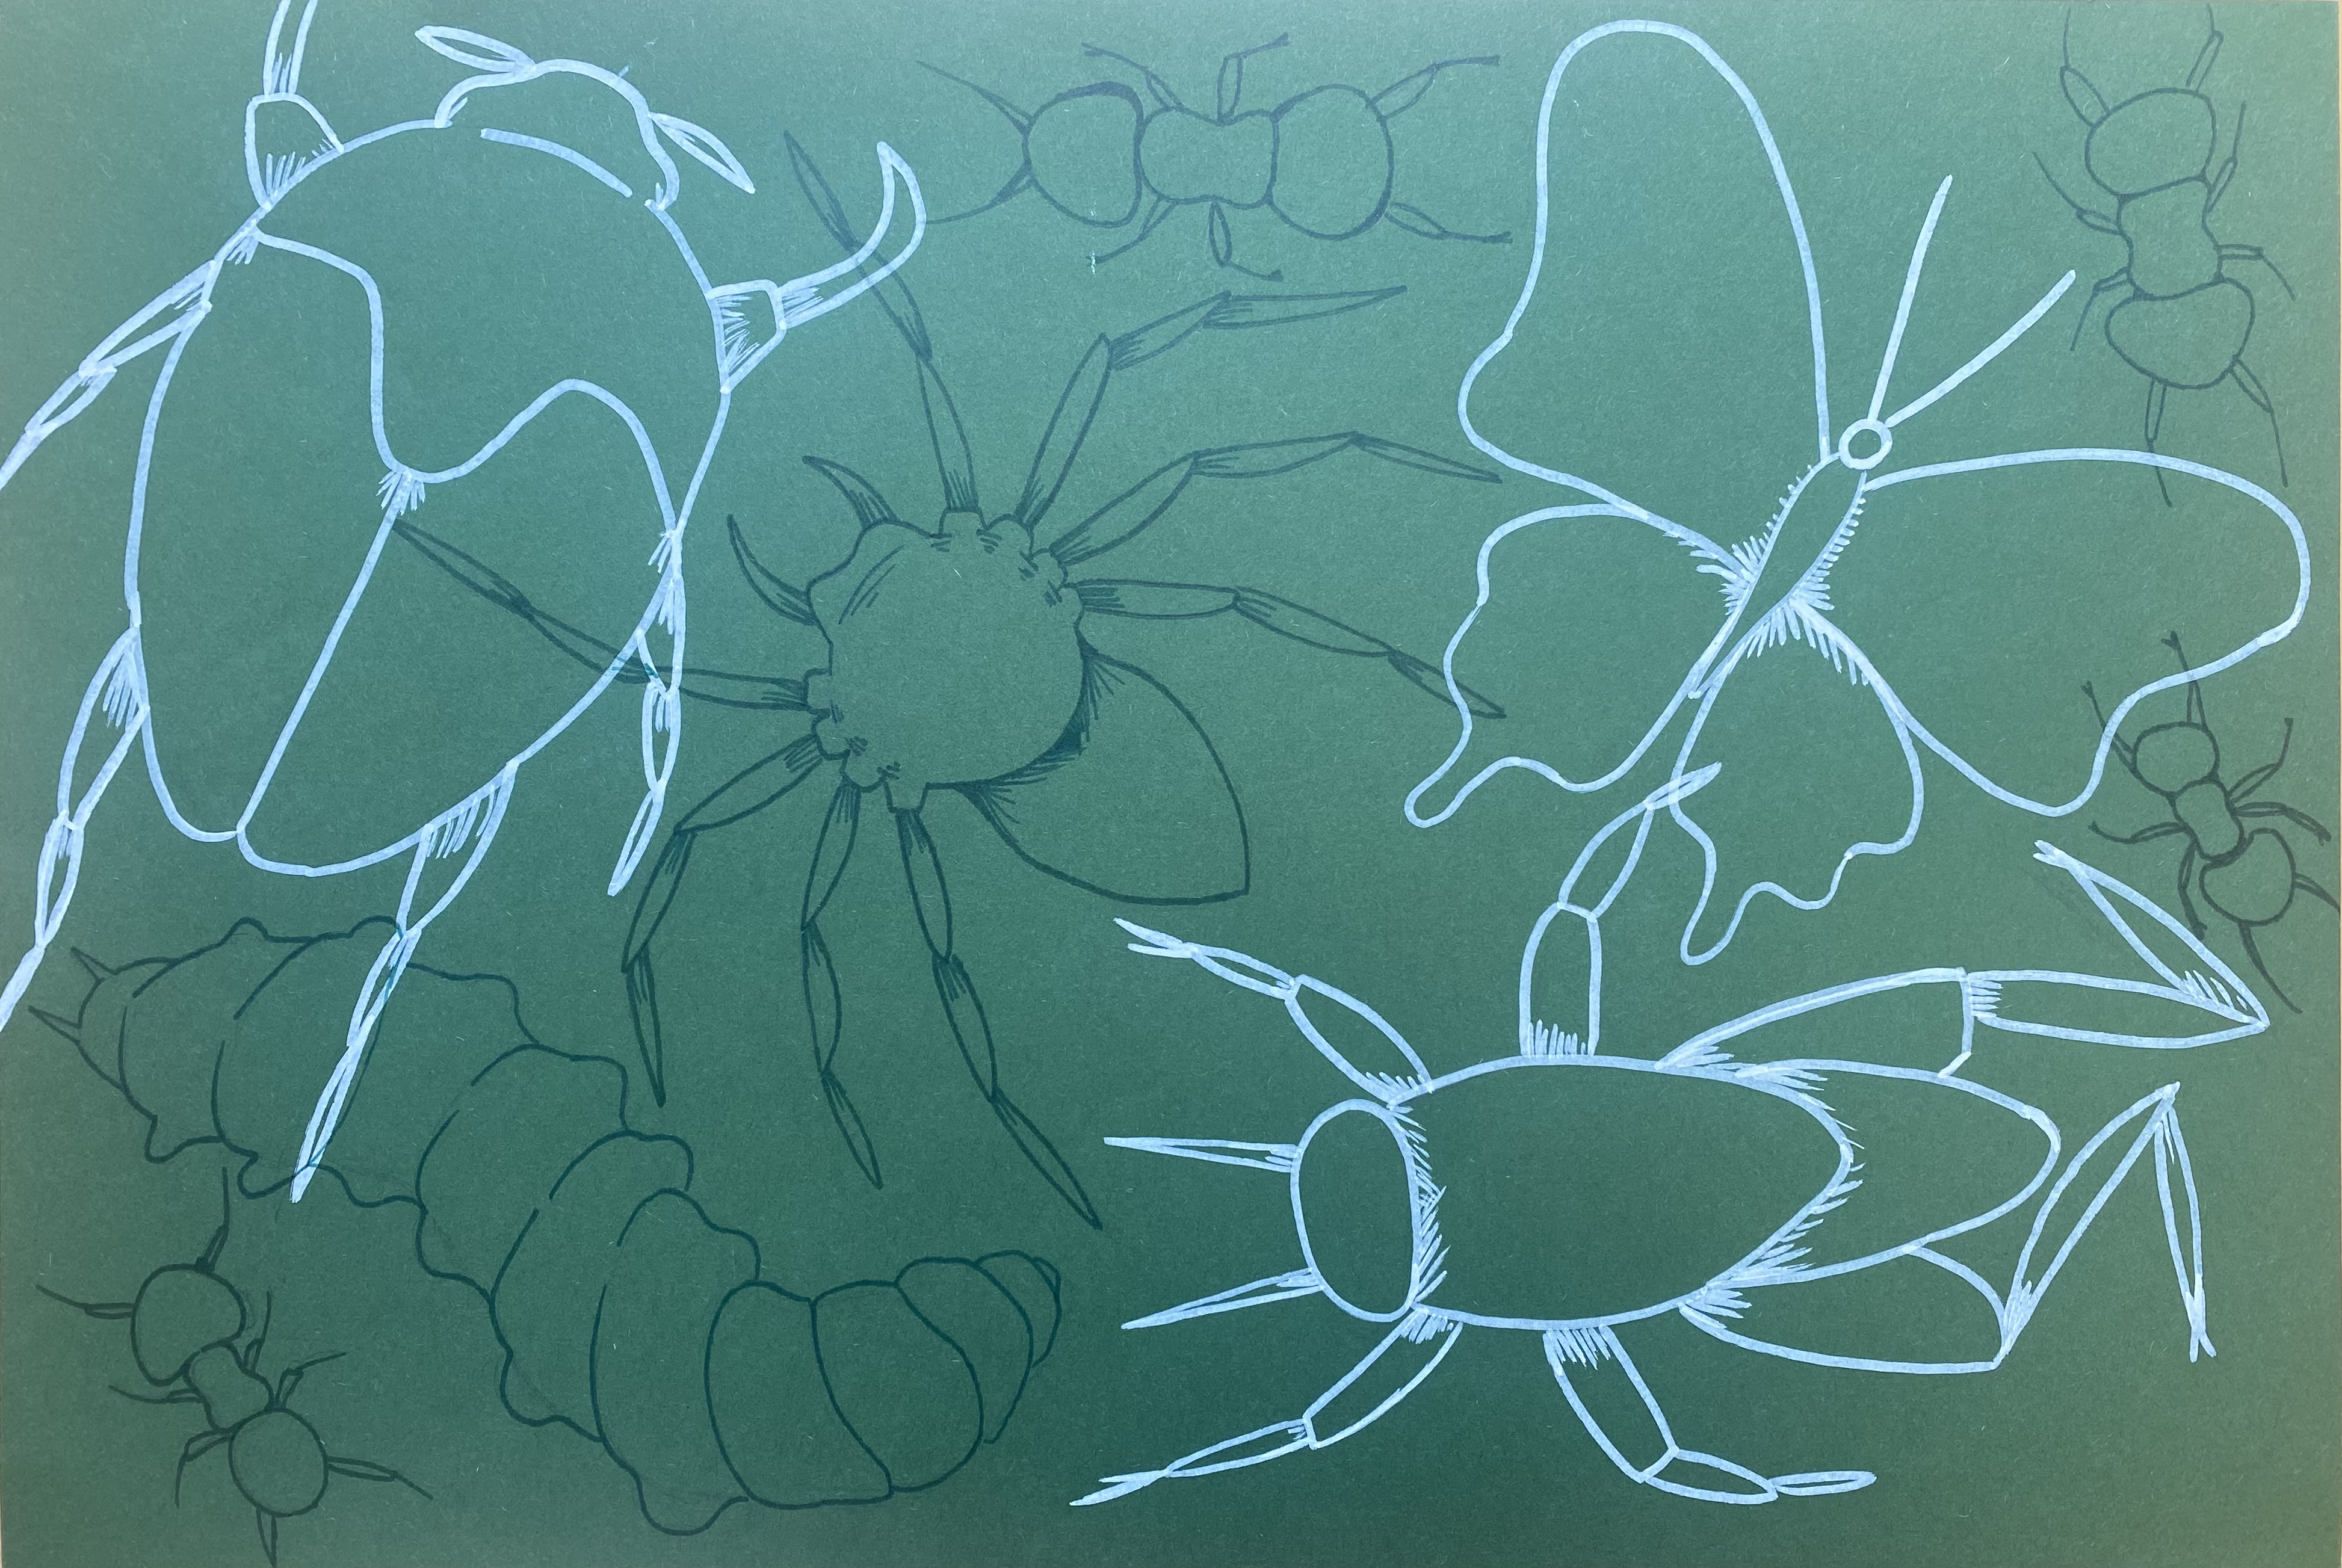
This project is a fun mixed media project allowing you to repeatedly draw something you LOVE over and over in a VARIETY of ways. So, what is something you love that you are comfortable with drawing repeatedly?
Let's look at some examples...
Want to do Lemons?
Get extended lesson here..
https://tabithaannthelostsock.blogspot.com/2019/04/citrus-study.html
Where did I get this idea from?
INSPIRATION
This poster at Taco Bell, unknown artist.
Please let me know if you find the designer.
INSPIRED by the mysterious Taco Bell Poster in Mineola, Texas
Nobody knows who actually designed it, but many wish they did...
But instead of Taco Supplies, the theme is Art Supplies!
INSPIRED Backgrounds
Eloise Renouf prints
Eloise Renouf is a textile and stationery designer living in Nottingham, England. After designing prints for studies in London and New York, she has created her stationery line with her partner Patrick; her products are for sale on her Etsy shop. Her patterns are very-stylized, with natural subject such as flowers, leaves and trees, drawn with geometrical shapes.
http://www.etsy.com/shop/EloiseRenouf?ref=pr_shop
Both of these above designers inspired me to do a new thing. I like they way their theme is constant (clouds, Tex Mex, nature) and how it is REPEATS and has SPACE with overlapping &
uses a VARIETY of opaque, transparent and colored. I love the COLORS used too.
Student Examples
CRITERIA
This project will require you to pick one THEME or OBJECT.
-At least SEVEN object that fill up the space.
The smaller you make them, the more you will need.
You will use
1. SOLID (collaged cut shape glued on top) ,
2.TRANSPARENT (line only overlapping another shape or line and see through),
and 3. SEMI TRANSPARENT (drawn on the background but partially colored in).
All of these will go with a THEME OR OBJECT in multiple creative ways.
1.

2.

3.

CHALLELNGE:
4. SEMI TRANSPARENT OVELAP of a solid.
5. BACKGROUND OVERLAP (make background paper overlap a SOLID object.
4.

5.

Take Note;
------Let's get stARTed!-------
Where do I start?
1.Start with the background first. Draw the items there.
(if you use dark paper, try experimenting with Paint Pens or Prisma Colors)
2. Then, draw them on separate colored scrap paper, cut out, and glue down.
BACKGROUND AND FOREGROUND (collage)
Student before/after
Student before /after

Begin drawing the art supplies you practiced with a pencil.
After you draw light, when it looks right, outline with a permanent black marker and erase pencil lines.
Now, add highlight and shadow.
WANT A UNIQUE BACKGROUND?
First we will use markers to create a background for our drawings. Using washable markers, color scribbly blobs all over paper about an inch wide and high.
After you have covered the paper with scribbles, get entire paper wet using a large paint brush. Be careful not to over brush. This will cause the colors to become one monotonous wash.
I call this the bleeding marker technique.
I've used it times before to give the paper a unique and colorful blur in the background.
See here...
http://tabithaannthelostsock.blogspot.com/2014/09/color-burst-cactus.html
while waiting for the background
to dry, find some practice paper. Begin practicing drawing cylinders. Start changing those cylinders into crayons, markers, pencils and glue. Practice drawing all kinds of art supplies.
--------------------------------------------------------------------------------------------------
Now, add more supplies onto the painted paper (when dry).
Use a pencil first, then when it looks right, go over it with the marker.
Add shading to the supplies using crayons that mimic the colors in the background.
It also looks nice and adds dimension and interest if you draw in more supplies using colored markers on the surface as well. This will look like the drawing on the paper.
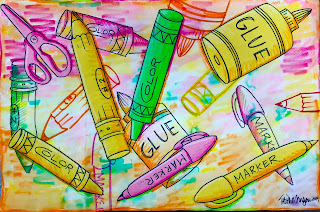
Then, cut out the art supplies you drew on the construction paper and arrange them in a visually pleasing composition. Glue down the supplies and add a shadow beneath using crayons that mimic the colors in the painting.