Lost Sock Creations

Lost Sock Creations
what it's all about...
Showing posts with label drawing. Show all posts

Friday, October 13, 2023

Drawing a Human Face


Drawing a human face is one of the most challenging things. 
Because perspectives change, expressions move, and no 2 faces are alike 
it can be hard to make a likeness in a person. 
When learning how to draw a face, it is best to practice each part first individually
(eyes, nose, and mouth), then put it on a face shape with correct proportions. 
It is also best to draw the features from a frontal/symmetrical profile perspective.
Then practice will a profile perspective. 
I have broken each part down for you below with guided practice. 


Progression of Facial Features
Defined lines,        Shapes,         Shading/form


EYES
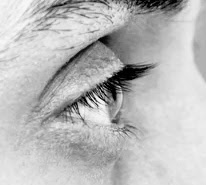
All eyes are different. So it is fun to try all different types.
There are all kinds of eyes... 
What kind do you have?

Here is a basic eye to draw. 
It is a round/almond shape. 


Draw on white, mid tone, or colored paper.

on mi-tone or colored paper....
do this. 


Draw, Emphasize with black, add mid-tone, add white, add shade. 


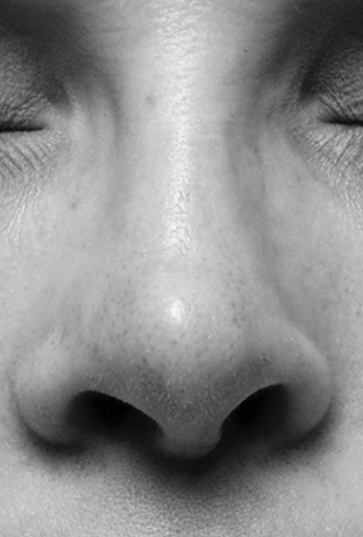
NOSES
There are three kinds of noses... 
Upturned, straight (button), and downturned. 
What do you have?
From Richmond Illustration (click to go to site)
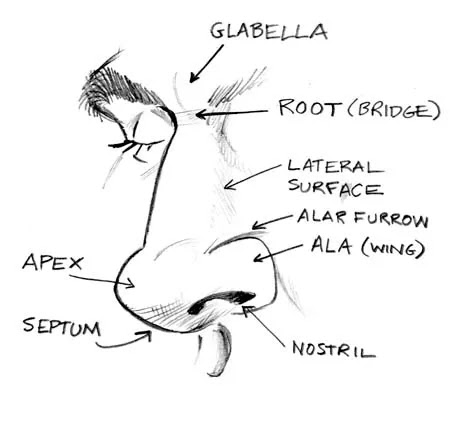
It mostly has to do with where the ball (apex) of your nose
 in proportion to your nostril wings (ala). 

A Basic nose is straight. Try this first... 

Try a side angle too. 
Both above from...
https://copic.too.com/blogs/educational/browns-how-to-color-a-nose
Go there to see how to shade of color. 


MOUTH


Here is a

Just like noses, all lips are different. 
https://copic.too.com/blogs/educational/browns-how-to-color-lips

Ear 


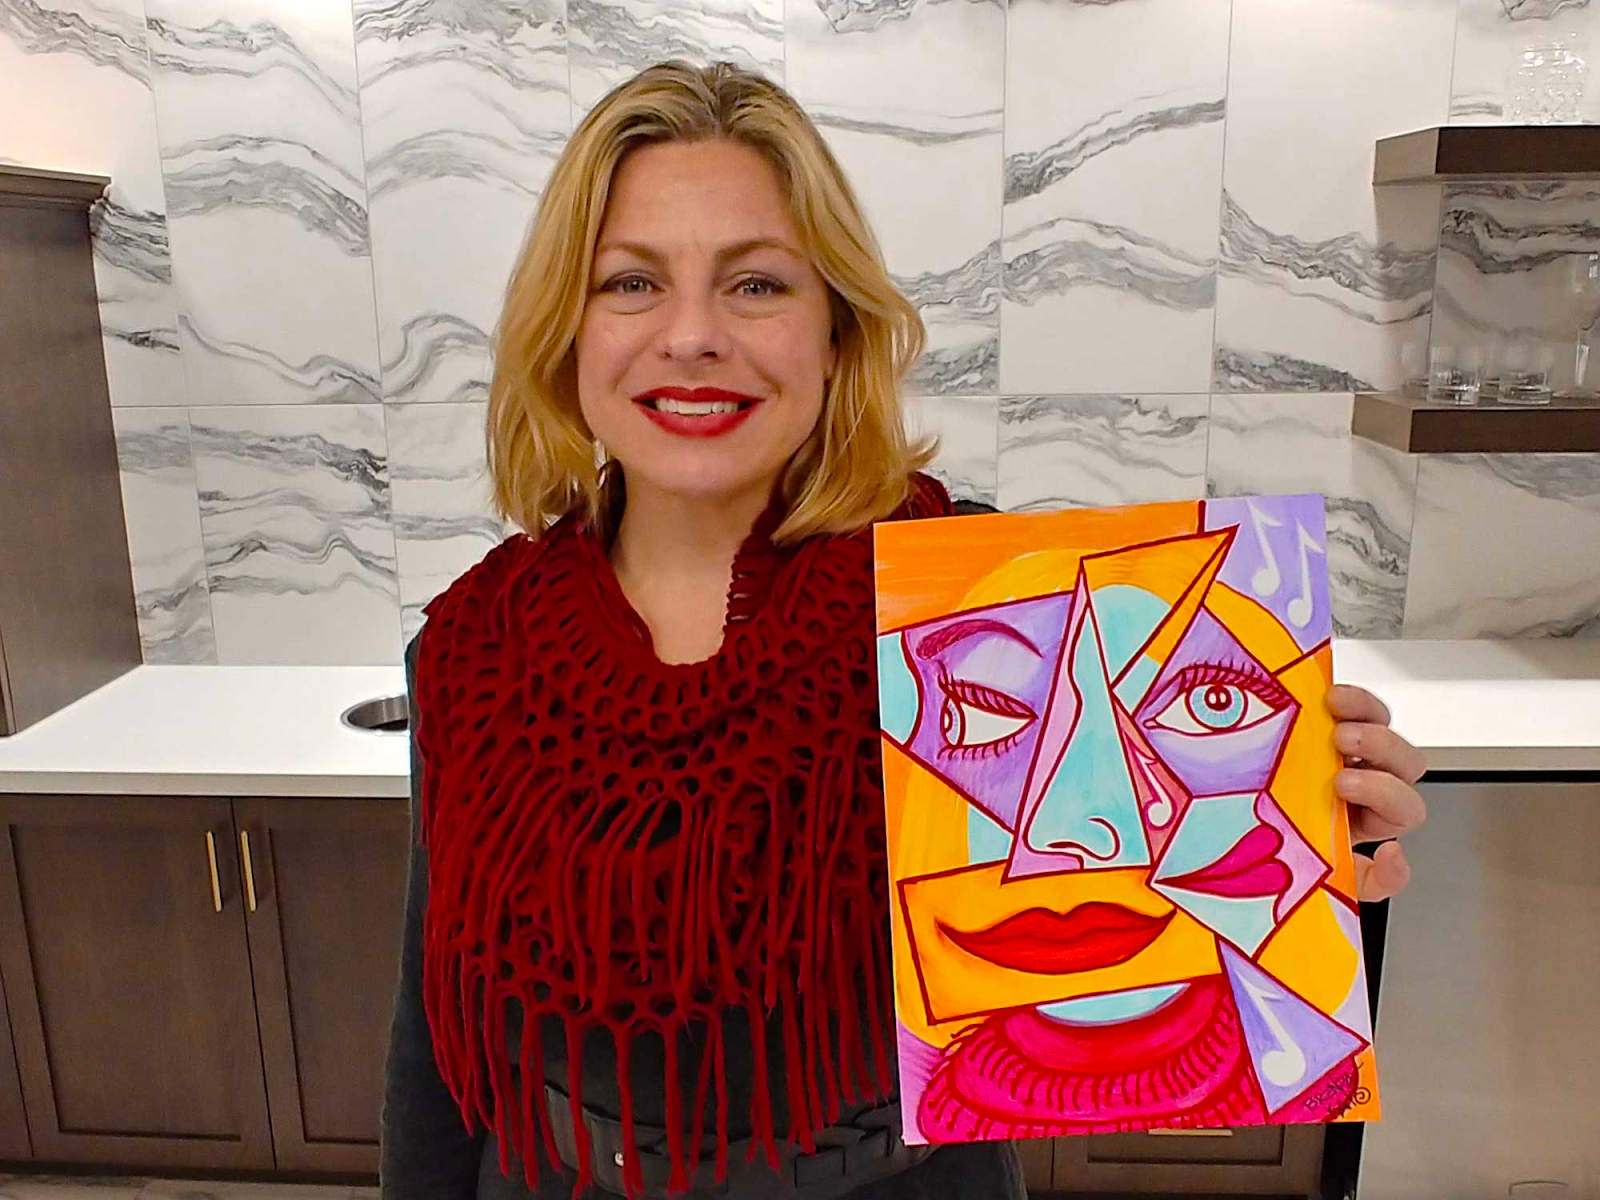
A fun project to do is a Cubist inspired Face Scramble. 
Draw your facial features on seperate shapes or pieces of paper. 
This way the proportions are forgiven. 
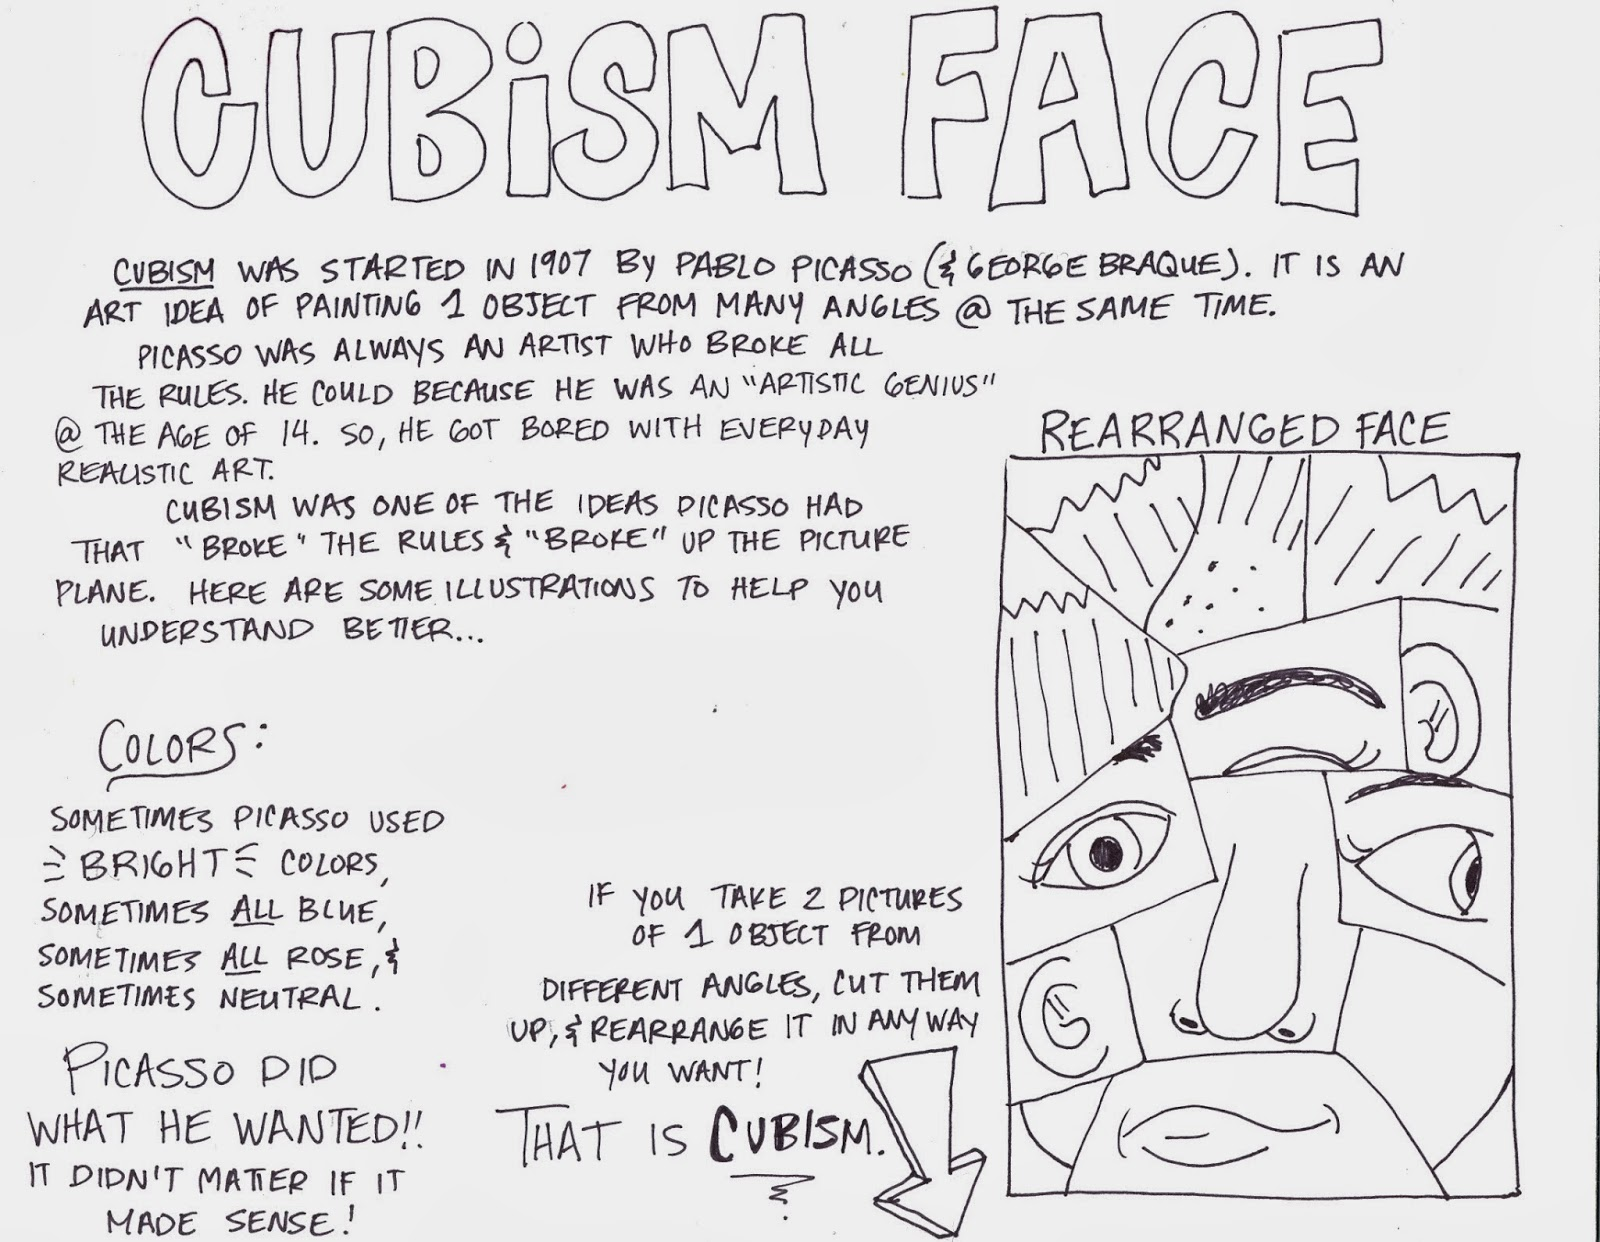


ideas from..
Brenda Kato, the Cubism Portrait Artist
https://katocreative.com/project/cubistportraits/ 


https://theartsyfartsyartroom.blogspot.com/2014/04/cubism-with-4th-and-5th.html


Wednesday, September 20, 2023

Christmas Bow

Teacher Examples

SUDENT BOWS
Art 1 (2025)
Madelynn Seaton and Shaunna A. 


Advanced Art


PRACTICE
Look for the VALUES in the bow. Identify the Darkest Darks (black), then the Lightest Lights (white), 
and finally the MidTones. 
Practice first on grided white paper using pencil only. 
Get Practice WS Here... 
Red Bow practice

Silver bow practice

Silver bow in greyscale

Begin with the OUTSIDE LINES only... 
If it helps, use a pen to outline the main lines of the bow on the photograph. 

Next, Search the photograph for the DARKEST values. 
These should be black or almost black. 
Put these DD and D values in where  they should be. 
 
Last, search for the MEDIUM  values in the photograph. 
Make sure to put NO VALUE where the LIGHTEST LIGHT (white) areas are. 
IF they get dirty, erase them out in the end. 
Finally, Add any cast shadows around the bow and erase the grid lines. 


When you get the hang of it, you can move onto your own bow using 
Prismacolor on mid-tone paper. 
-----------------------------------------------------------------------
BIG BOW on BIG PAPER!
Pick your Bow. 
(bottom ones most challenging)

Challenging... 

Pick you paper. 
It must be 12 by 18 Mid-Value paper 
(no white (super light) or black (super dark))
*grey and brown and MidValues are best. 

Draw a 4 by 4 grid on paper, each square being 3 by 3 inches. 


I printed and girded into a 4 by 4 square. 
(This is the Teal Bow) 


I got a 12 by 18 paper and 
Girded it into 3inch by 3 inch squares. 
*Leave the remaining part for color/value practice

Locate the DD/D ares of the picture and put those in place. 
Do those with black. 


Art 1


Advanced Art
Choose your colors you will use. 
Must be at least 2, but will look like 3 when blended. 
Make a value scale on the extra flap of your paper. 
Located the LL/L areas of the bow, do those with white prisma. 

Choose 1 or 2 other colors to blend with the Black and White 
to make the color. You will have to LAYER them and 
BLEND THEM, leaving NO BACKGROUND PAPER visible. 

Looking grainy?
Use a colorless colored pencil over your colored pencil...

Peyton Marshall before Blender Pencil...

THis can also be done on black paper with white prisma for kids that are behind. 
Lastly I added a shine sound the edge of my paper to illuminate the shiny bow. 

I have seen this lesson done in various ways by various people, but I took some inspiration from these places…
This lesson is great from Cozy Art Teacher

You can buy her lesson on TPT. 😀


Prisma Color on MidTone Paper

Free Worksheet and Video here from 
Jordan Swain


https://www.jordanswain.com/artclass/2024/12/10/grid-drawing-practice-with-worksheets-and-video