Lost Sock Creations

Lost Sock Creations
what it's all about...
Showing posts with label face. Show all posts

Friday, October 13, 2023

Drawing a Human Face


Drawing a human face is one of the most challenging things. 
Because perspectives change, expressions move, and no 2 faces are alike 
it can be hard to make a likeness in a person. 
When learning how to draw a face, it is best to practice each part first individually
(eyes, nose, and mouth), then put it on a face shape with correct proportions. 
It is also best to draw the features from a frontal/symmetrical profile perspective.
Then practice will a profile perspective. 
I have broken each part down for you below with guided practice. 


Progression of Facial Features
Defined lines,        Shapes,         Shading/form


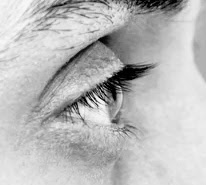
EYES
All eyes are different. So it is fun to try all different types.
There are all kinds of eyes... 
What kind do you have?

Here is a basic eye to draw. 
It is a round/almond shape. 


Draw on white, mid tone, or colored paper.

on mi-tone or colored paper....
do this. 


Draw, Emphasize with black, add mid-tone, add white, add shade. 


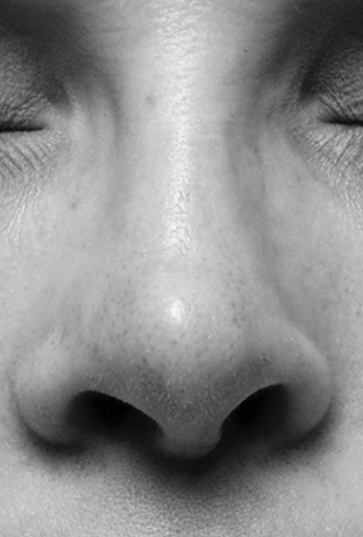
NOSES
There are three kinds of noses... 
Upturned, straight (button), and downturned. 
What do you have?
From Richmond Illustration (click to go to site)
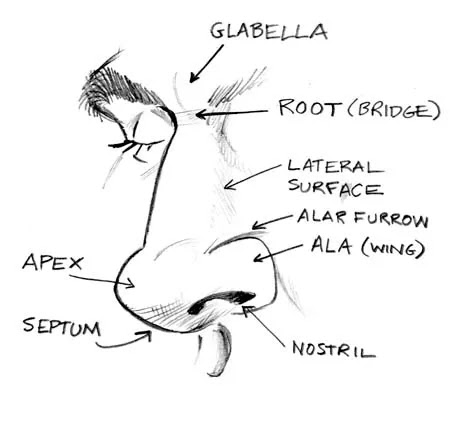
It mostly has to do with where the ball (apex) of your nose
 in proportion to your nostril wings (ala). 

A Basic nose is straight. Try this first... 

Try a side angle too. 
Both above from...
https://copic.too.com/blogs/educational/browns-how-to-color-a-nose
Go there to see how to shade of color. 


MOUTH


Here is a

Just like noses, all lips are different. 
https://copic.too.com/blogs/educational/browns-how-to-color-lips

Ear 


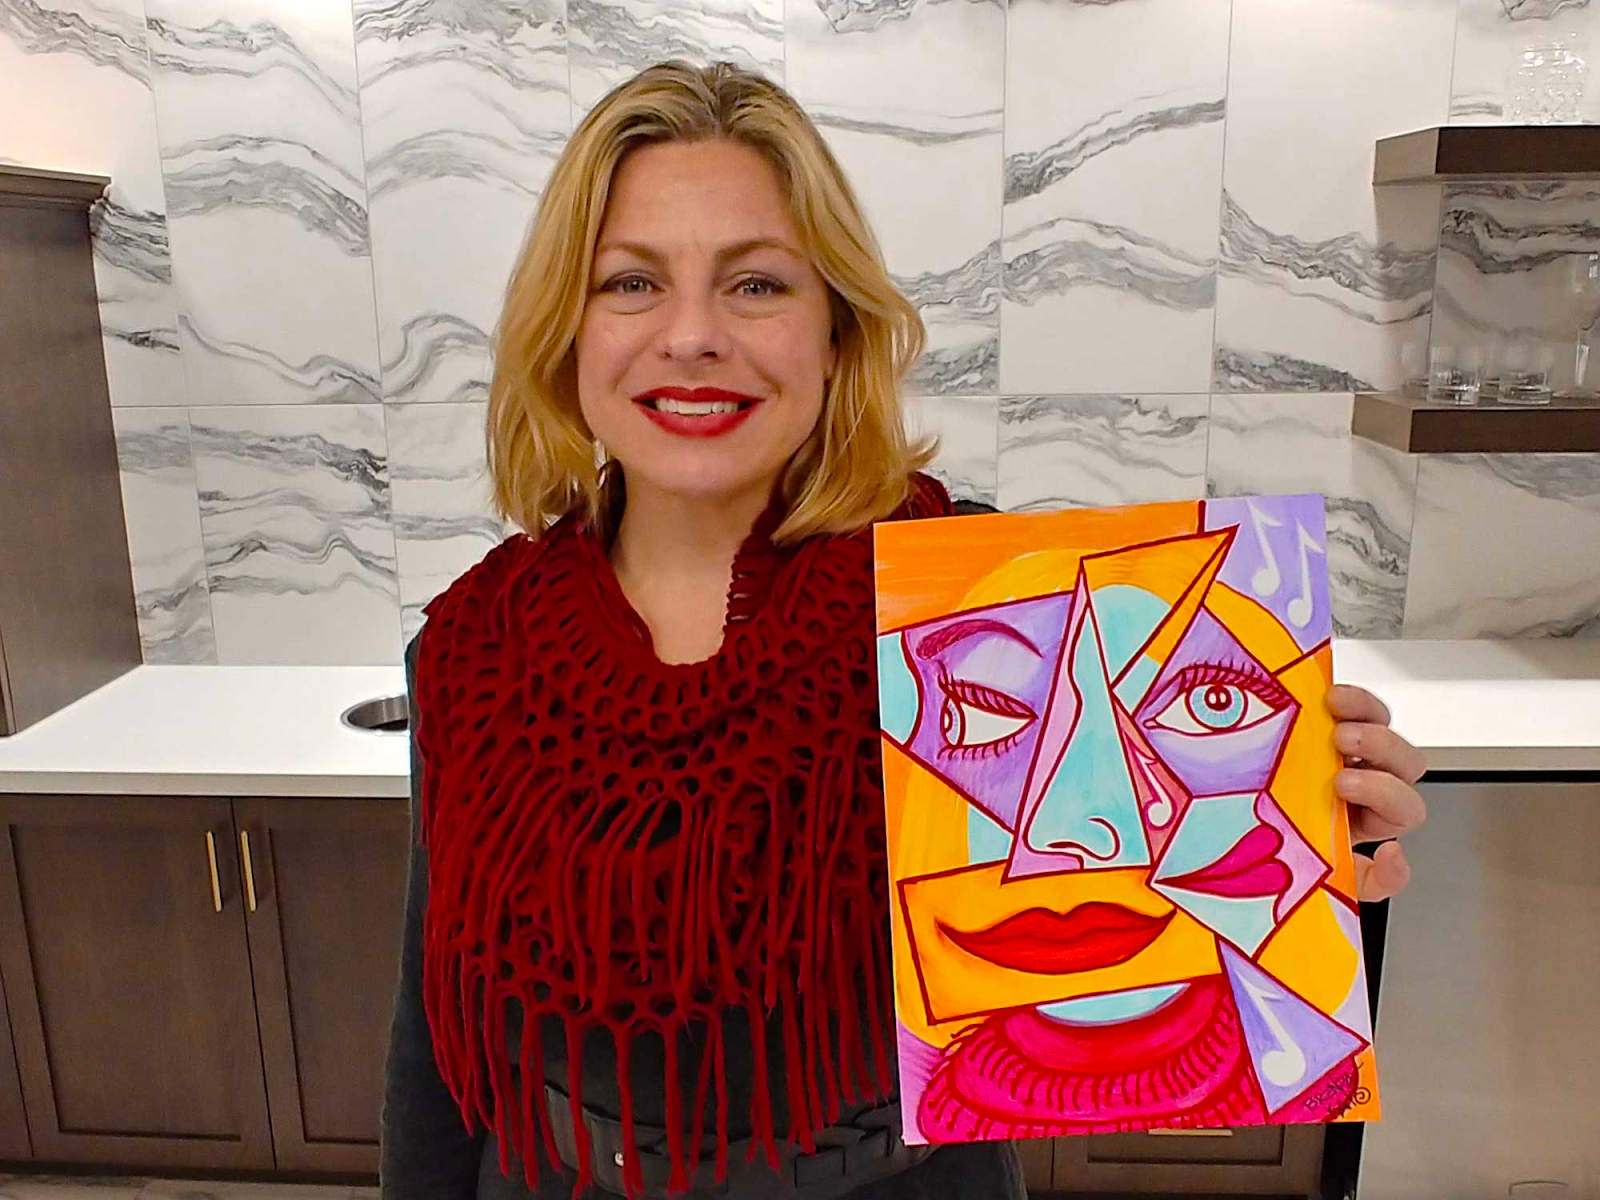
A fun project to do is a Cubist inspired Face Scramble. 
Draw your facial features on seperate shapes or pieces of paper. 
This way the proportions are forgiven. 
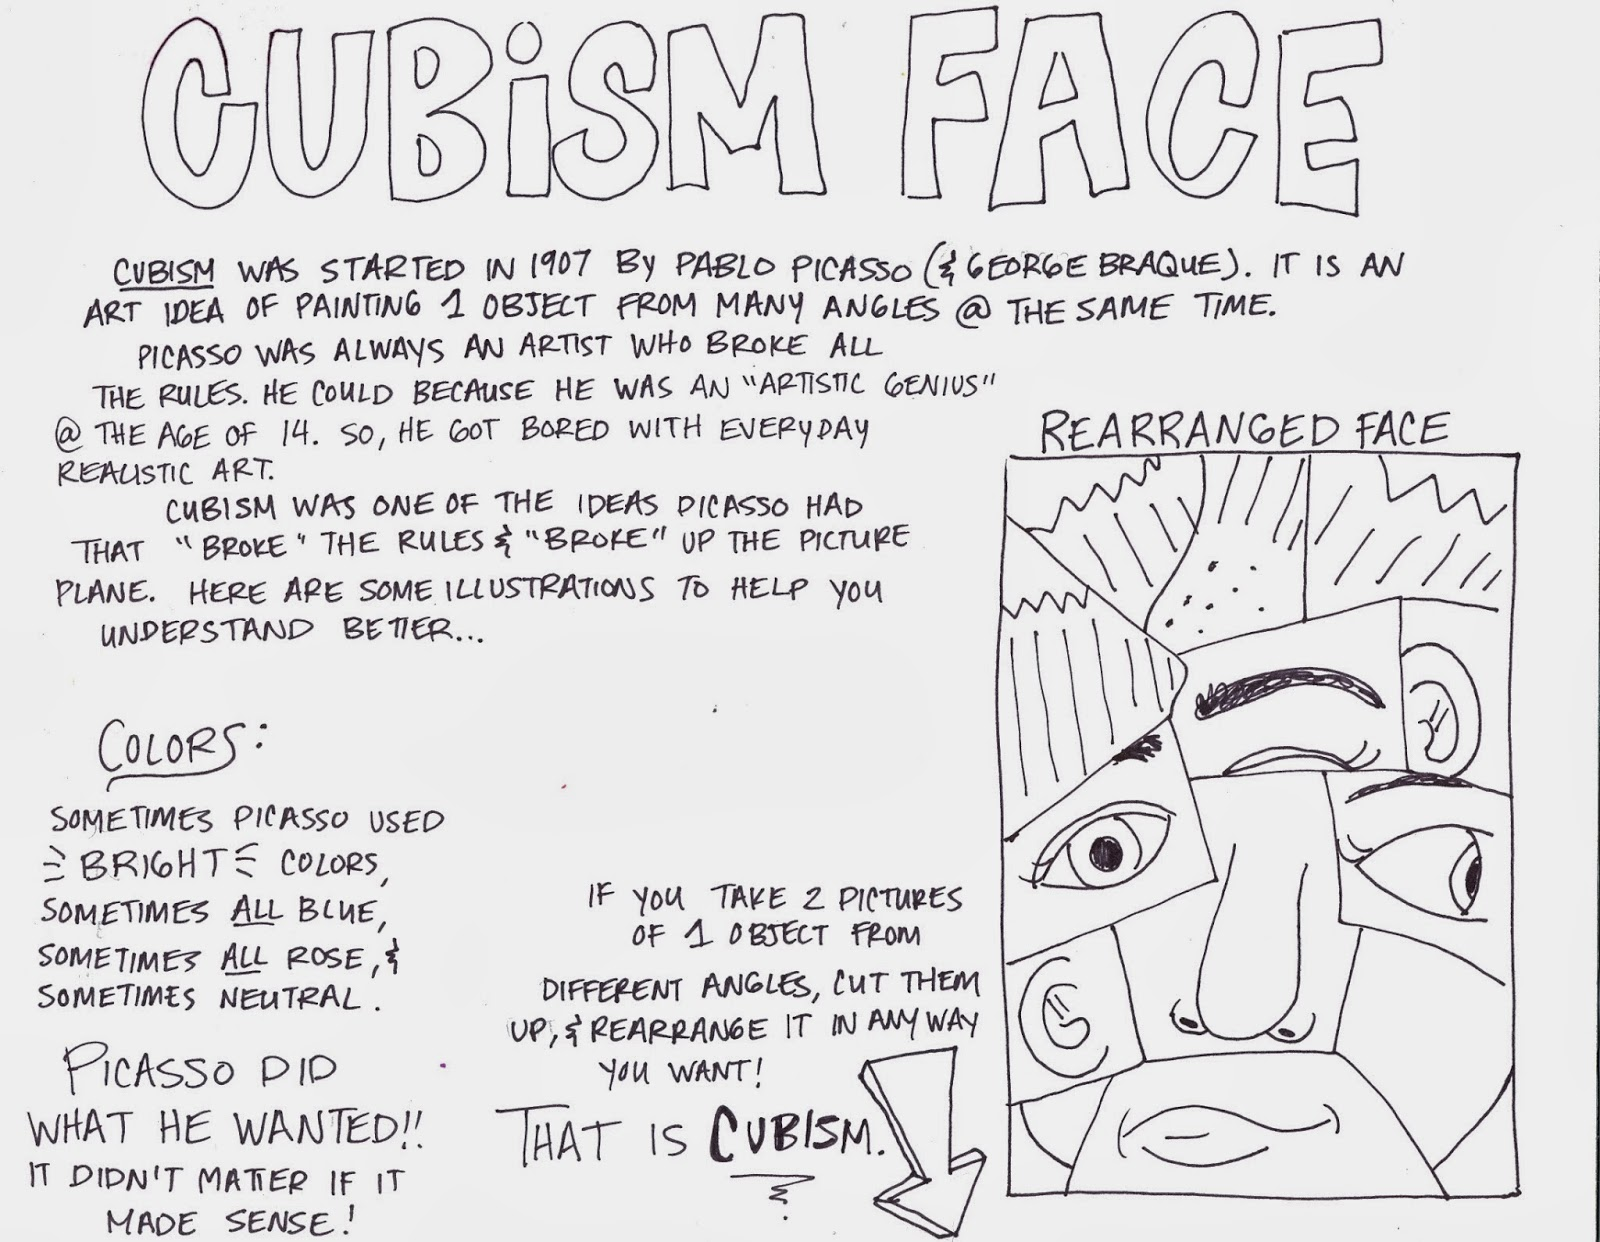


ideas from..
Brenda Kato, the Cubism Portrait Artist
https://katocreative.com/project/cubistportraits/ 


https://theartsyfartsyartroom.blogspot.com/2014/04/cubism-with-4th-and-5th.html


Tuesday, August 30, 2016

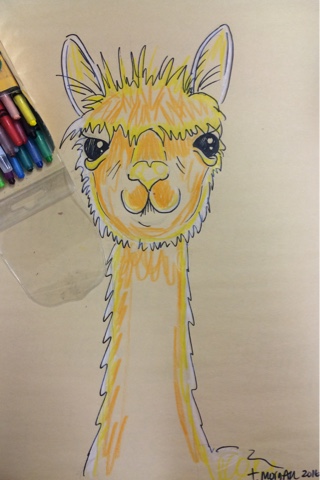
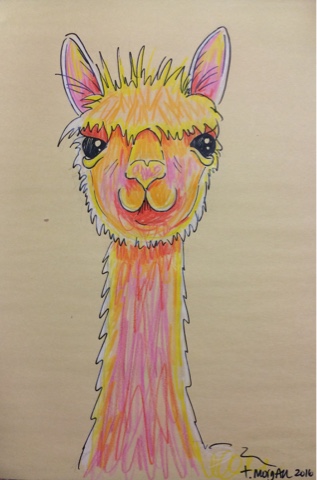
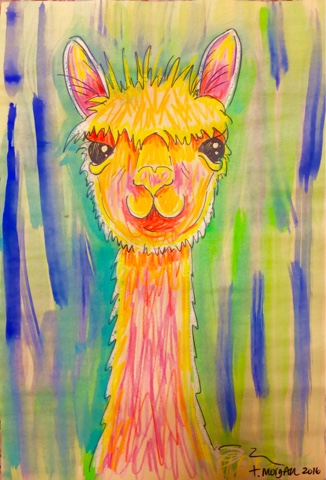
Alpaca


Mrs. Ahmed's 4th grade Class (above)
Andrea, Erica, no name and Dona
``````````````````````````````````````````````````````````````
Mrs. garcia's 4th grade (above)
Kayleigh and Austyn

Mrs. Thomas's 4th grade
Mrs. Thomas's class
Michelle, Rachel, Thomas, Adrian, 
Maisy, Stacey, Caden & Kolby
````````````````````````````````````````````````````

Mrs. Rylander's 4th grade
Michael, Elloise, 
Hailey & Kayla
-------------
Mrs. Meleski's 4th grade
Oil Pastel with Tempera Watercolor
Christian, Abby & Paola
(Above)
Anonymous#1, Kenut & Anonymous #2
(Above)
-------
SKETCHING
First students will practice with drawing the shapes and details of the Alpaca's face.
When they are comfortable, we will move to the final paper.


DRAWING
Face can be drawn in upper half of paper to show off the long neck.

Start lightly with a pencil (always)
Then when it looks how you like it, go over with marker or make lines darker.

COLORING
Students will color alpaca using oil pastels or crayons. They need to use at least three colors blended on the entire alpaca. 

I will show them three ideas from these sources...
I'm So Happy You Came 
by Jeff Seaberg
Watching over the Flock 
by Pat Saunders White
Alpaca Love
by Eli Halpin
  
The edges need to be colored the hardest (for later resist purposes).
Students will be encouraged to color Alpaca in unnatural colors.
  (Above crayons, below oil pastels)
Mix, blend, mix, blend...
Texture, scribble, texture, scribble...

Mrs. Meleski's class
The Red table

PAINTING
The background will be painted in colors or patterns that will help EPHASIZE the alpaca face.
Horizontal design in contrast to the vertical body or colors opposing the color wheel.
Color Sticks on Brown Paper

Students