ARTIST FOCUS
Tomas Padros
He is a master at DEPTH and SPACE, making his art feel like it goes deep and wide.
He uses OVERLAPPING and VALUE to show FORM.
He also focuses on changing SIZE to show VISUAL PERSPECTIVE.
VISUAL PERSPECTIVE is a way to make things seem close or far from the viewer.
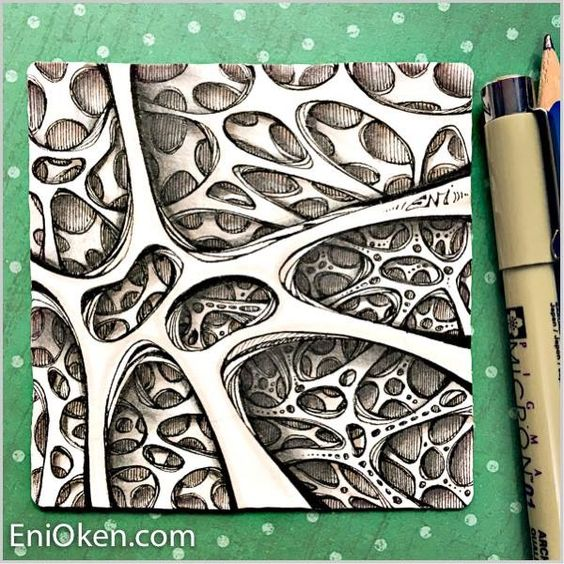
His MembranArt is inspired by Science...
CELL MEMBRANE:
Golden Snake Skin
Skin of a Snail close up
Abstact Cell Membrane
TAKE NOTES:
TAKING NOTES IS IMPORTANT.
Student Examples
------------------------------------------------------------------------------------------------
OUR ASSIGNMENT
We will focus on using
ONE IDEA in TWO WAYS.
We will build a MembranArt out of 3 various colored ayers of Construction Paper.
After this, we will draw it on one color paper.
BUILDING with CONSTRUCTION PAPER
Key Ideas:
Space/Depth, Positive and Negative Space, Overlapping, Organic Shapes,
Value (highlight/shadow), Color
What are ORGANIC SHAPES-
Organic shapes are also called curvilinear that are made up of curves, angles or both. Their main characteristics are curving appearance and smooth flowing outline. They look natural and are mostly found in leaves, flowers, plants and animals.

STEP 1-
Get three pieces of paper.
1 lighter, 1 darker, 1 mid
NOTE-
To create DEPTH/SPACE, we will follow the rules of
OPTICAL PERSPECTIVE:
things CLOSER are BIGGER
things FARTHER are SMALLER.
*As each layer goes down, the holes will be smaller and there will be more of them
since our perspective gets further away.
STEP 2-
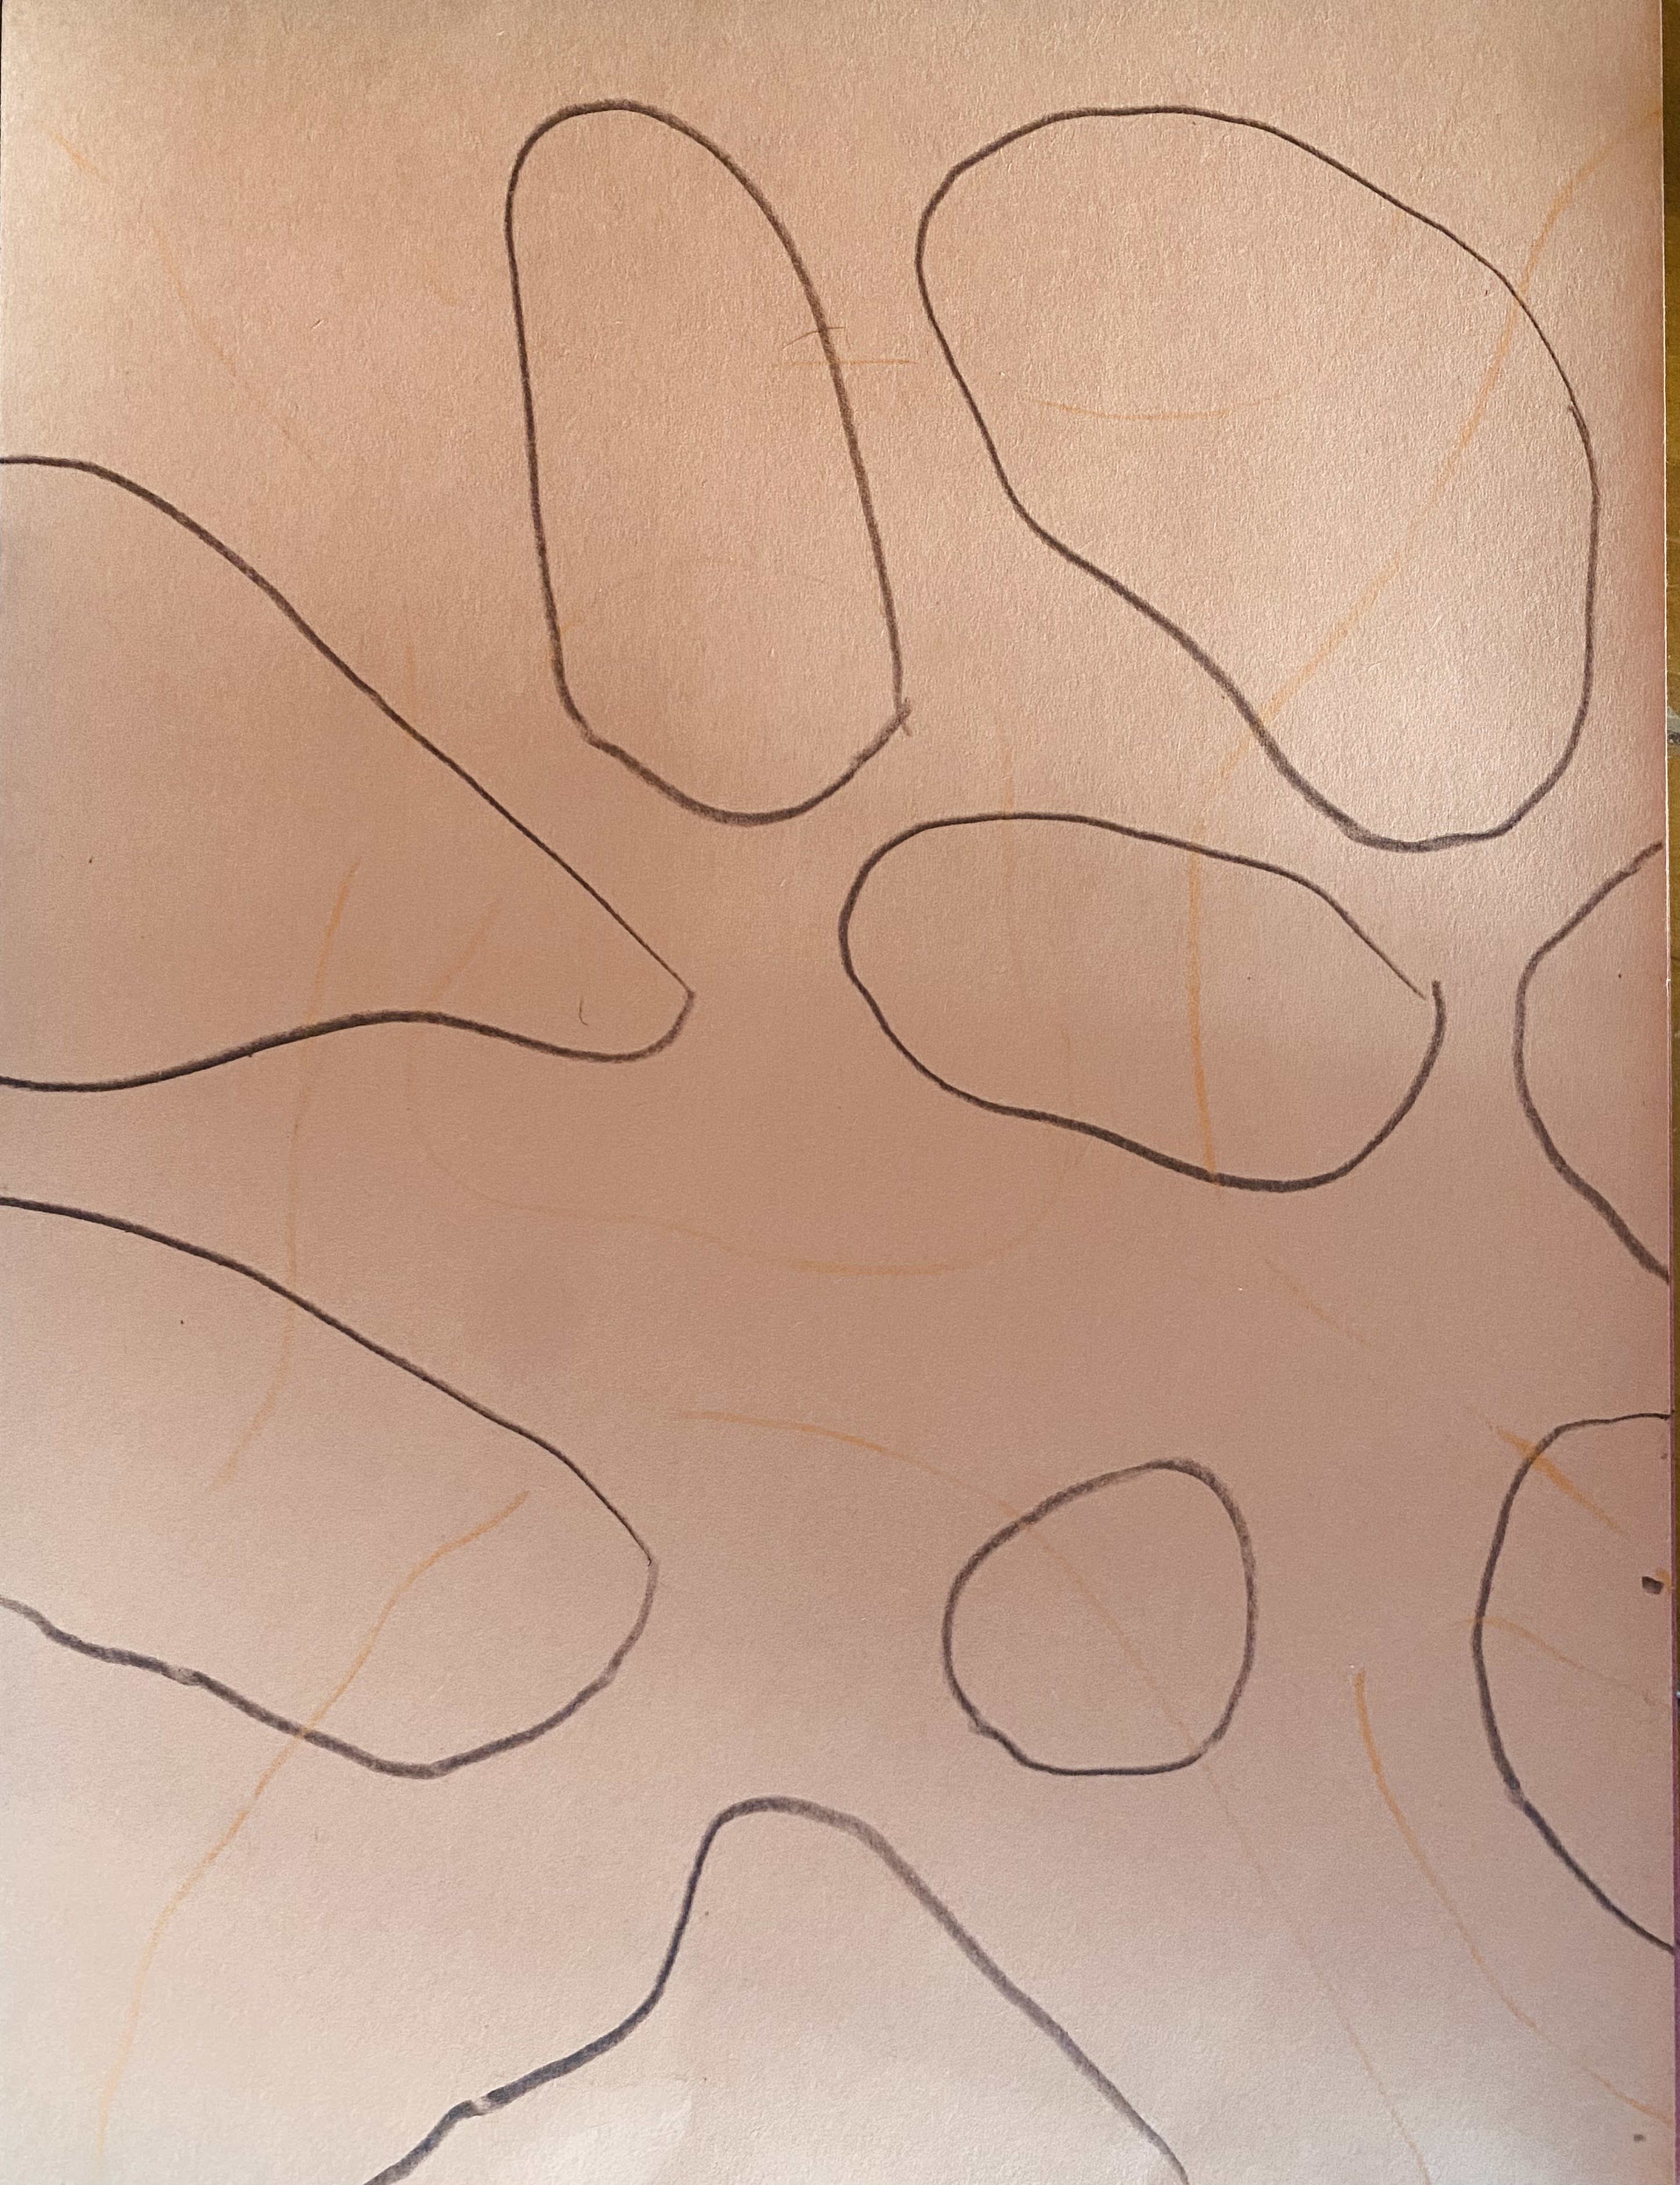
Draw holes on each paper....
TOP LAYER
Lighter color- make 4-6 large organic shapes. Some can go off edge of paper, but avoid corners.
MIDDLE LAYER
Mid color- make 8-10 medium size organic shape. Some can go off edge, but avoid corners.
BOTTOM LAYER
Darker color- make 15-20 small organic shapes
STEP 3-
Cut out holes from Top and Middle Layer only.
*pinch and snip with scissor to get inside the holes.
STEP 4- BOTTOM LAYER
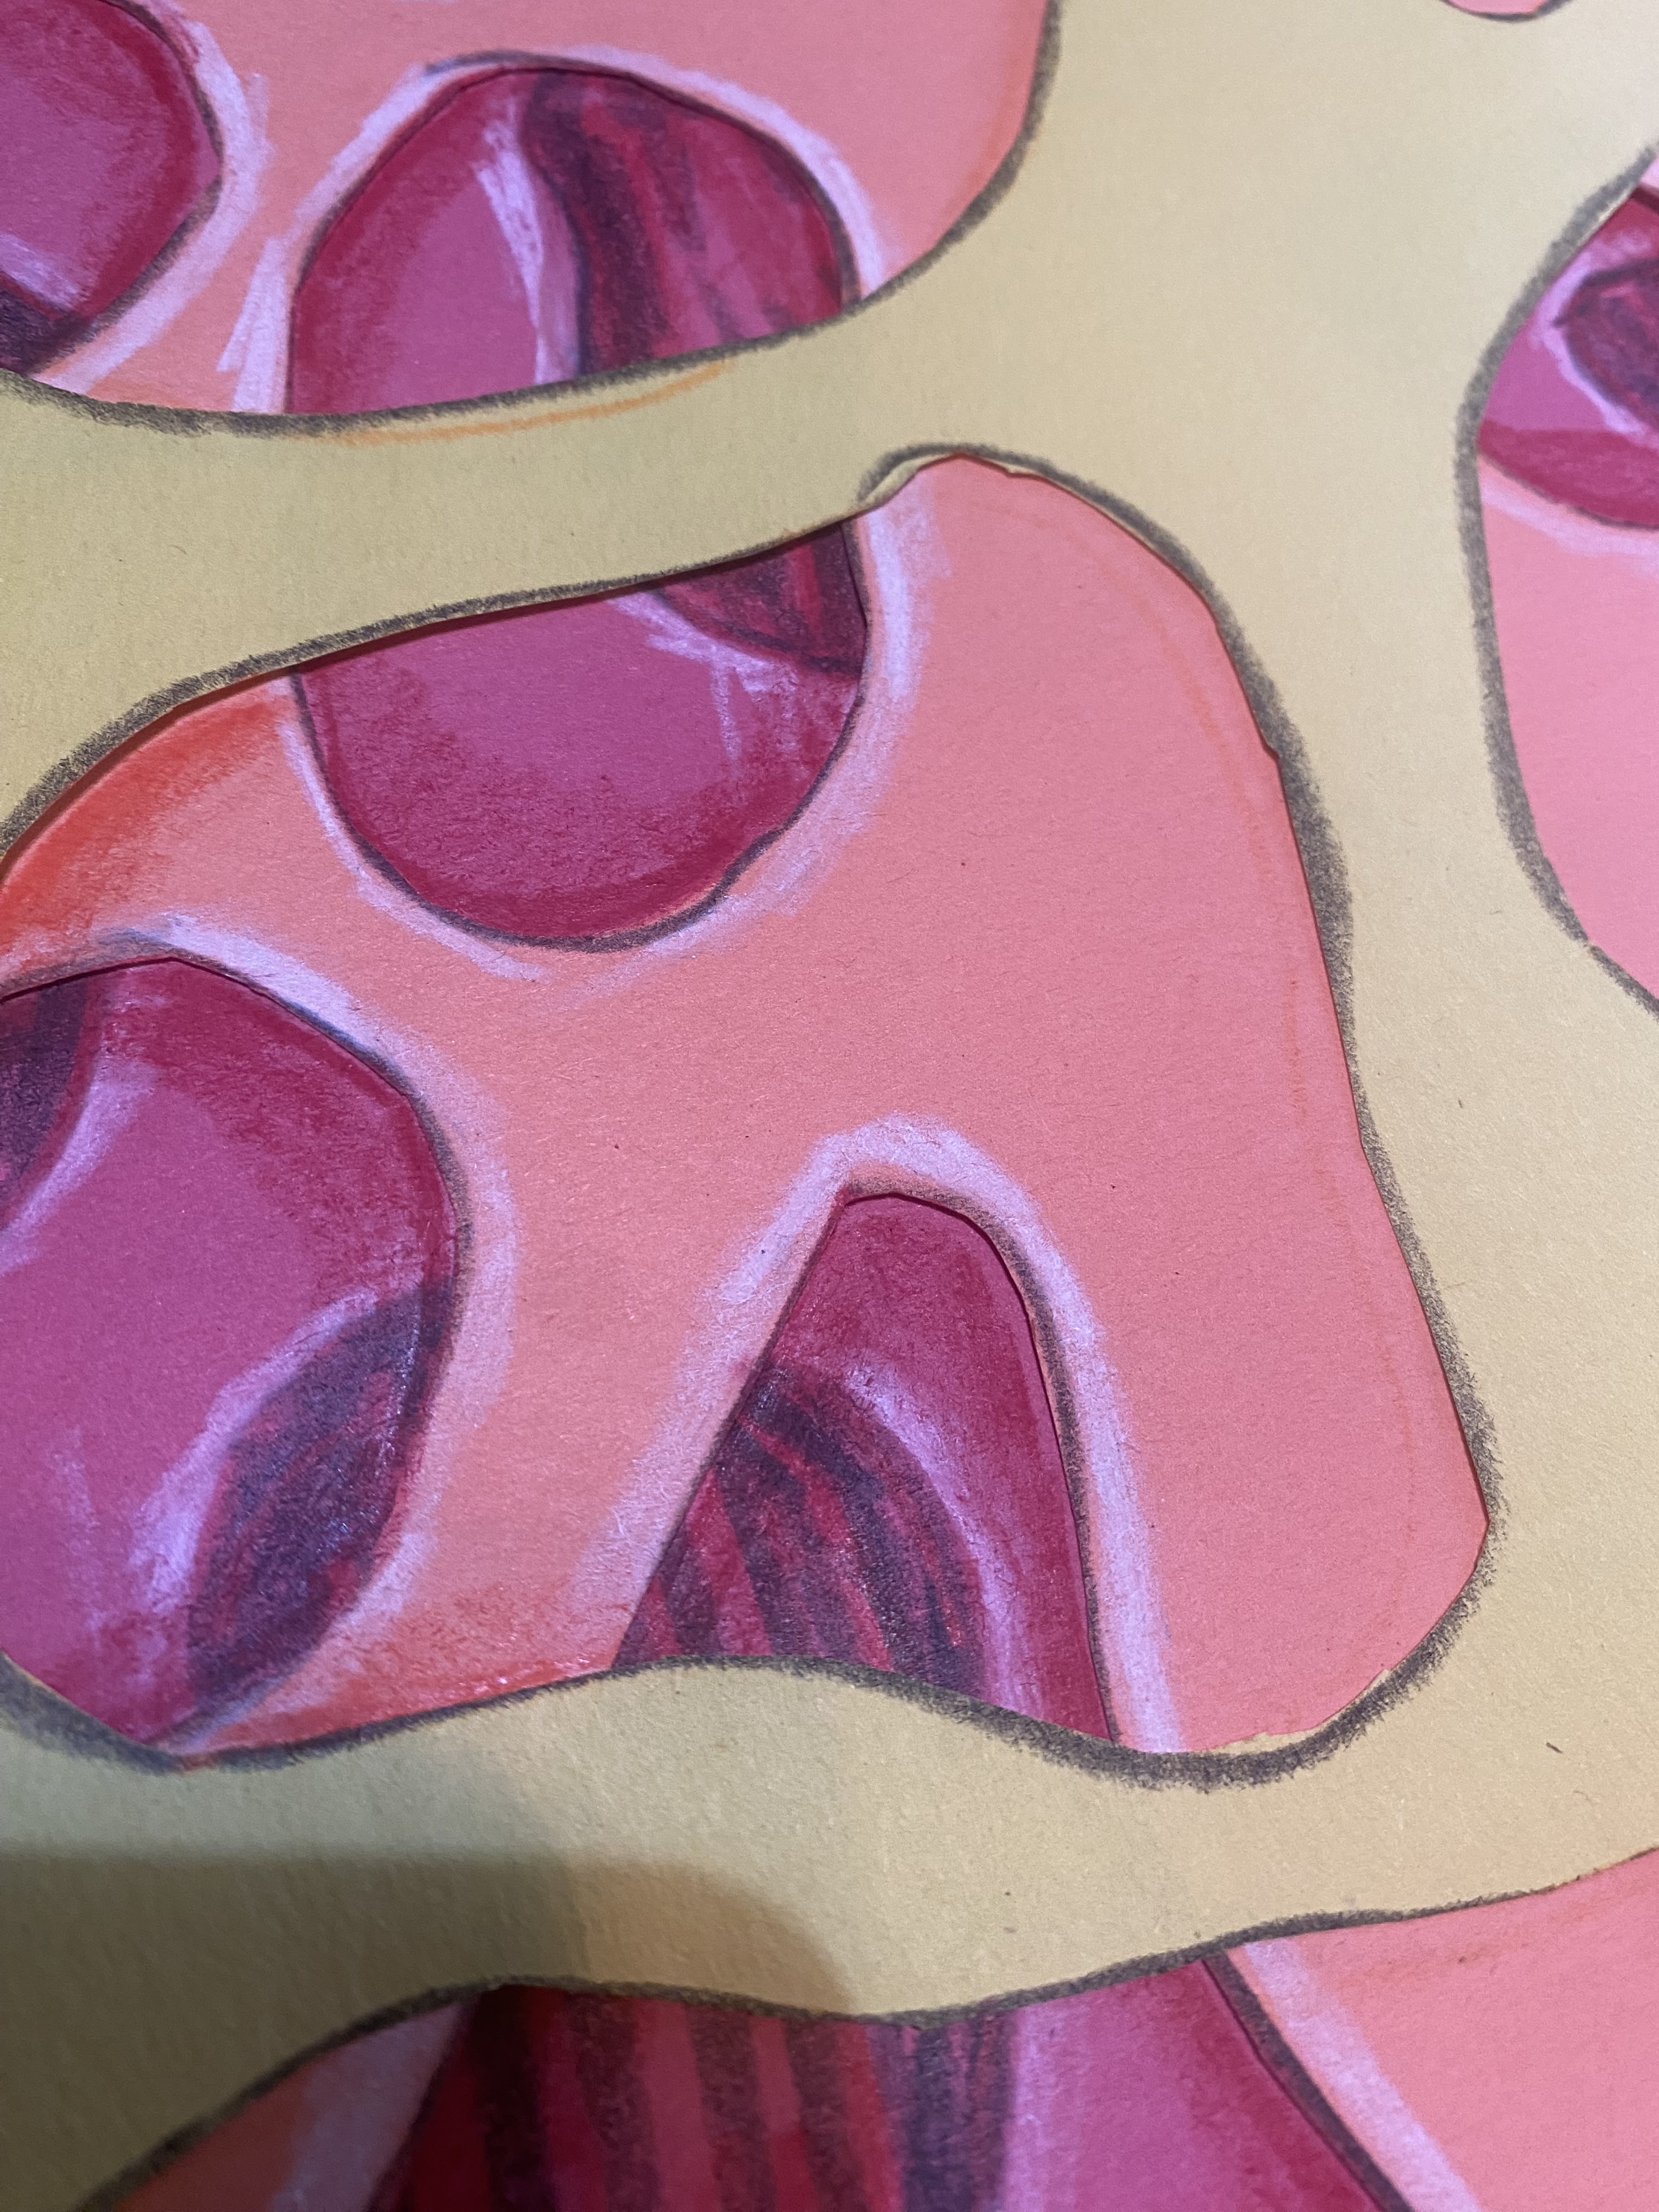
Highlight and Shade the bottom layer.
It is easier to do this before you glue a layer on top.
You will use white, black, and a shade in the same family as the color of your paper.
The outside rim of the hole will be white/highlighted.
The inner area of the circle/hole will be darker (black) and fade to medium in the middle.
I used red & black crayon and white Prisma Color.
STEP 5- MIDDLE LAYER
Glue the middle layer to darker/bottom layer.
Highlight/Whiten around the rim of the holes on mid layer.
Shade/Darken around the inside of the hole
to create a cast shadow onto the bottom layer.
You will use a shade in the same family as the color of your paper.

STEP 4- TOP LAYER
Glue lightest/top layer onto the middle layer.
Highlight/Whiten around the rim of the holes on top layer.
Shade/Darken around the inside of the hole
to create a cast shadow onto the middle layer.
You will use white and a shade in the same family as the color of your paper.


Here I highlighted all layers with white first,
then did shading with darker shades.
This is the same piece as above, but transformed into greyscale.
It is easier to see how the values get darker as they go back.
-----------------------------------------------------------------------------------------
DRAWING it OUT
Draw organic shapes for top later, leaving minimal gaps in between.
4-6 shapes
Be careful…
Think of the 1st layer as a window with round frames.
Keep View into 2nd layer connected.
Continue with layer 2.
8-10 shapes
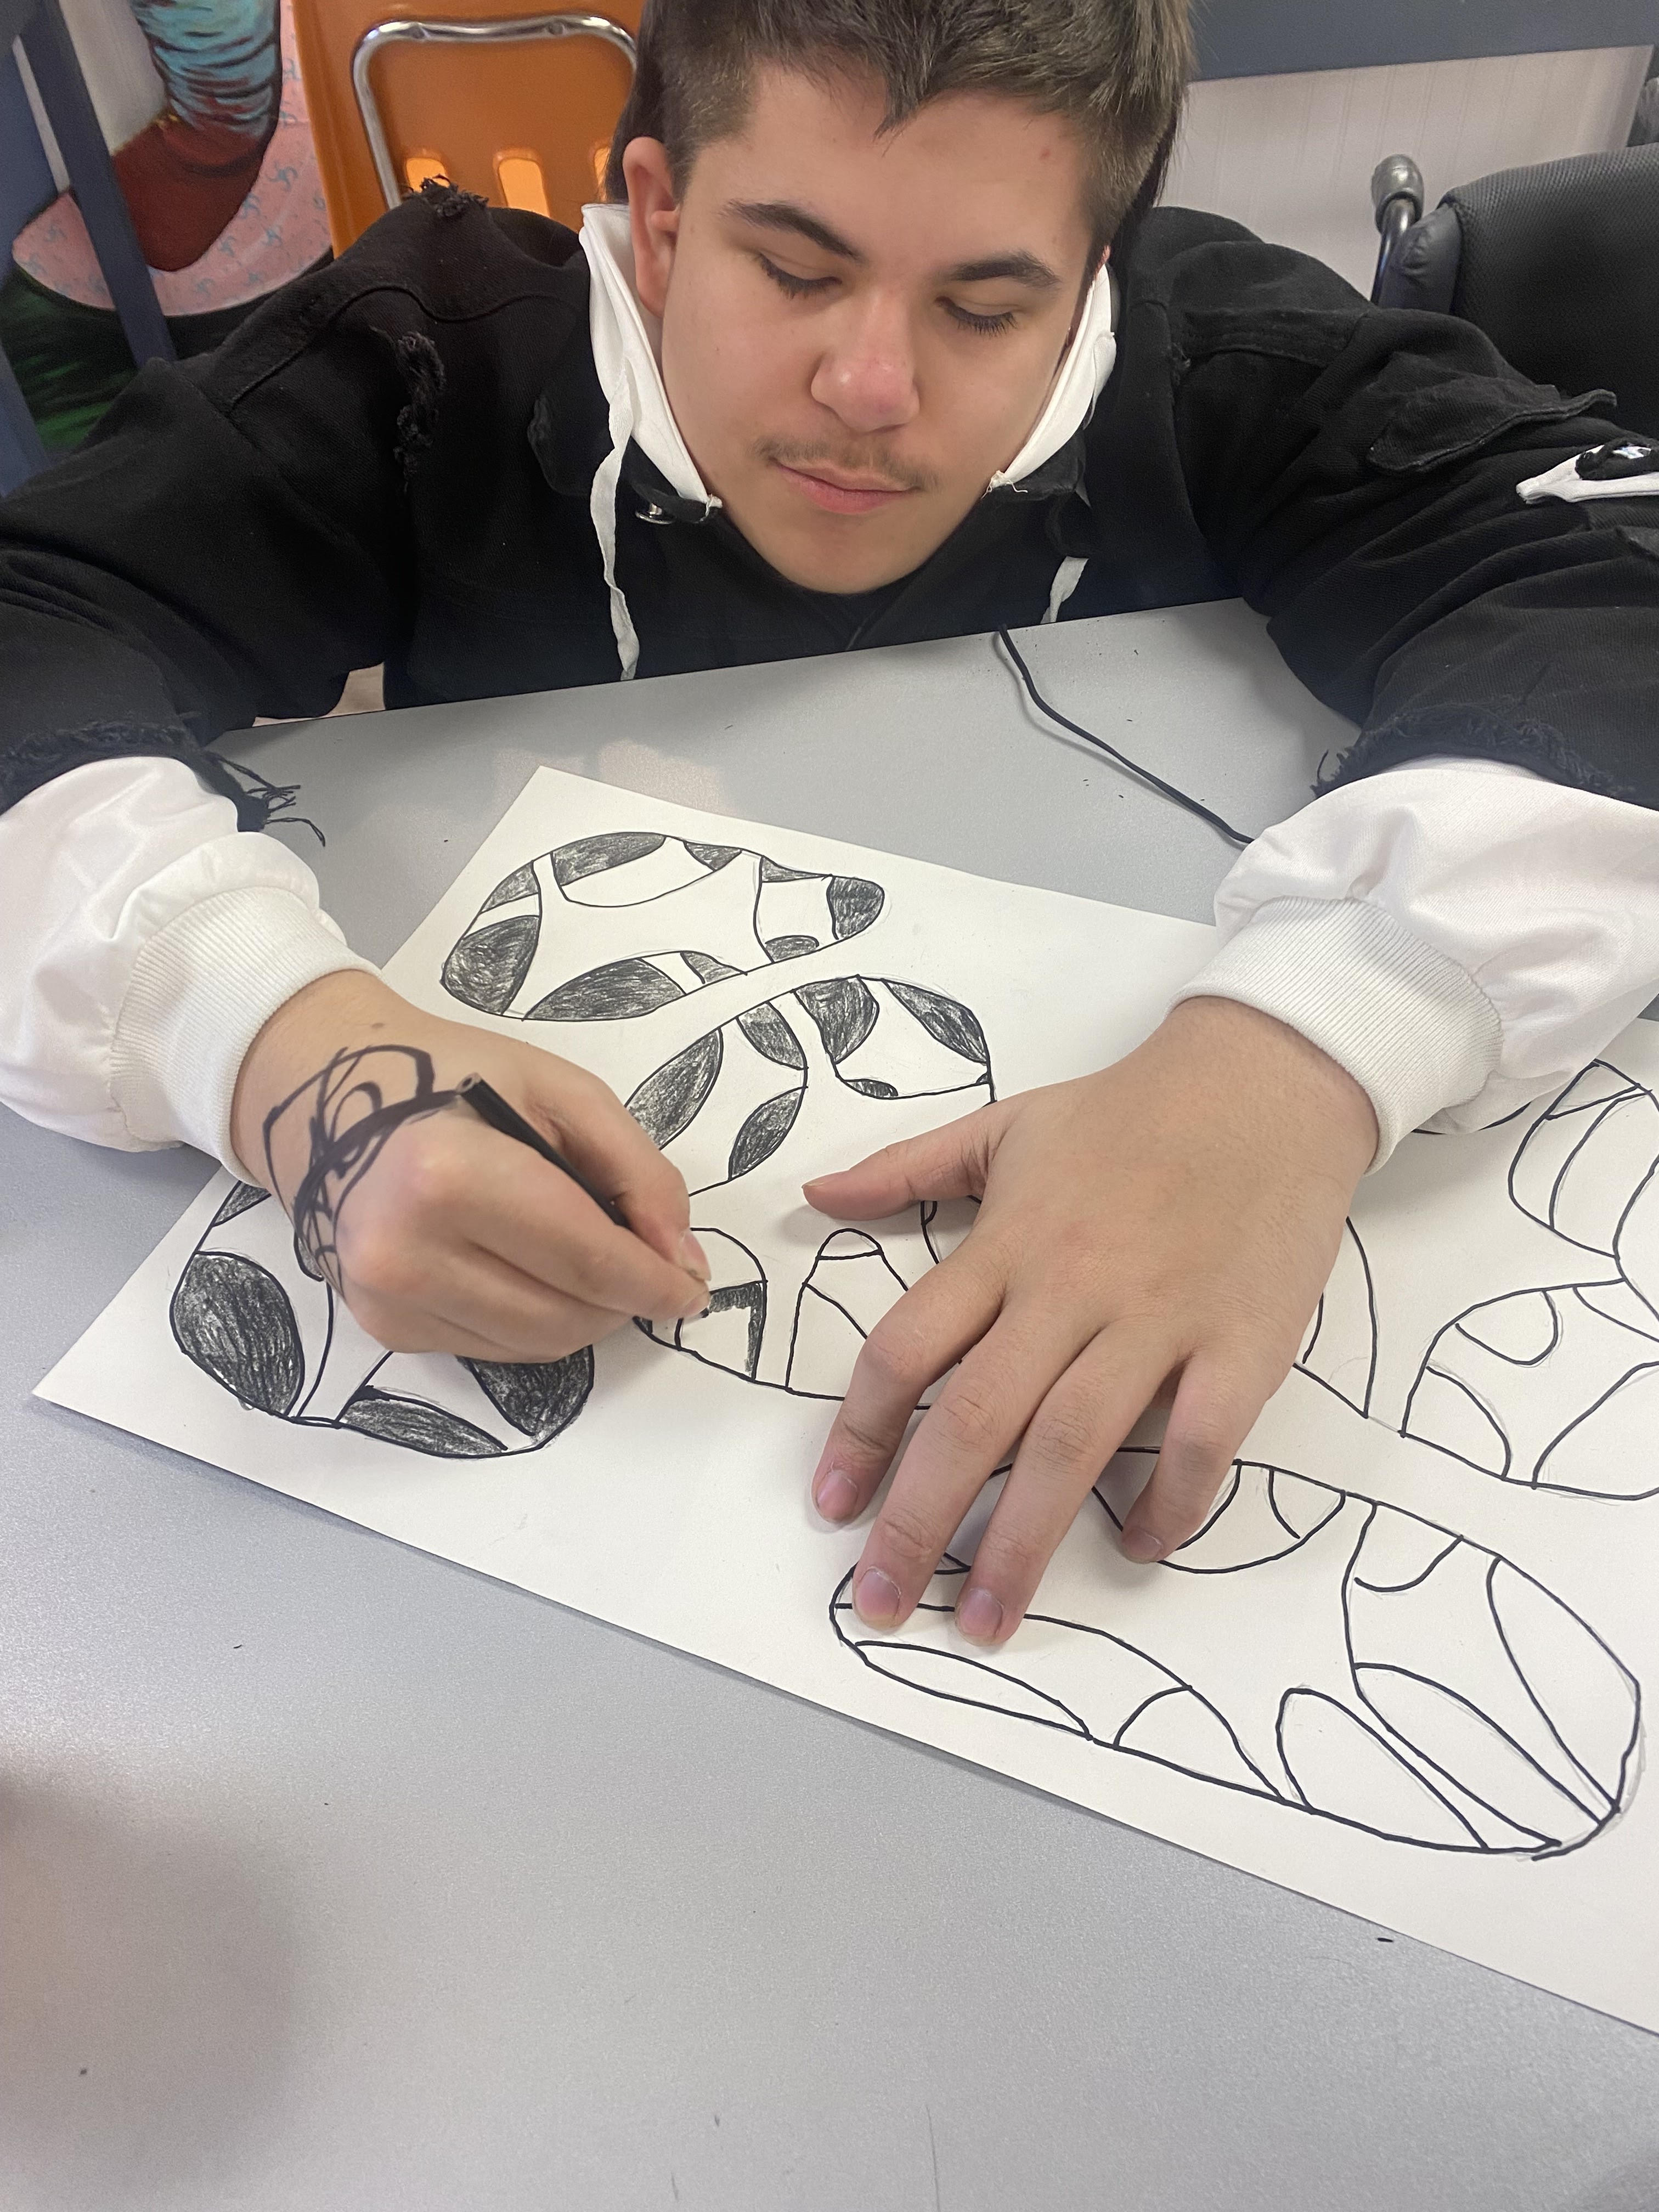
Pencil Shade the entire inner area of the first layer.
Pencil Shade the entire inner area of the second layer.
Pencil shade any areas of overlapping with CAST SHADOWS.
Add pencil shading to all negative spaces.
OPTIONAL
I darkened the back space by adding more textural shading using hatching before done.
-----------------------------------------
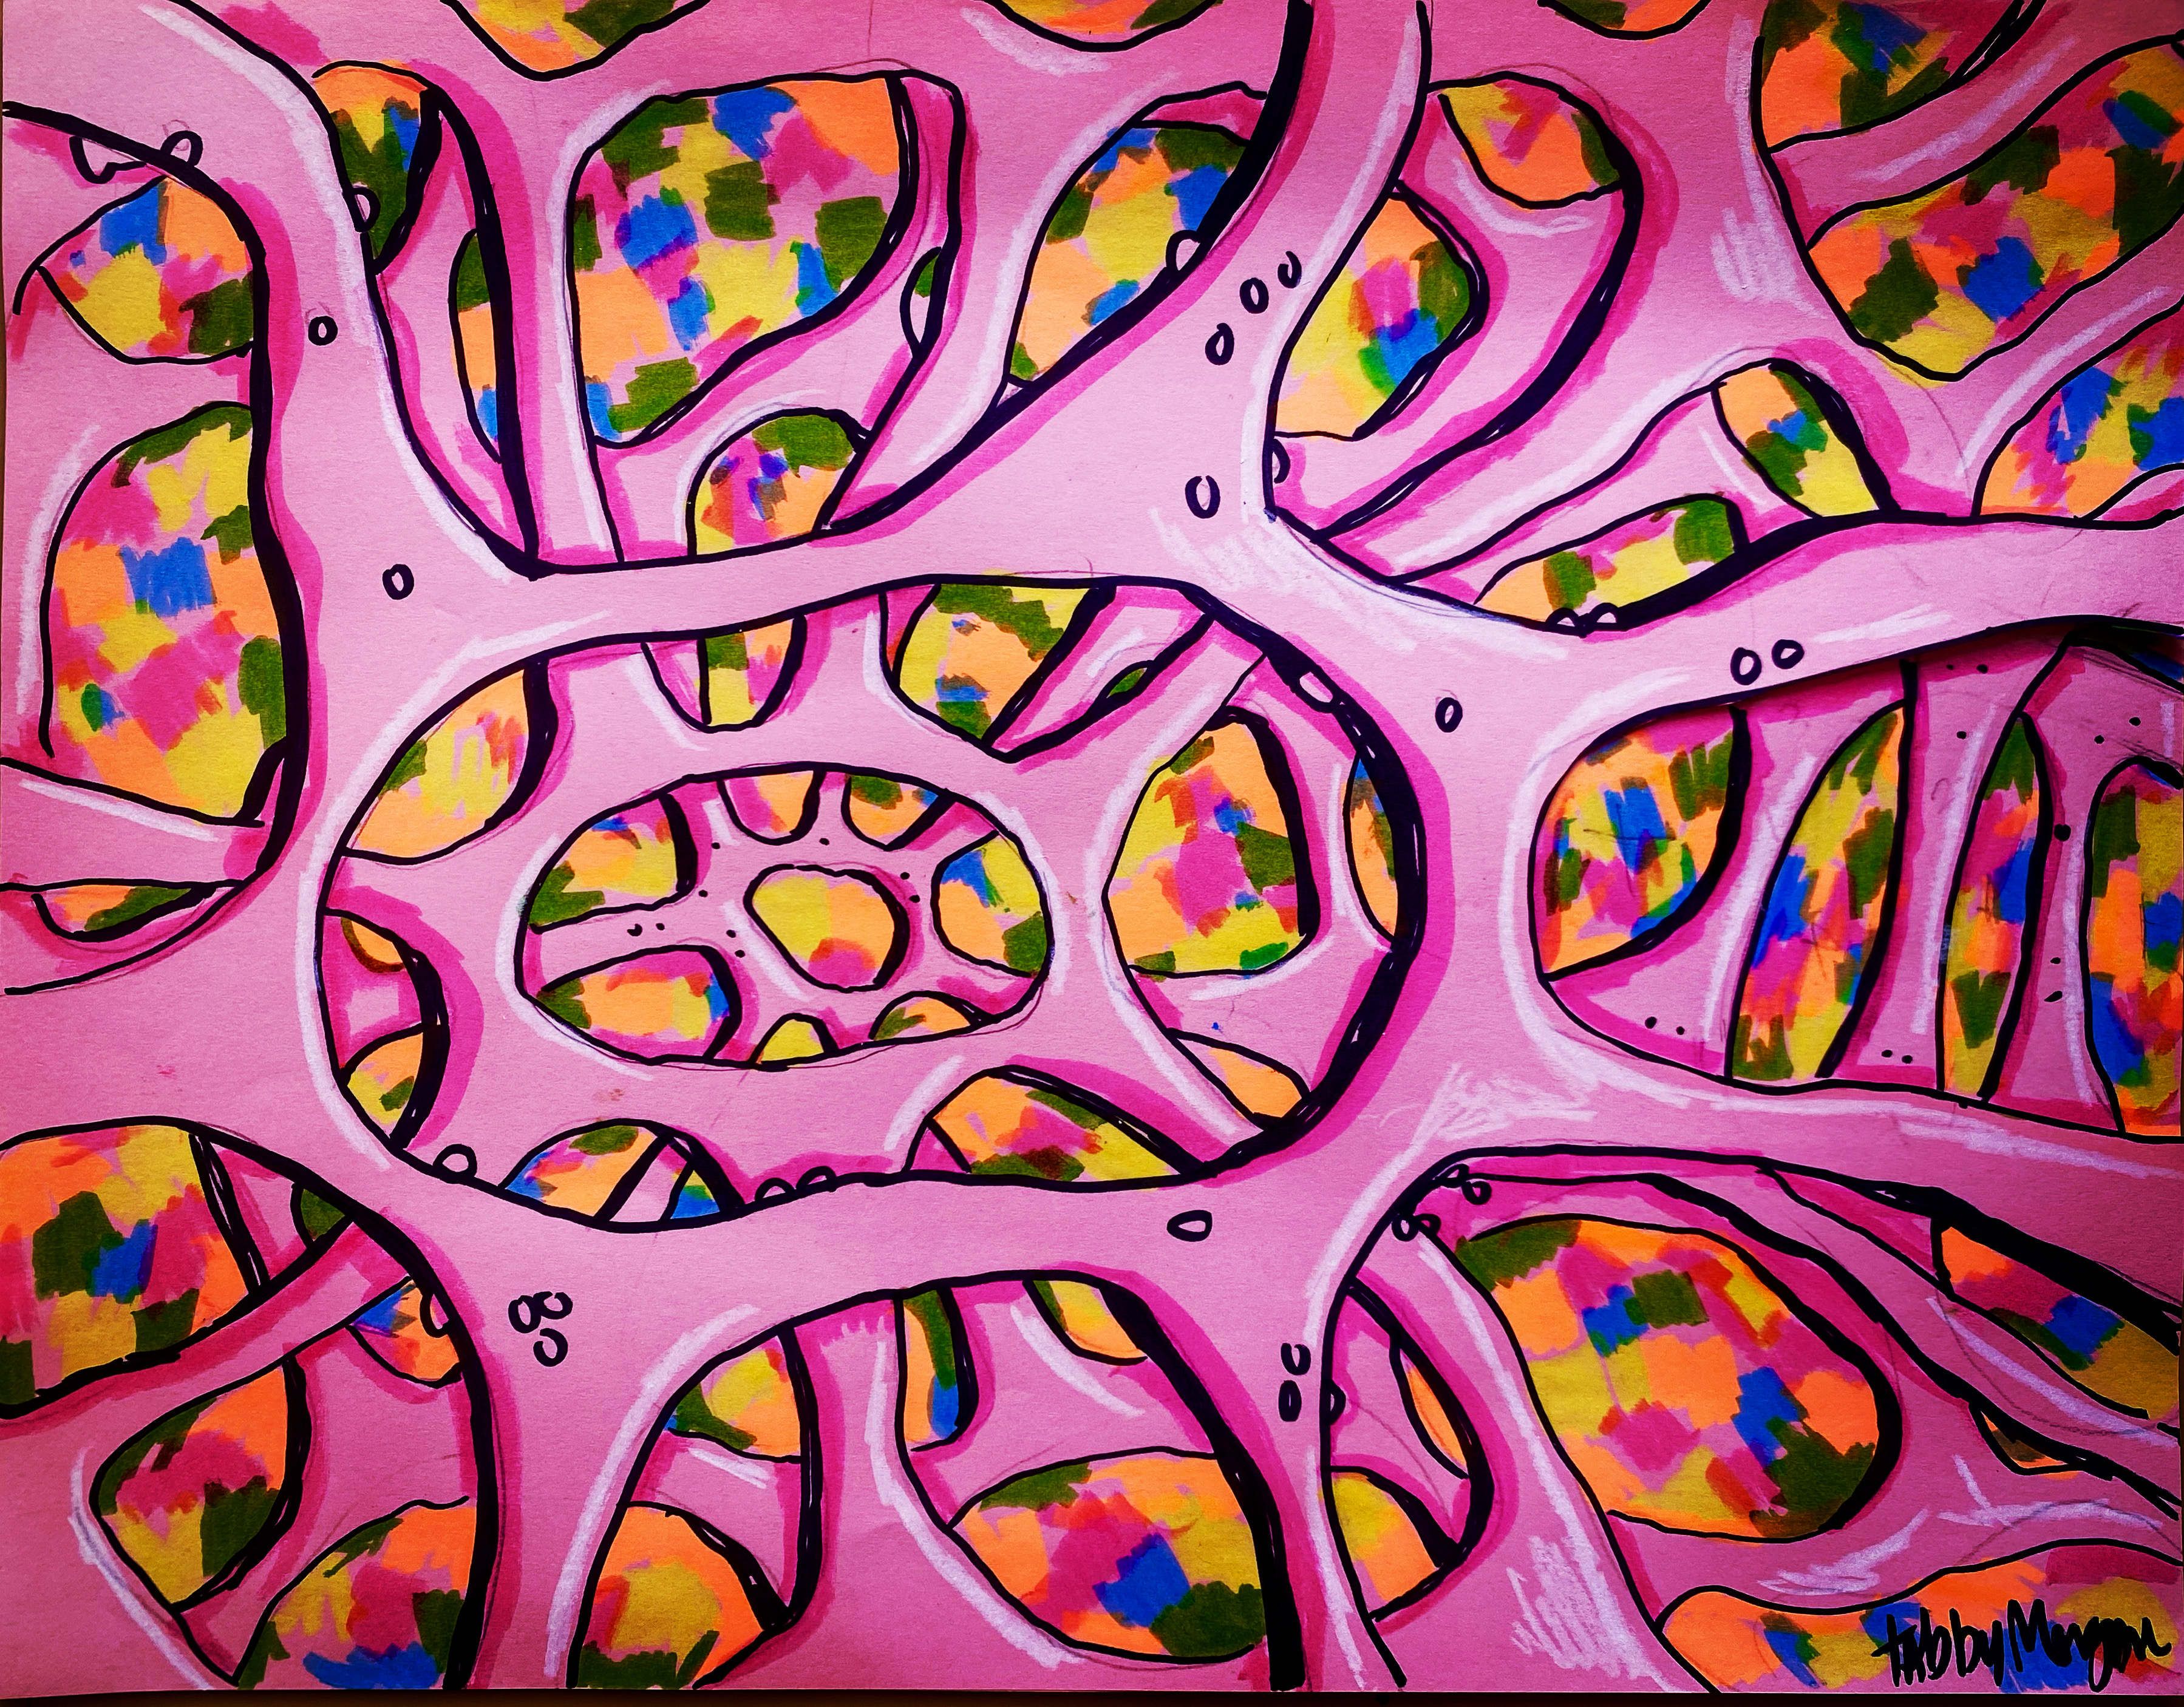
Or try it on colored paper using monochromatic shading.
-----------------------------------------------------------------------------------------------------
OTHER Artists INSPIRED
This idea originally was done as drawings...
Many art Teachers/Students have done this idea.
Here are a few...
BEGINNER SHADING
Using pencil is the easiest way to shade. You can erase mistakes and blend with a stump.
You use pressure to make darker areas.
Next easiest is colored pencil, crayon or chalk is easiest to shade.
Julianna Kunstler, Art Educator
*They use pencil and blending stumps to create value
ADVANCED SHADING
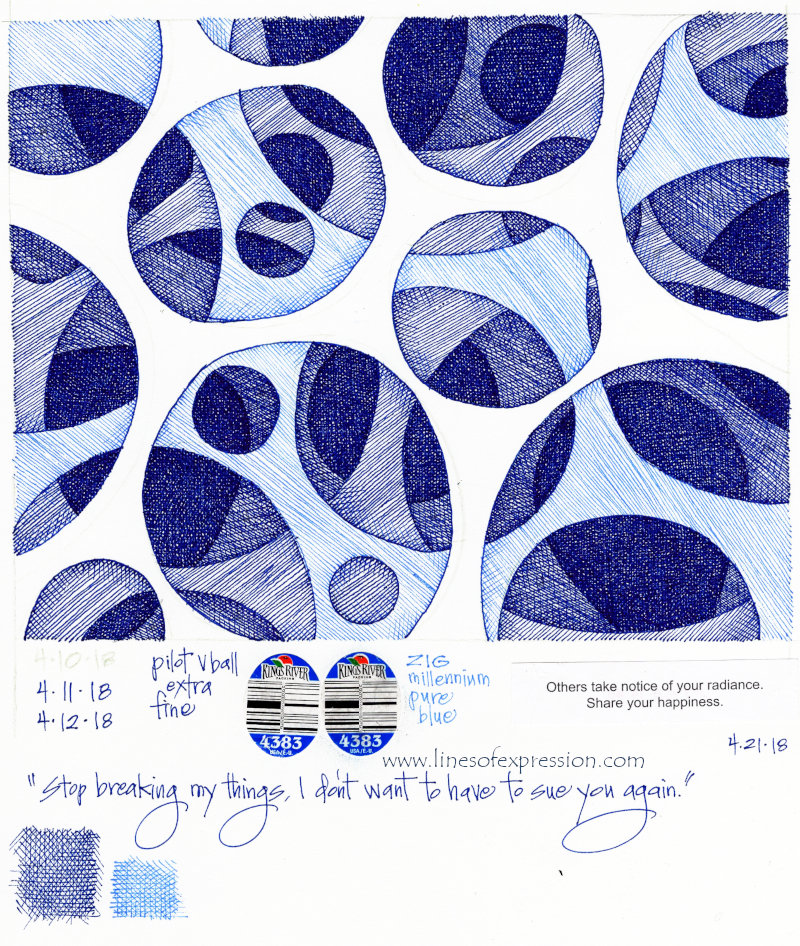
Using pen or ink to do value is way more challenging than pencil.
You must use hatching, crosshatching, stippling or scribbling.
Rebecca Johnson from Lines of Expression
*She uses pen and ink shading techniques to create value