Lost Sock Creations

Lost Sock Creations
what it's all about...
Showing posts with label 3D. Show all posts

Monday, May 6, 2019

3D Wiggly Fish


2023
Emilia & Anden 

Addison 

Shaylee T. 

Olivia 
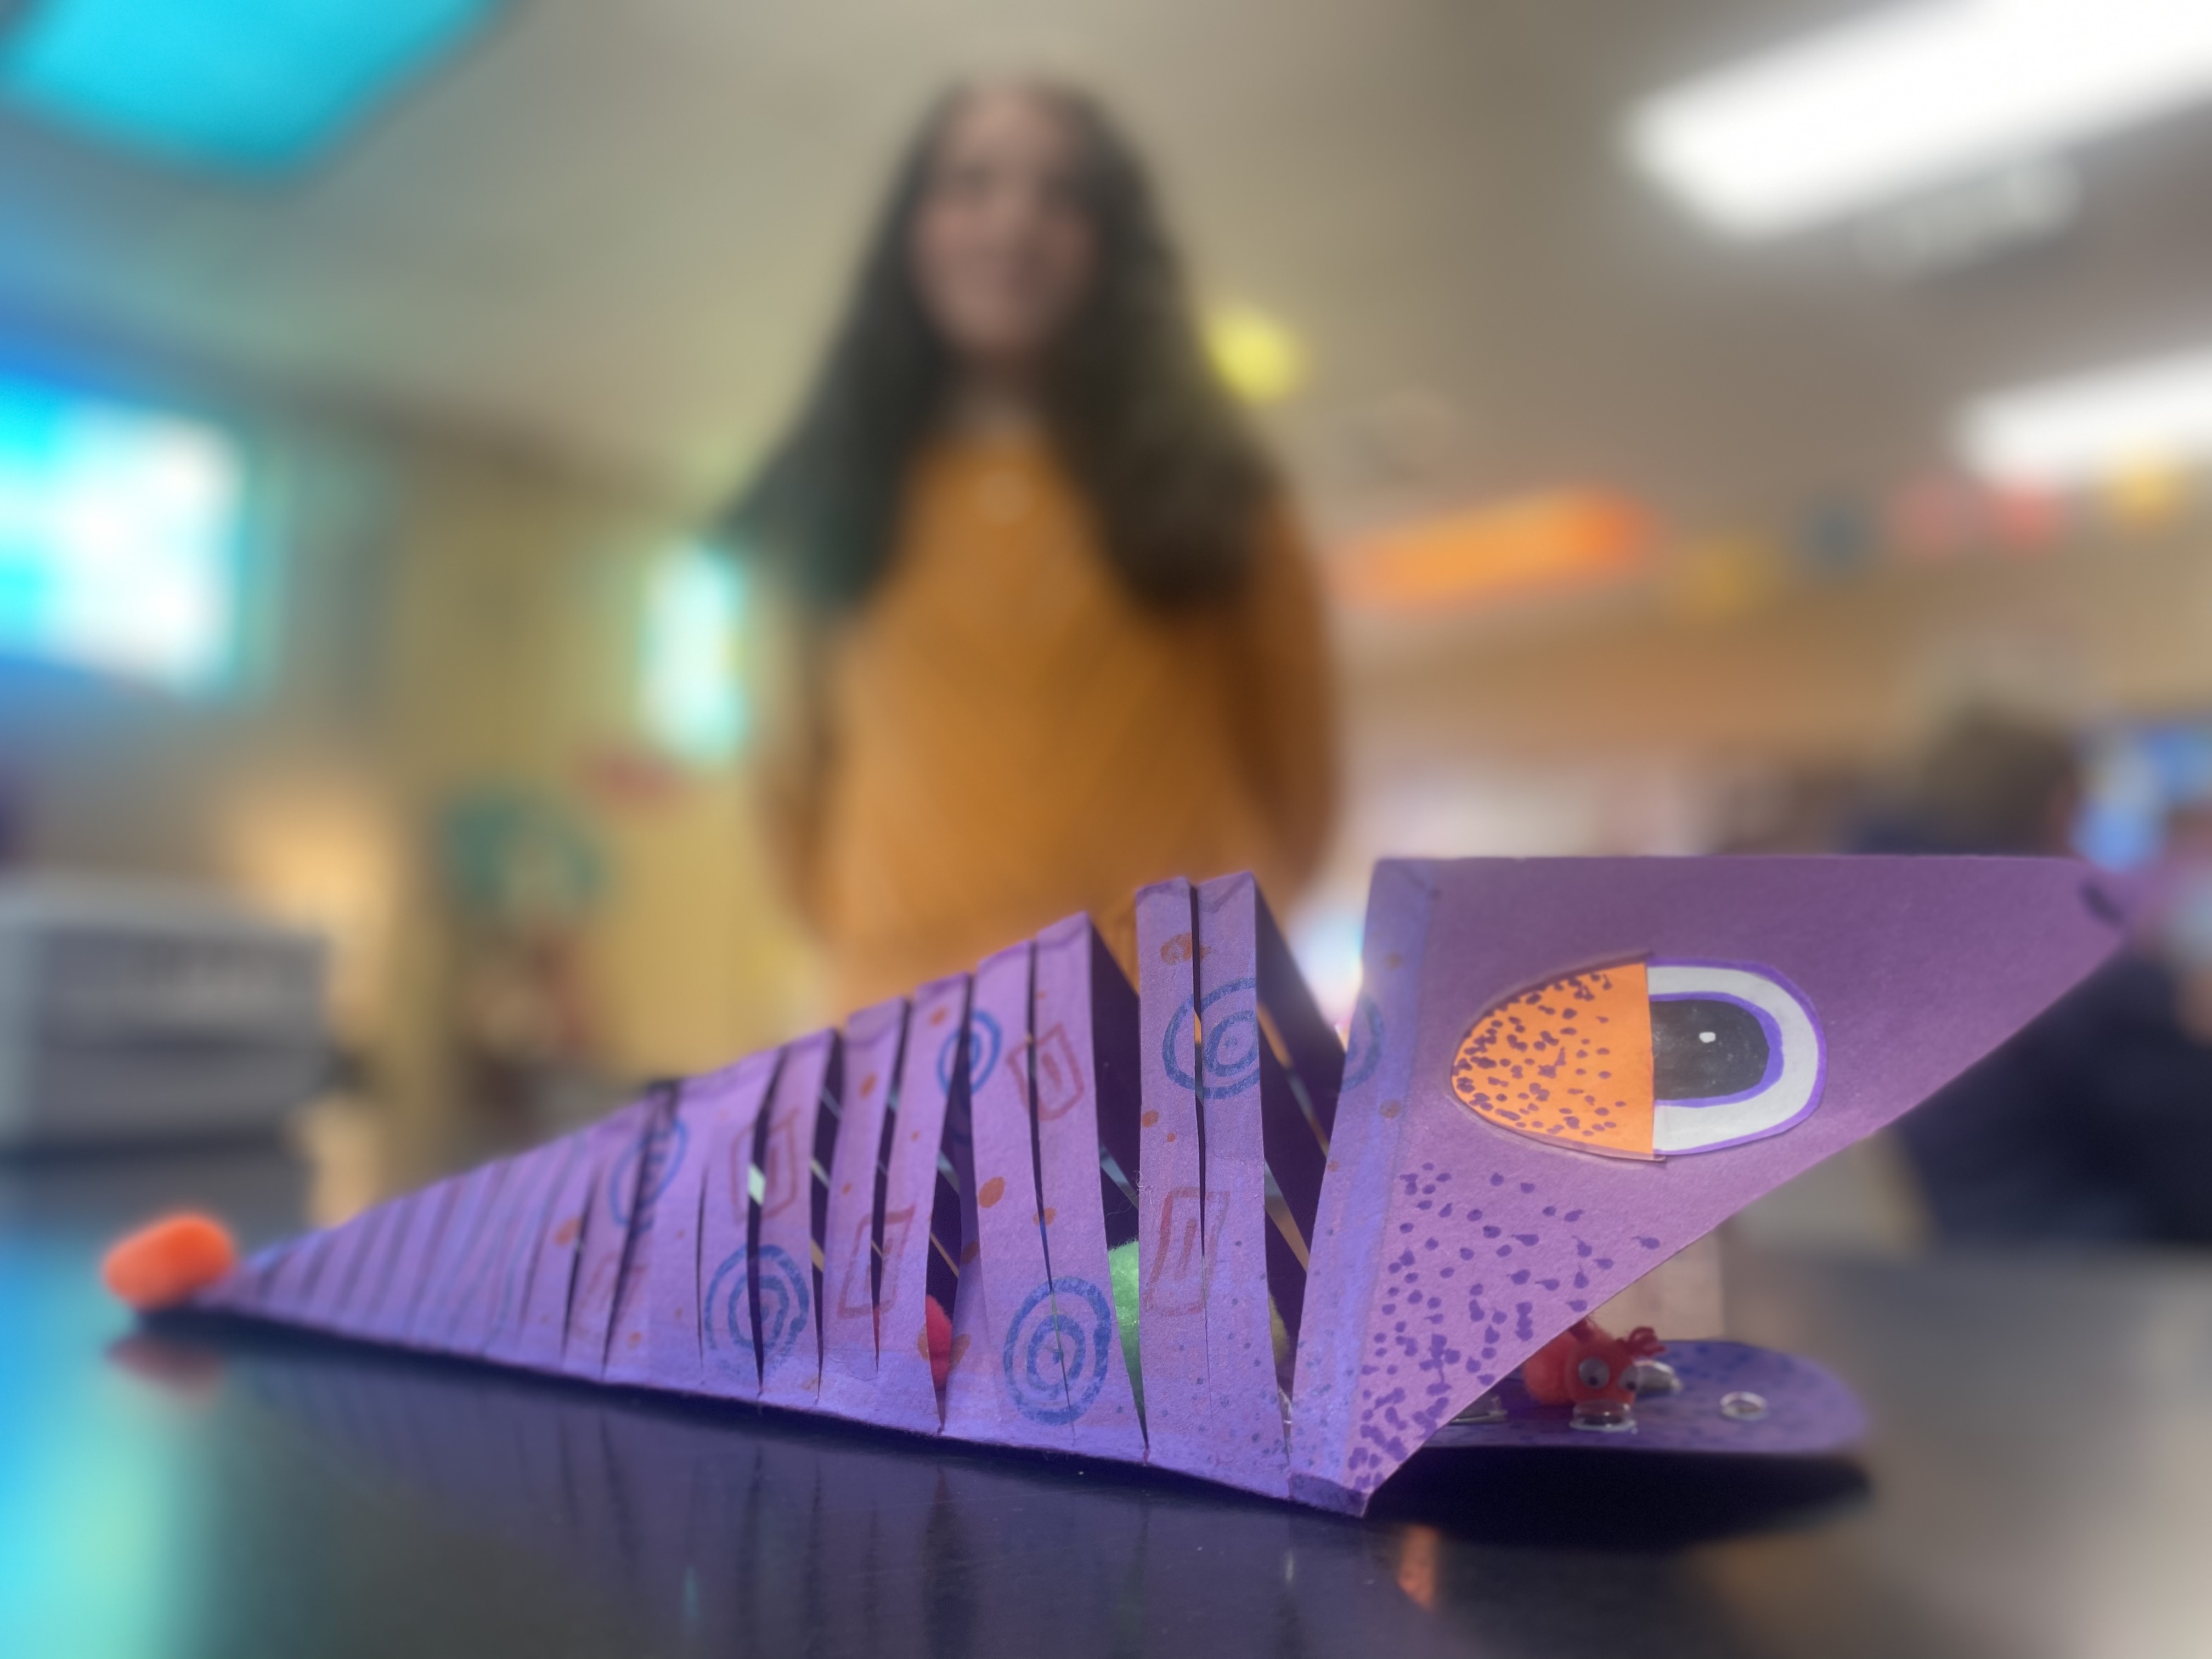

Bell G. 


Find paper.
Fold into a square. 
Make right side and top edge perfectly aligned. 
Then crease down. 
 Trace the bottom of that fold (what was the top) along where it is now. 
Open and cut off extra piece. Do NOT throw it away! It will be used for fin and tail. 
 After extra is cut off, lay in front of you like a diamond with point toward you and away from you. 
FOld right and left top edges into meet the middle fold and crease (like a paper airplane). 
 Trance the new folds. The area here in the middle is the top of your fish that you will see. 
T His it he best time to decorate it before you cut it up. 
Draw designs or dots or you can even skip this step. 
 The part on the right will be your fish's head. I drew gills on the sides of it. 
 Use some scrap white paper to make 2 round pieces for your eyes. 
Make a black pupil with a shine in it. glue down. 


CUTTING SPINE
 Fold fish in half and lay it down. This is the hard part. 
 You will be cutting finger width lines starting right after where the head meets the body. 
Do not start directly where the head meets the body or else your head will get cut off. 
make your lines go parallel to the line where the head meets the body. 
Drawing these lines first may be helpful. 
 Cut on the lines stopping at where i drew the orange line. Do not go past this line. 
 After you cut the lines, open the fish body back up. 
Apply glue to only one side of the triangular side. 
(see note)
 Fold other triangular piec inward an on top of glue. Hold for about 30 seconds. 
Use a dot, not alot! 


Grab that extra piece I told you not to throw away. 
Lay it under the mouth of the fish. Make a mark of how wide the mouth is. 
It is better to make the mark slightly smaller. 
Cut a curved piece out the same width as the mouth. 
 
 Apply a think line of glue to the straight edge of this paper. 
 Glue it inside the mouth of the fish. 
 Take the rest of that scrap paper and draw a tail and 2 fins 
(a little longer than you think, I failed to do this.). 
glue the fins and tail on.


IF you did not follow my steps, this will help you tons! 


Tuesday, January 30, 2018

Butterfly Garden


Student Work- 1st grade

McGinley's Butterflies 
Madelynn
 Jack, Aidan, lizeth,
Lily, Anthony & Trysten


Mrs. White's Butterflies
Kathryn, Marvin, Abigail, Elizabeth,
Hunter, Asher, Hazel & Kylee
Chloe & Jeremiah  


Bluhm's Butterflies 
Addison, Tim,
Sam & Austin Y.

Chloe, Julia B., Leah, Fernanda,
Jameson, Mia, Kyler & Diego

Logan from Torres


 Mrs. Torres 1st grade
Bailee, Nicole & Aubrey


Hudeck 1st grade
Alex, ?,
Trey, Connor,
Maddox & Greyson


Find pieces of colorful paper about 6 inches wide and 4 inches tall. 
I cut a piece of construction paper in quarters.

Fold paper to find center. Make a long oval on the center fold without going to far to edge.
Add to bumps to side like the letter B. Make them BIG, stretching out as far as the paper goes. 

Contiue on other side as well with a backwards B.
Use black crayon or marker to make your designs darker. 
Whatever design you add to one side, you must add it to the other as well. This keep it SYMMETRICAL.


Make 1-3 butterflies. 

Paint the background paper with greens, yellows and blues. 
Use only dots or stripes. THis is suppose to look like the blurry grass behind our scene. 


Find papers with black and white text on them.
This is symbolic of using what is old to make something new again. 
It is giving a new purpose to the newspaper, book pages, or sheet music. 
Just like the butterfly, it has changed. 
 
Draw the grass blades onto the paper. They should be about 6-8 inches tall. You can draw multiple together overlapping or singe blades.

Cut out blades of grass and apply glue to back in dots, making sure to add to the very tip and bottom especially. 

Glue on the grass blades at the bottom of the paper. You can add flowers using a black crayon if desired as well. Any other details (bees, wind, snails, planes) can be added as well. 

Put glue only on the center area of the back of the butterfly.
(if you want it 3D)
Press down on middle section for about 30 seconds. 
Draw on antennas. 
Then wings should be safe to fold upwards. 

 (Mrs. Torres's 1st graders working)