Well, not really. But, I love these germs creations that kindergarten imagined up!
We looked up images of real germs under a microscope. We studied their shapes, textures & colors,
Students chose their favorite germ colored construction paper, drew the shape, emphasized it with a black marker line, colored them and added life like eyes.
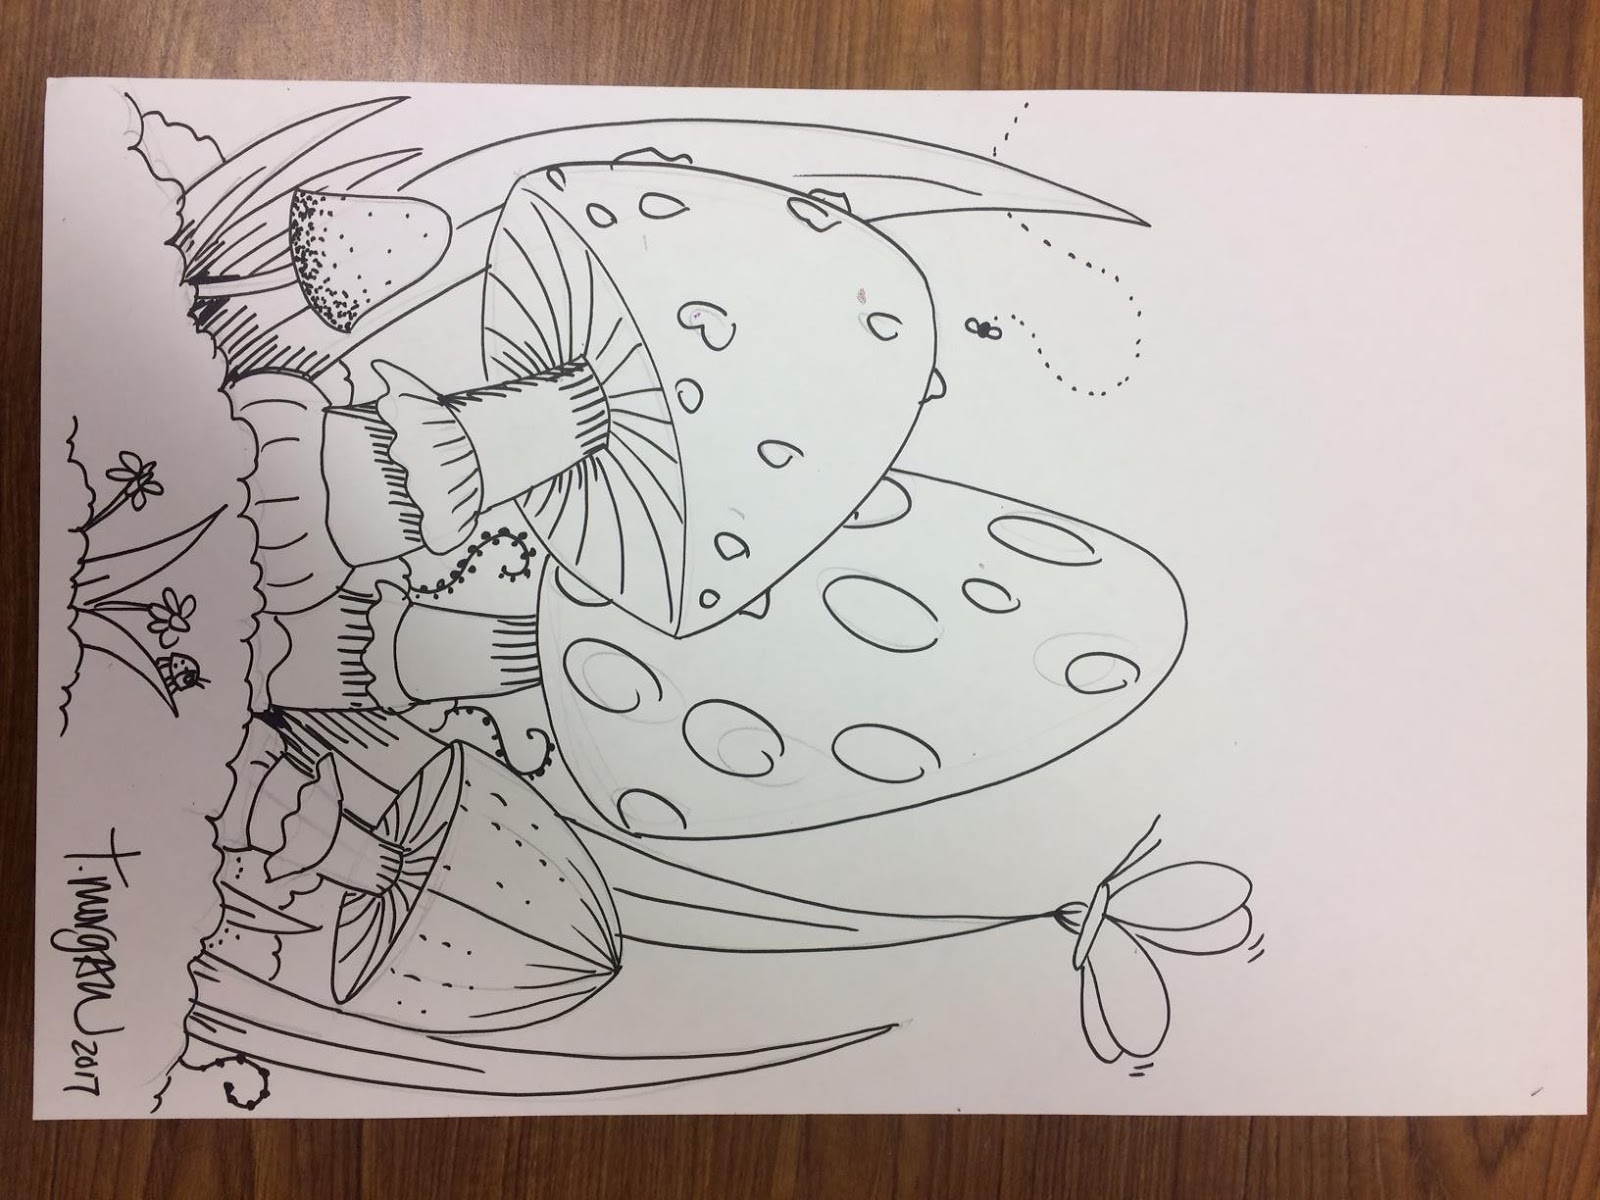
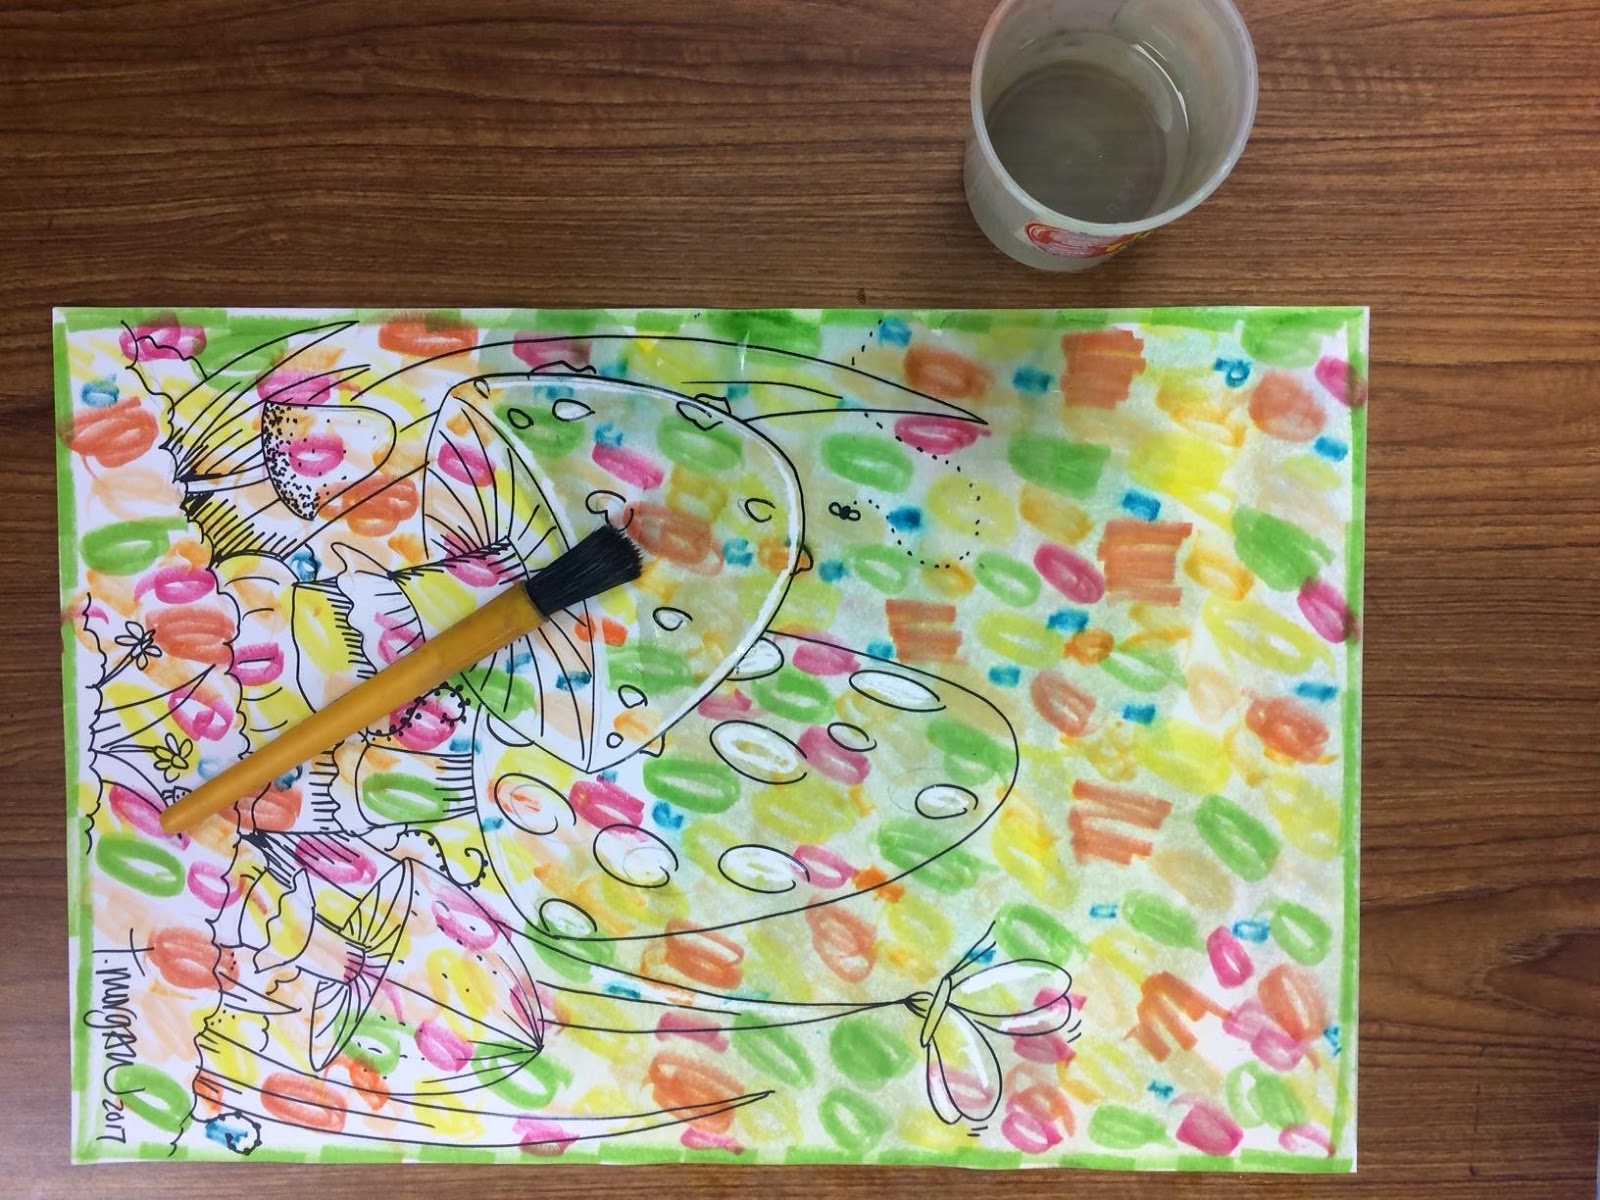
If this project has little time allowed, then I teach them about mushroom's role in the environment.
They work as decomposers, taking the dead plants and animals and pulling out any left nutrients from them to grow. They do not need/use sunlight. They do not grow from a seed, instead from spores that are released in the air from the gills of other mushrooms.
Many mushrooms are unsafe to eat. Some mushrooms attack other plants.
There is a world of knowledge out there on Youtube and the WWW about these amazing "plants".
Images above were made by Instruction of Tabitha Morgan at
HeARTworks in Quitman, Texas
https://quitmanheartworks.com/
Blake, Titus,
Andrew, olivia, Khloe & Taylor
2nd Grade Artists from Mrs. Craig's class (above)
----------------------------------------------------------------------------------------------
Mrs. Polly's 3rd grade class 2017
Martin, addyson, Christopher, no name, reighlyn & Alexis
----------------------------------------------------------------------------------------------
Say it ten times fast."She draws sea shells by the sea shore!"
Since Summer is on he horizon, it only seems fitting to draw Summer stuff. Seashells are a great way to teach balance, symmetry, contour line and form.
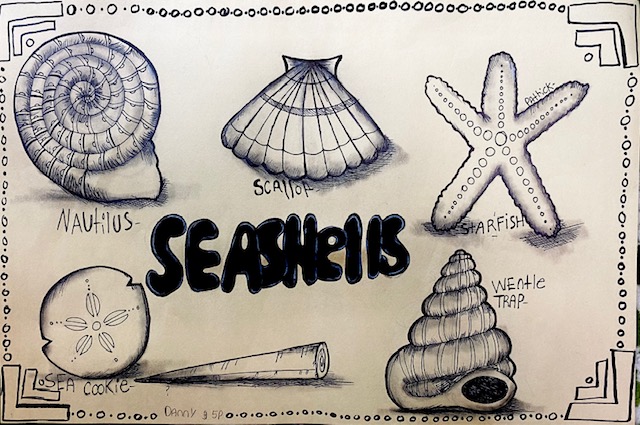
I created a number of How To Draw Sea Shell worksheets after studying shells myself. I am giving these to the students to practice with drawing the shells.
Students will draw 3 or more shells (all the same or different) in the middle of their paper.
Use a pencil and draw light, till you know it's right.
Then go darker of use permanent marker.
Use crayons to color the seashells (use lots of pressure to seal up all paper)
In the center of the paper, with a white crayon, draw small circles clumped together like grape clusters. This will be a line of sea foam that divides the water from the sand.
Drawing the sand dollar, starfish and scallop here in time lapse...
Drawing the alphabet cone and wentel trap here in time lapse...
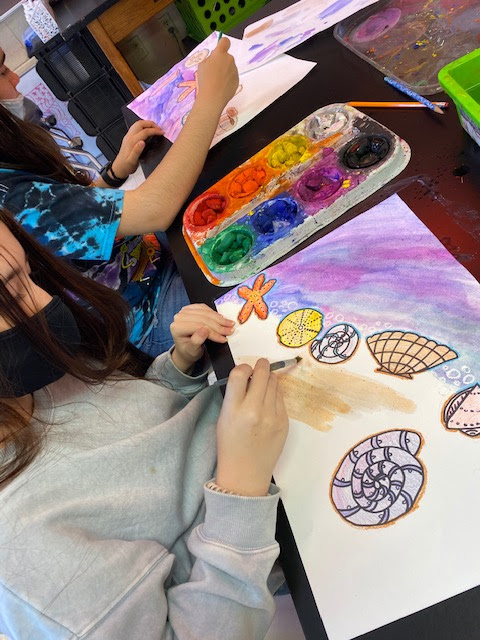
Drawing the bubbles with white crayon, coloring the shells with crayons and painting the sand and water with tempera cakes. This is called the crayon resist method.
the top portion above shells and bubbles with blues, greens and purples.
Paint the bottom portion with yellows, oranges and browns.
You should be able to paint on top of the seashells since you colored hard with crayon.
The wax will resisit the watercolor and stay unaffected.
Madelynn, KindergARTen
Alternative Idea
Use brown paper, draw the shells and outline with black marker.