Lost Sock Creations

Lost Sock Creations
what it's all about...

Monday, November 30, 2020

Worm's Eye View City


Jaycee, Milo, 
Vanessa, Zoe

Jaecey, Addyson, Kenzi, 
Kaylee W., Estrella, Mary
Jorja 8th grade


Ayden (7th) and Sawyer(8th)


click on picture to see more photo examples of 
Worm's Eye View City


——-Video Below of Picture Above——


SIMPLIFY STEPS....
1. Draw a Vanishing Point in the middle of the paper. 
Draw lines around the VP. 

2. Connect the ends and points of lines to the Vanishing point. 

3. Emphasize the sides of the building from the top to bottom. 


4. Add windows going horizontally following parallel to the top of the building, 


And windows vertically (using Vanishing Point).

4. Shade buildings. 

5. Add a sky to the top. 
Keep in mind, the closer you are to the Vanishing point, the smaller clouds will be. 
Things become bigger as they reach the edges of the paper. 


This video will help you too... 


Image From 
ArteAScuola
Inspiration from

MORE LESSONS on PERSPECTIVE from LostSockArtTeacher

--------------------------------------------------------------------------------------------------

1. Make a Dot somewhere in the middle of your paper. 
This is called the "Vanishing Point" and is where all the sides of your buildings 
will travel to until they seem to "vanish". 

2. Lightly with a pencil and a ruler, 
Draw lines that go from the dot to the edges of the paper. 

3. Cut off tops of buildings. 
Rule of CutOff
Top or Bottom edge of paper = Horizontal Cut off
Right or Left edge of paper = Vertical Cut off


4. Draw the side part of the Building according to guide above. 
5. Decorate the fronts of your buildings with windows. 
RULE OF WINDOWS
If the windows go up, they must follow to the vanishing point, 
If the windows go sideways, they must go the direction of the edge of the paper they come from, 
like the top of the cut off. 

6. Use a rotating compass on the Vanishing Point 
to make concentric circles in the sky. 
This will be a radiating sun above. 

7. We will color the circles like the sun and sky. 
See student examples below from other schools. 
8. Use black and grey to decorate the building fronts. NO COLORS. 
Since the sun in facing the fronts and not the sides, 
Make the side of the building dark using solid black or grey. 

Tuesday, November 3, 2020

Funny Flip Face Book

We will be making a class flip book. 
Each person will do 1-3 pictures to put in the book of a face. 
They will be all put in a book and divided on lines to make it possible to flip the faces around. 


Everyone will have the same printed paper with the 2 lines on the front and 2 dots on each line. 

Here is what you do to make it work... 

4 Dots of the 2 lines- 
You must connect the edges of the face to these lines. 
If they are not connected to the line, your face will not flip successfully. 

Box 1
Forehead, Eyebrows, Hairline, Antennas
Box 2
Eyes, Glasses, Ears, Earrings, Nose, Mustache
Box 3 
Mouth, smile lines, chin, beard, 

BE CREATIVE
Use a variety of types of faces to that the funny flip is more entertaining. 
Outline with black marker and color with colored pencils. 

Have fun by making humans, creatures and animals.


When all pages are done, they will be bound together into a book. 
The lines will be cut to divide the sections of the face. 
Then the funny begins!!


Wednesday, October 21, 2020

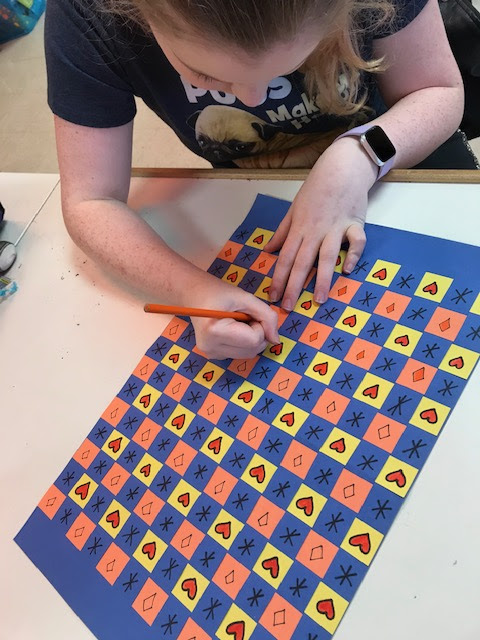
Paper Patterned Weaving


MAKING THE PAPER LOOM

Steps below are slightly different than worksheet above, 

Number 5 on the worksheet is number 3 here. 

1. Begin by taking a 12 by 18 piece of paper.

2. Fold it down the middle "hamburger style".

Put the paper in front of you with the fold towards you (very important). 

3. Draw a line going horizontally at the top of the paper about 1 inch wide. 

4. At the bottom of this line you traced, mark every 1 inch. 

5. At the bottom of the paper, mark every 1 inch. 
Connect each 1 inch mark you made withe a vertical line. 

6. Put scissor on fold, cutting on each vertical line stopping at the top horizontal line. 
Hold paper tightly at the weft to keep it from wiggling around while you cut. 


7. When you open it from the fold, the cuts should go all the way down stopping at the bottom weft. 

This is your warp.

You have finished your loom.

8. Now it is time to get your woof, the pieces that run across your warp. 

Using 9 by12 inch construction paper, pick 2 color you like.

Using a ruler, Cut 1 inch strips (will be 9 inches by 1 inch).

Keep your colors in a pattern as you begin weaving them into the loom. 

HINT: On the back (uglier side with pencil lines), 

You can #NUMBER your WARP lines on the WEFT to keep you on track. 

Insert your first WOOF strip under the even number strips of the WARP.

Push it up all the way to the top when done. 

Insert your second WOOF strip under the odd number strips of the WARP. 

Repeat this until you get to the bottom of the loom.


Advanced Art Boys finishing up the last woof strips. 
(Sammy, Juan, Adrian and GJ)

Advanced Art Students beginning their designs after weaving. 
(Krissie, Bella and Ethan)


To be continued...


Stick Weaving


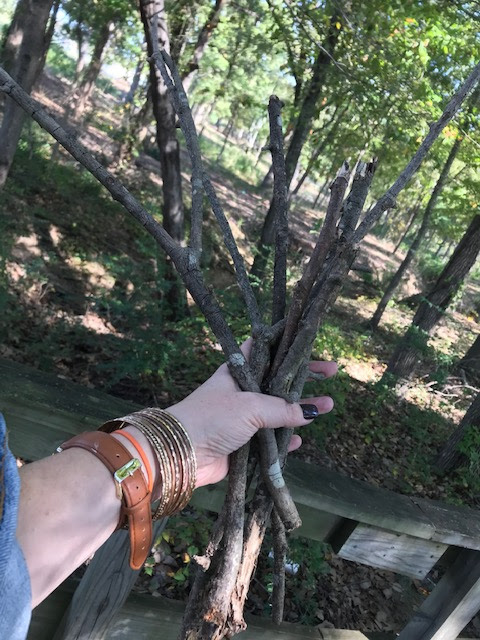
We are fortunate enough to have a nature trail outside of our school. 
So, we will go to look for 2 kinds of sticks. 
We will look for straight strong sticks. 
We will also look for Y shaped strong sticks.