Lost Sock Creations

Lost Sock Creations
what it's all about...
Showing posts with label Desert. Show all posts

Monday, October 10, 2022

Monochromatic Desert

Teacher Examples: Mrs. Tabitha Morgan


 Student Examples
 from Fall 2022       

Paislee
Eduardo 

Michelle C., Paislee
Kaden, Ajia, Jaidyn, & Kinslee


Kaylee W., Selena M., Kaylee R, 
Melanie C., Maria, & Jazmyn

-------------------------------------------------------------------------------------------------------------------------
 We will start this project by practicing drawing cactus...
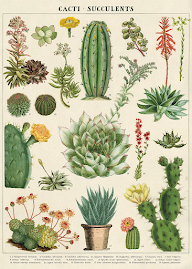
Study the different kinds of cactii, 


There are many different kinds of Cactii. 
If you look closely, many of the various kinds use contour lines. 

2 of your cactus need to use the concept of contour line
 (what we used on the Pumpkin Resist and Water Drop).
These are the Sagura & Echino

Once you have gotten the hang of drawing the forms of the Sagura and Echino, 
you will plan a desert landscape drawing using these techniques:
1. Showing Space with OVERLAPPING
2. Showing Space with Positioning or PLACEMENT. 
-the closer objects are to the HORIZON LINE, the further they are. 
3. Showing Space with SIZE (further objects are smaller). 
4. Creative Detail to add interest to your drawing. 
5. Monochromatic Shading and Highlighting-
use of only one color, but varying in tints and shades. 


SPACE is an Element of Art.
It means that your picture appears to be going up, down, back, forward, 
and expands past the picture space.  If you add SPACE to your picture, it appears to go on forever. 
How do you add SPACE to your pictures?

From Arte a Scuola


Plan out your COMPOSITION for your desert LANDSCAPE.

Below you see students planning on manilla paper, 
then using their plan to move to the larger final paper. 


Things that are in the foreground will be very big, maybe even go off the page to frame the picture. 
Things in the middleground will usually be fully seen. 
The background could be something on the horizon far away, the sky or things in the sky. 

Layering Monochromatic Paper
Background, middleground, foreground. 
Using value, getting lighter as it goes back. 
Choose your paper and tools. 
Find tools that are the same color as your paper, but a shade or tint of you paper. 
You can also use black and white to alter the paper color. 
After drawing your scene with pencil, begin EMPHASIZING the details
while adding consistent shade and highlights. 


Elementary Version

Middle Version


CHALLENGE VERSION!!!!

I used 3 papers: foreground (darker), middle ground (midtone) and background (lightest). 
I cut the foreground paper lower, the middle ground paper center and left the background paper full






Monday, November 4, 2019

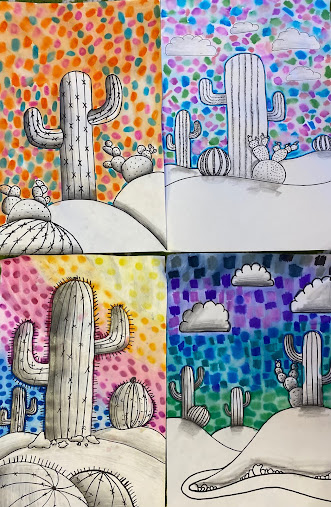
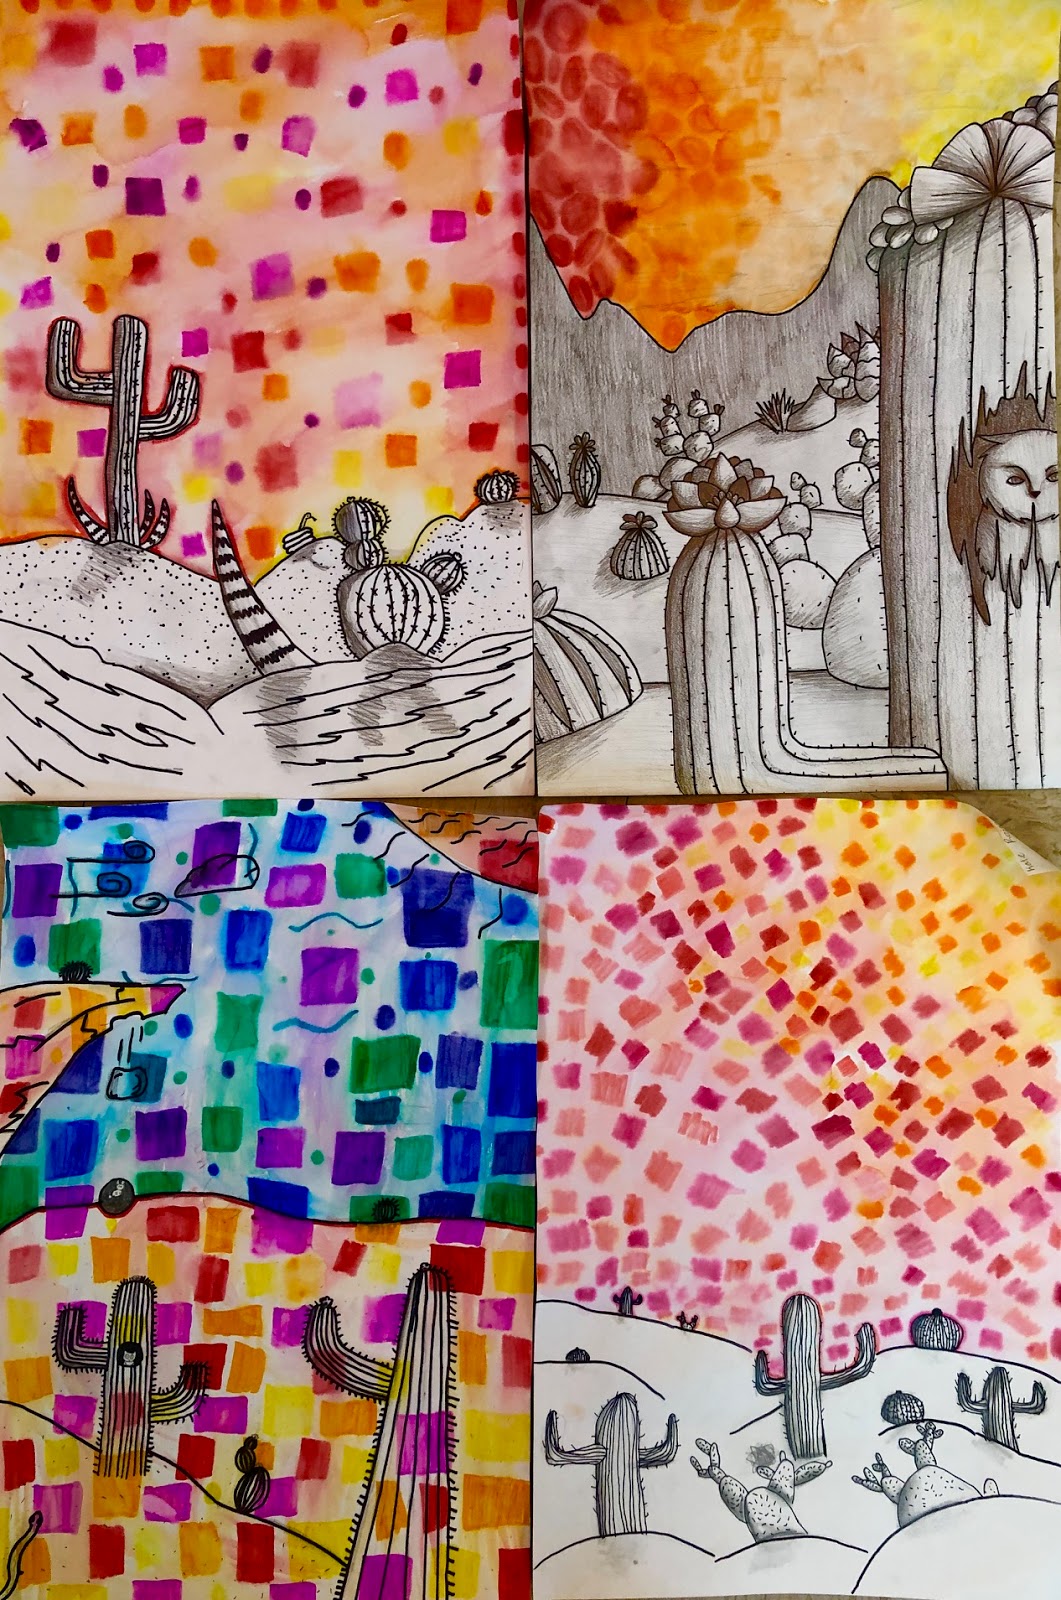
Colorful Desert Sky


COLORFUL DESERT SKY
Student Gallery

2021
4th period 

Estrella, Jorja & Grayson
Addison, Zoe, Kaitlyn, Vanessa

Michael, Jaylee, Victoria, 
Josie, Katherine, Zane. 
8th period 
-------------------------------------------
2019
1st period
Ambria

Ruben, Yuka, Jason and Katie
(above) 
-------------------------------------------------------------------------------
2nd period deserts

Chris, Mariana, Lucy & Yareli
---------------------------------------------------------------------------
3rd period pictures

Caroline
----------------------------------------------
4th period deserts
Athena, Adrian and Tristan

----------------------------------------------------------------------------------------
5th and 9th period deserts
Kendall, Gage, Deztaney,Zackary & Jorja


-------------------------------------------------------------------------------------------
Before you begin this project, you may want to practice cactus with me here...

more examples below...


With Pencil, create a horizon line toward the bottom of your paper. 
It can be straight, crooked, hilly or rocky. 
 Draw 3 or more cacti that use contour line. 


(above left used grey marker, above right used #2 pencil and blendy stump)

(above used grey colored pencil)

If your feeling like something different, 
Shade with (not color) a colored pencil. 

Outline cacti with a permanent marker. 
Now, using a grey marker or a shading pencil, make one side of your cacti darker. 
Use a stump if necessary with the pencil. 
Use shading techniques (hatching, crosshatching, stippling or scribbling with marker). 


(above left used watercolor pencil, 
above right used 
Use your favorite watercolor technique on the sky. Do not get any color in the cacti. 
Your choices are watercolor pencils, maker explosion or watercolor palette. 


Optional cactus too...
if you choose to go over cactus with the marker burst technique, 
I would choose lighter colors as to not hide all the details.
ABOVE, 
Before and after water. 


This can also be done with younger grades. 
Picture above done by 2nd grader. 
See More Here.