


(above)
-------------------------------------------------------------------------------
Create a city with three layers (front, back and middle).
The front la\yer should be shorter and fully exposed.
The middle layer should be a little taller and partially exposed.
The back layer should be tallest and mostly show the tops only of the buildings.
Investigate types of cities.
Get Inspired by Architecture!!!
Find a place that is real or in your imagination to use for your City by Water.
It could be and idea based on water (lakehouses, beachhouses)
or not concerning the water.

Moscow, Russia
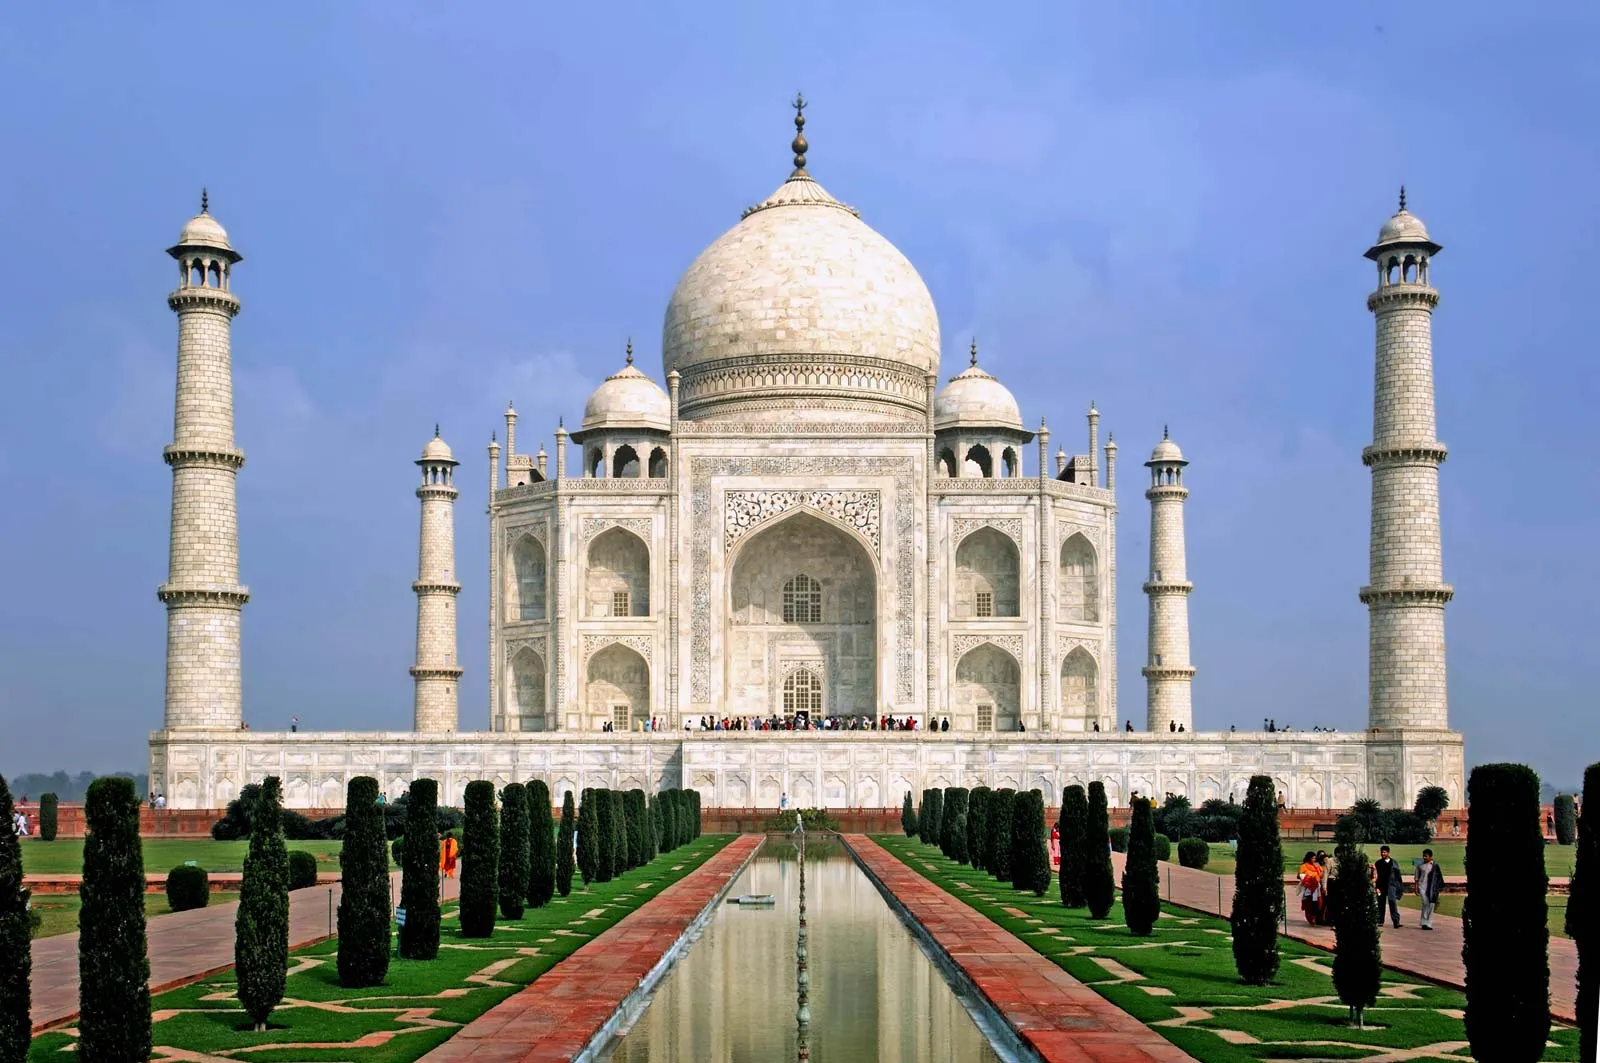
Taj Mahal


German Villages

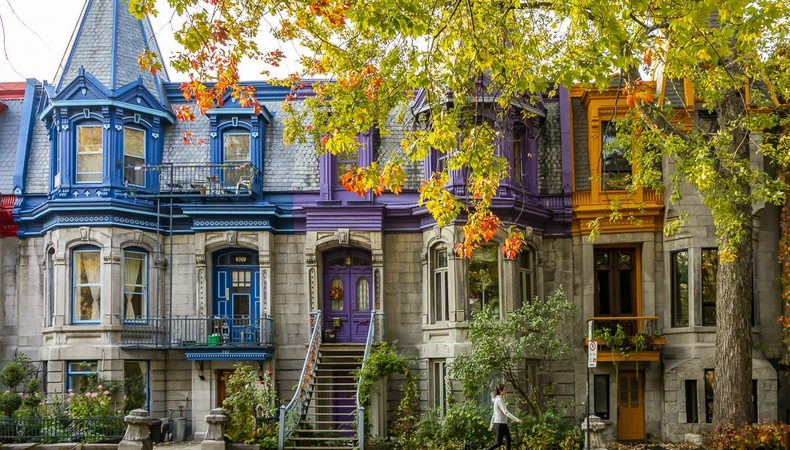
Montreal

Pueblo VIllages
Spring 2023

Tatum
Fall 2022

Kiara, Alysa R,, Ashley,
Peyton, Justo, Lilly M.

Peyton, Maci,
Aubrey, Carson D.
—————
Spring 2022

Elva, 6th grade

Olivia W, Paislee, Ashely V.,
Marley, NN, Beau

Kelley, Madison, Melanie

NN, NN, Kenneth
Spring 2021
Ayden B, Emma B.

8th period
Uriel, Ariel and Estrella

Fall 2020
1st period Beginning Art
Isac, Josie, Kaitlyn,
Michael, Jorja, Laine,
River, Jaylee & Francisco.

2nd Period Beginning Art
---,----, ----Lucy, Ke'Yani

3rd Period Beginning Art
Nathalie, Anonymous, Kelly,
Elizabeth, Sara and Milo

8th period
Daniel, Carol and Hunter

This project has 3 parts;
The Warm Sky,
the Deep Overlapping City,
and the Cool Water Reflection.

We practiced on smaller manilla paper drawing out cities.
After we were done, we proceeded to step one below...
See student above successfully transferring idea onto final paper.
1. Softly Fold Paper into three parts.

2. In middle part, draw a city of overlapping buildings with a pencil.

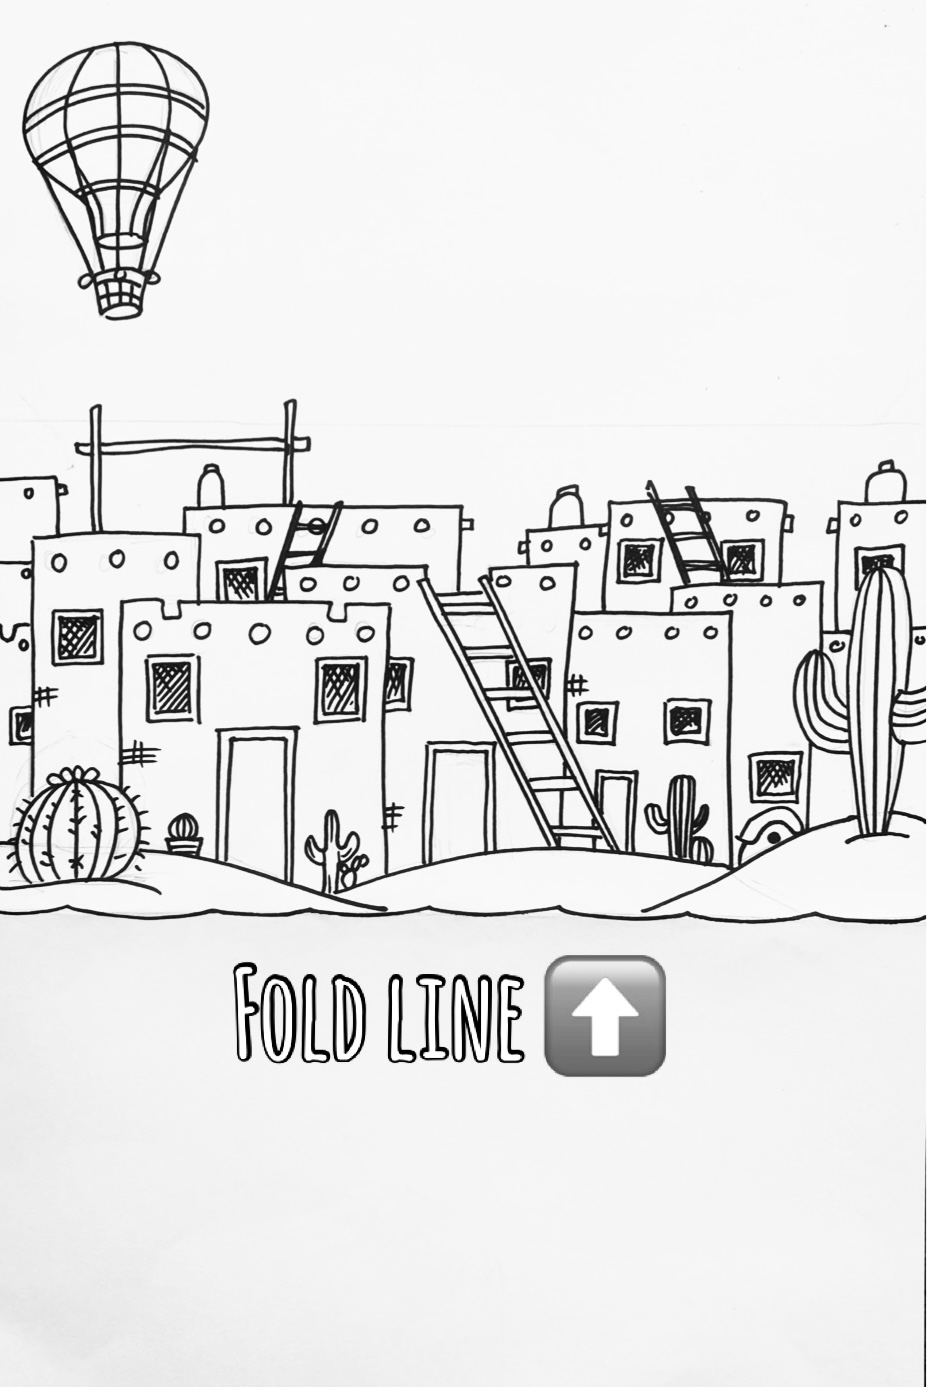
3. Outline with Sharpie black .

4. Fold on 2nd portion, Trace middle section onto the third section.
It will be upside down and backward. This is correct.
If you use a window to help you, Your arms will get tired.
Part of the top of the buildings may get cut off, that is okay.

5. Go over tracing with black colored pencil or Sharpie.

6. Use pencil to shade
the overlapped areas and parts that are away from sun.
Use a blendy stump or q-tip to blend shading.


You DO NOT need to shade the reflection of the buildings at the bottom.
You can outline it with Sharpie if the black colored pencil did not show up well.

Abbie Going over water flap with Sharpie after tracing at window with pencil.
7. Use washable markers in warm color in the sky
(about dime size) over the buildings and around them too.
Dots should very close but not touching. If you can fit your finger tip between dots, add more.


I also outlined the border where the sky and water meets the buildings
to add contrast along the white.

River and Laine applying marker dots
to sky with warm and to water with cool.

8. Use washable markers in cool colors in the water.
You can use a white crayon ahead of time to add horizontal lines to make it glimmer.


9. APply water with a thumb thickness brush to make the colors bleed together.


