KIC Art Display, December 2014
Easy step by step
Use Step by step to practice...
Practice with size to show depth, space & perspective. Big is close while small is far.
This is a very beautiful and peaceful imagery video to show while students are working...
It is of a Time-lapse Balloon flight in Albuquerque.
K-1
Mrs. Kolon's kinder 2016
Olivia, Lilyana, Zaina,
Maci, Alicia , Angie,
Anonymous, lily & Asher
---------
Mrs. Kolon's kinder 2016
Maci, Alicia, Angie, lily,
Olivia, Aiden, Anonymous,
Lilyana, Thomas, Asher & Zaina
---------
Mrs. Baylor's kinder 2016
Tobias, Emily, ? & Kana
----------------
Night Flight
Need large night colored paper
(blue, black, or purple), brown small square paper, primary colored circle papers, construction paper crayons, black marker, scissor & glue.
Inspiration for sky...
Van Gogh's Starry Night.
Not realistic starts, but IMAGINATIVE!
Turn paper landscape direction. Use CP crayons to create a night sky just showing the tip tops of trees on land.
Draw curved contour lines on balloon going across. Draw designs and color. Draw lines on basket to make it look woven.
Glue balloon and basket onto night sky background and draw lines connecting them on paper.
_____________________________________________________
Mrs. Penn's kinder 2016
Leah, Annie, Kyra, Landon,
Chloe, Melik, Harmony & Grace
Alex, Landon & Ariella
--------
Mrs. Bluhm's class
1st grade class
Jack, Kattie & Sarah (above
_________________________________________________
Monday's KinderArt- Mrs. Zarellla's class
Maddison, Scarlett, Victoria, James, Baxton, Alwxis, Kaden & Andrea
_____________________________________________________________
Monday's First Grade Art- Mrs. Simbles
Moses, Dylan, Nathalia, Jett, Ashton, Hayden, Rahman & Aiden
________________________________________________________________
Monday's 1st grade Art- mrs. McGinley
Cas, Adrian, Sam, Joel, ?,Eliza, Marek, Allison, Trent, Vanshikha, Madi & Jocelyn
_________________________________________________________________
Tuesday's kinderArt- Mrs. Sharpton
Mia, Meredith, Ciara, Torrin, Peyton, Bryan, Chau & Rene
Chau detail (Above)
_________________________________________________________________________________
Tuesday's 1st grade Art- Mrs. Parker
Patrick, Miya, Ria, Lauren, Emma, Andrew, Alexis, Xavier (above)
& Jason (below)
Teacher example (below)
Optional; glue onto larger dark colored paper and decorate like a frame.
2nd-3rd grade
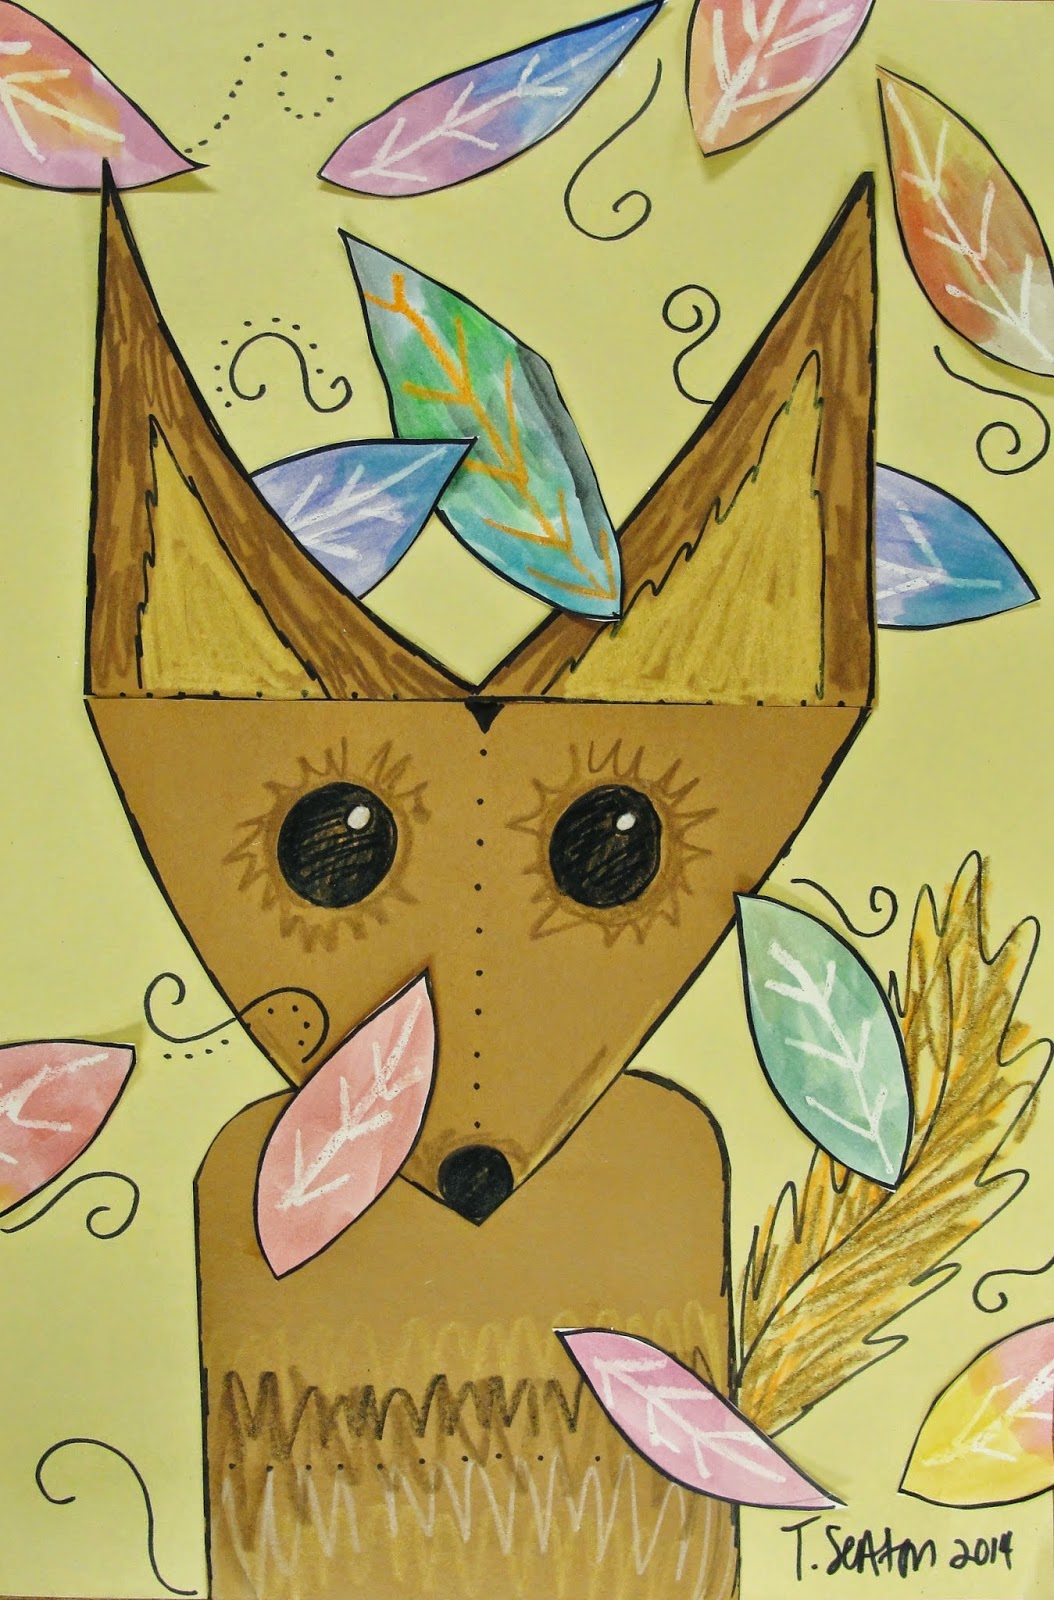
Floating through Fall-
crayon resists with washable watercolor marker technique
Mrs. Meleski's 3rd grade
Paul, Arooba, Jade, MaryDrew, Yusuf, summer
Madison, Evy, Gisselle, Gregory, devyn, Maura
Mrs. May's 3rd grade class
Makayla, Sydnie, abbey, Kaylee, grace, Adrianne
Mrs. Blanchard's
Connor & Isaiah (below)
---------
Mrs. Davis' 3rd grade class
Jorja, Aiden, Ryley & Katie.
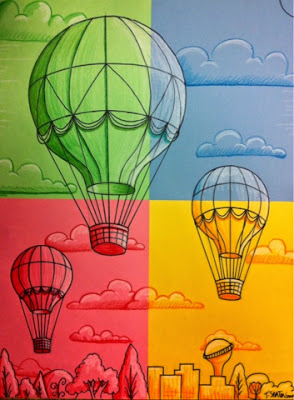
Draw 3 balloons various sizes with the smallest closest to horizon.
(adds depth and space)
Add details to balloons and show the top of the landscape
(just the peaks of mountains, houses, trees to add height)
Color the biggest balloon and landscape with crayons
(do not use washable crayons).
Washable Marker Spots/Patches/Scribbled evenly spaced out in background.
The further they are spaced out. the lighter the background will be.
Personally, I think it looks better the tighter the spots are together because it is more saturated with intense color.
After the back ground is colored with the markers, I go around the outside of paper with a thick line of marker too. Sometimes the edges of the paper get forgotten.
Use a water brush to blend the colors together.
Areas of crayon (if done hard enough) will push away the water color.
This can look really nice if you used white crayon for special details.
HINT:
Choose a color scheme for a blended sky (warm, cool, or family related). Use washable markers in that scheme for the sky. Color in a patchy spotty scribble pattern all over background. Wax Crayon will resist the water based markers!
When entire sky is covered, use a wet watered pAintbrush to go over sky and end the colors. They will "burst" together.
Let dry...
I drew smoke with the white crayon before the mArker... See the resist effect?
Use colored pencils to color the last 2 balloons in background. They will be blended in with the sky somewhat to give it an "atmospheric perspective" appearance.
Competed DayTime Teacher Example
___________Competed NightTime Teacher Example________
_________
4th & 5th grade project
My Friday 4th and 5th grade at Alba Golden Elementary 2019
Lilly, Kendal & Matty.
Naomi, Irelyn,
Danic & Kaden
Monochromatic
Mrs. Savoie 's 5th grade
From Krahn Elementary
Alexis
Ashwin, Joel, anonymous (yellow) & Haden
---------------
Mr. Cramer's 4th grade
Mason, Dylan, Spencer, James, Noah, Aimie & Lisa (single)
--------_
Mrs. Blankenship's 5th grade
Madison Wade, 4th grade
Cassandra Franco, 4th grade
Mrs. McMillian's class
The combo of all 4 pastels is just a way for me to display how each color looks. Students will choose 1 pastel corvpaper to draw 3 hot air balloons of varying sizes (1large, 1 medium & 1 small).
At the bottom edge of paper, just the tips of the landscape will show to add a sense of height to the picture.
Depending on chosen paper color, students will use a white and darker version of paper color ( green, blue, red, or golden/light orange) to shade and highlight parts of balloons, clouds, and landscape).
We are done! Ready for take off ;)
Another idea...
Use patterned paper (scrapbook paper is the best) to cut out an odd number of different sized circles.
Glue them onto a landscape turned page.
Draw curved lined up and down and across the balloons (as instruction show above) to turn circles into forms. Add baskets beneath outlining all lines with a black marker.
Add the tip tops of the trees and clouds to give a sky high appearance to the picture.
Understanding perspective from a handmade model...
From my dreams ;)
(That a "shArpie me" in the basket)
Balloon From below...
Balloon From eye level...
Balloon From high...
Balloon From above...


