Lost Sock Creations

Lost Sock Creations
what it's all about...
Showing posts with label warm colors. Show all posts

Monday, November 30, 2020

City by Water


Davis, Mrs. Morgan and Jarezi
(above)
-------------------------------------------------------------------------------
Create a city with three layers (front, back and middle). 
The front la\yer should be shorter and fully exposed. 
The middle layer should be a little taller and partially exposed. 
The back layer should be tallest and mostly show the tops only of the buildings. 

Investigate types of cities. 

Get Inspired by Architecture!!! 
Find a place that is real or in your imagination to use for your City by Water. 
It could be and idea based on water (lakehouses, beachhouses)
or not concerning the water. 

Moscow, Russia
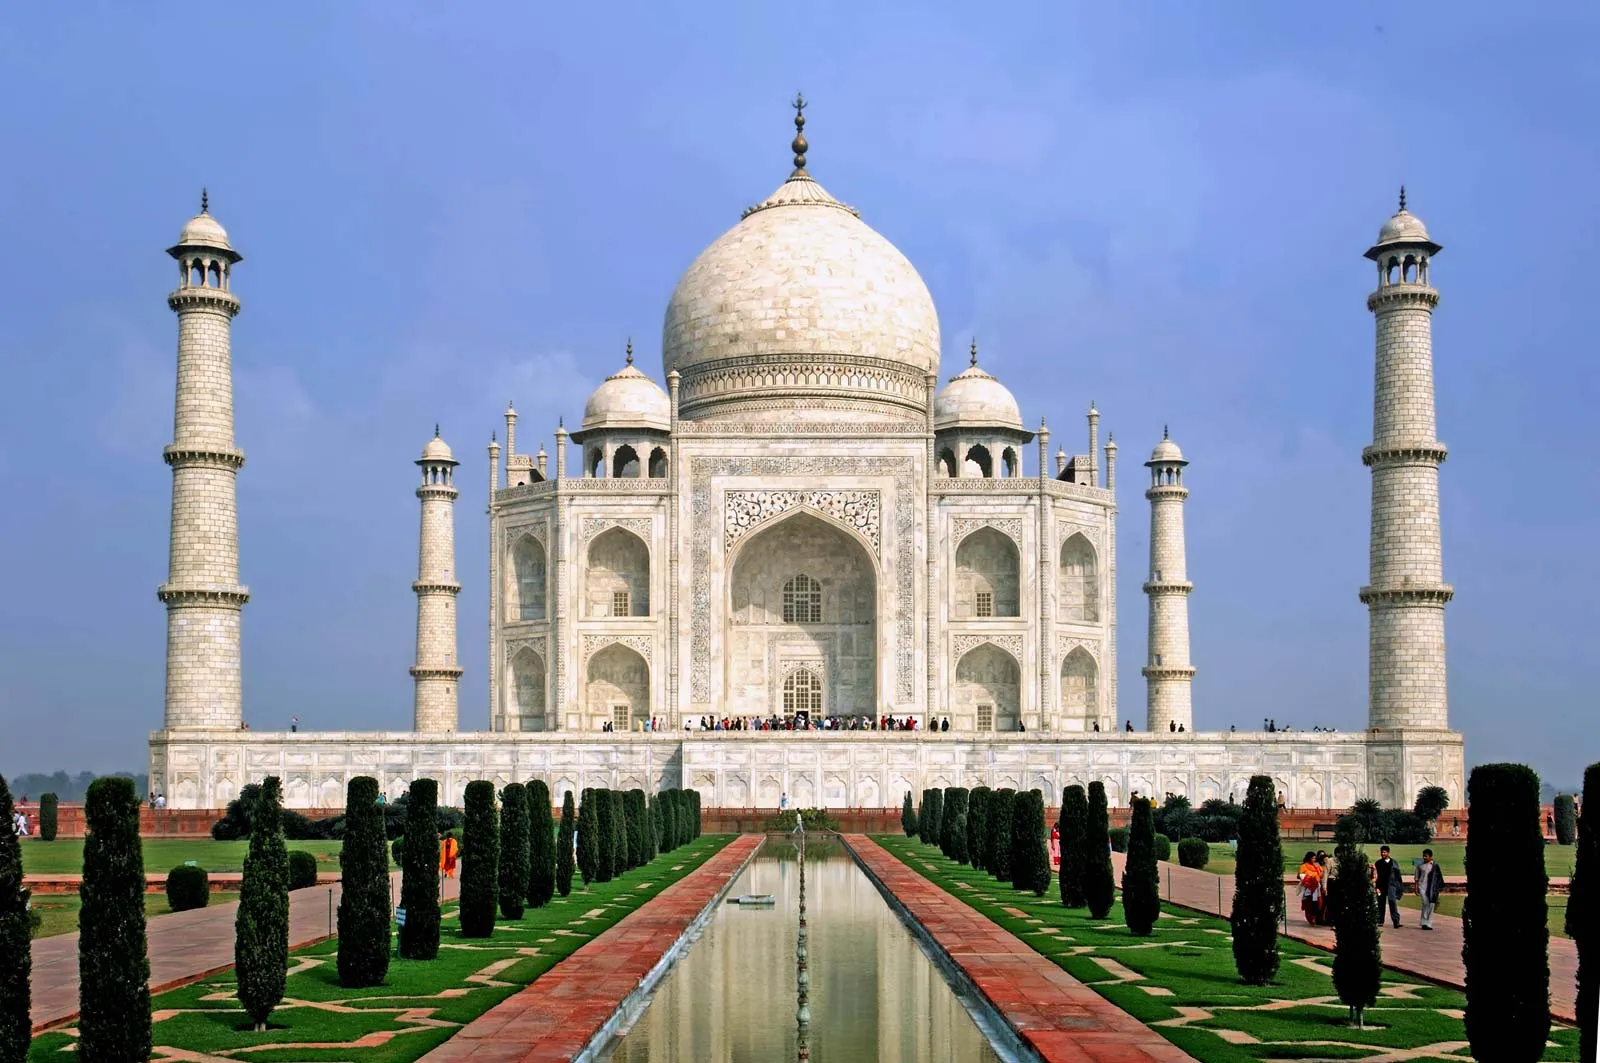
Taj Mahal

German Villages

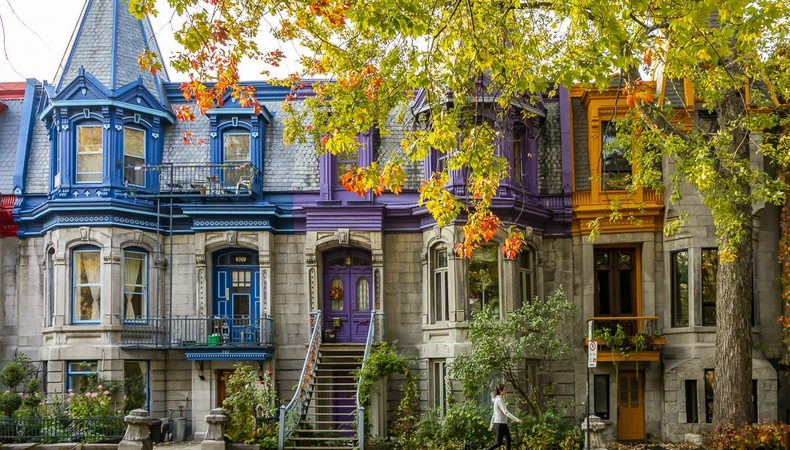
Montreal 


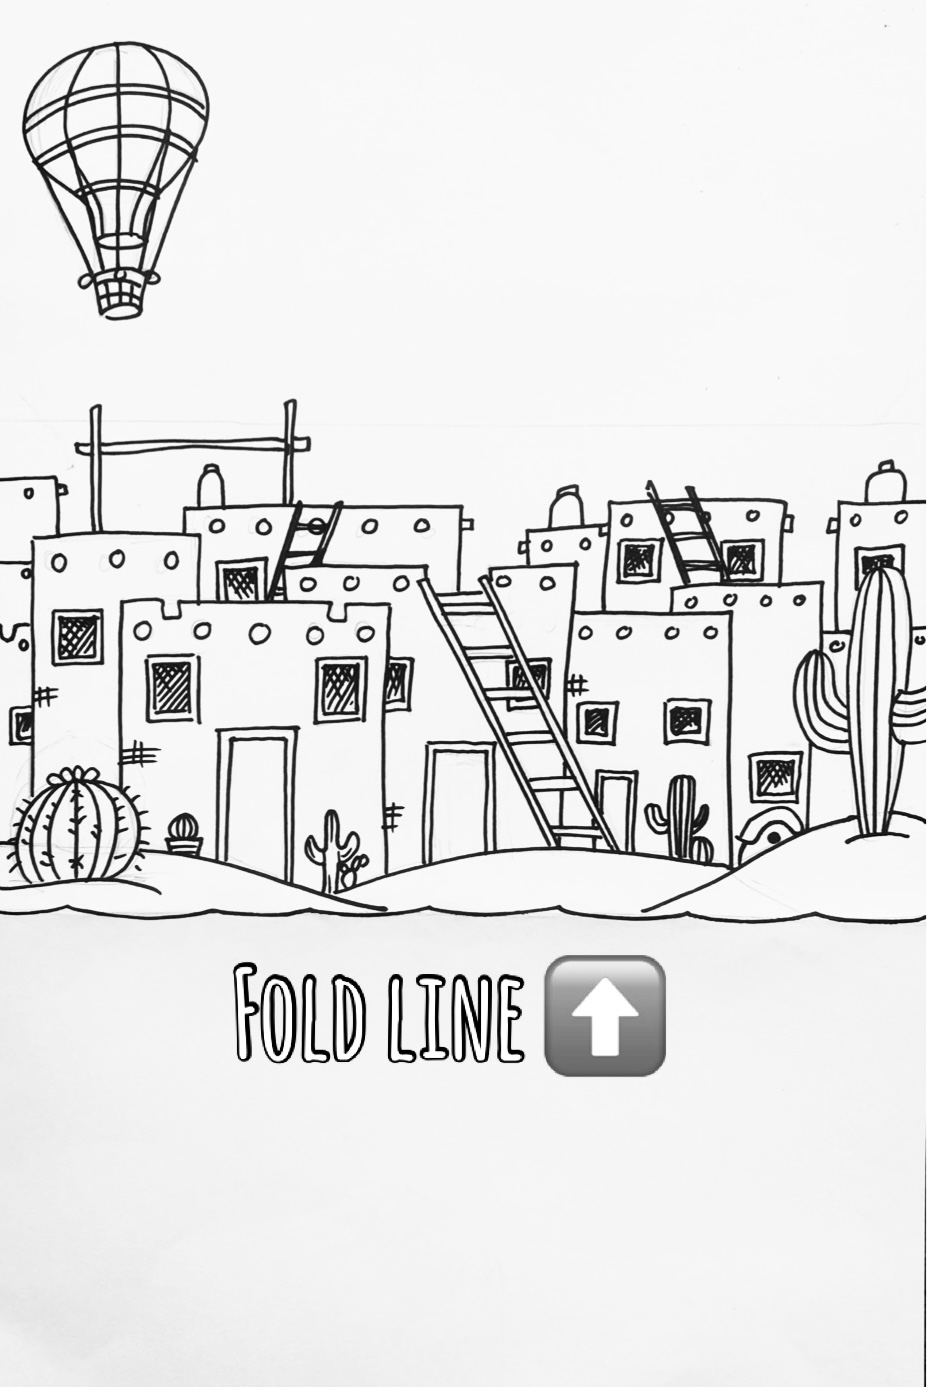
Pueblo VIllages

Spring 2023
Tatum 

Fall 2022
Kiara, Alysa R,, Ashley, 
Peyton, Justo, Lilly M.
Peyton, Maci, 
Aubrey, Carson D. 
—————
Spring 2022 
Elva, 6th grade

Olivia W, Paislee, Ashely V., 
Marley, NN, Beau

Kelley, Madison, Melanie

NN, NN, Kenneth

Spring 2021
Ayden B, Emma B. 


8th period
Uriel, Ariel and Estrella


Fall 2020
1st period Beginning Art 
Isac, Josie, Kaitlyn,
Michael, Jorja, Laine,
River, Jaylee & Francisco.
2nd Period Beginning Art
---,----, ----Lucy, Ke'Yani


3rd Period Beginning Art 
Nathalie, Anonymous, Kelly, 
Elizabeth, Sara and Milo

8th period 
Daniel, Carol and Hunter


This project has 3 parts; 

The Warm Sky, 

the Deep Overlapping City, 

and the Cool Water Reflection. 

We practiced on smaller manilla paper drawing out cities. 
After we were done, we proceeded to step one below...
See student above successfully transferring idea onto final paper. 

1. Softly Fold Paper into three parts. 

2. In middle part, draw a city of overlapping buildings with a pencil. 


3. Outline with Sharpie black .
4. Fold on 2nd portion, Trace middle section onto the third section. 
It will be upside down and backward. This is correct. 
If you use a window to help you, Your arms will get tired. 
Part of the top of the buildings may get cut off, that is okay. 

5. Go over tracing with black colored pencil or Sharpie. 

6. Use pencil to shade 
the overlapped areas and parts that are away from sun. 
Use a blendy stump or q-tip to blend shading. 


You DO NOT need to shade the reflection of the buildings at the bottom. 
You can outline it with Sharpie if the black colored pencil did not show up well. 
Abbie Going over water flap with Sharpie after tracing at window with pencil. 

7. Use washable markers in warm color in the sky
(about dime size) over the buildings and around them too. 
Dots should very close but not touching. If you can fit your finger tip between dots, add more. 

 
I also outlined the border where the sky and water meets the buildings
to add contrast along the white.  

River and Laine applying marker dots
to sky with warm and to water with cool. 


8. Use washable markers in cool colors in the water. 
You can use a white crayon ahead of time to add horizontal lines to make it glimmer. 


9. APply water with a thumb thickness brush to make the colors bleed together.


Sunday, April 1, 2018

Hot Fish Cool Sea


MINEOLA MIDDLE SCHOOL 2020
Danielle Voyles 7th grade

 8th period/ 6th grade
Carol, Hunter, Davis, 
Natalie, Grayson and Jeremiah 

1st period Art 
Jorja, Laine, River, 
Kaitlyn, Fransisco and jaylee

3rd Period 
Kelly, Mason, Valerie, 
Milo, Jarezi, Nathalie and Elizabeth

4th period 
Braylee, Josilen, Miayah, 
Lovella. Emmily and Victoria
James
5th period
Maleighna, Caroline, Carie,
Mikayla, Destinee, Olivia,
Stephanie, Addyson & Brielle


KRAHN ELEMENTARY SCHOOL/KLEIN ISD
Mrs. Clouse/Rivera's 4th grade class 2018

Valery, Jett, Sophia, Miya,
Patch, NoName, Carter & Bradley
 This lesson is perfect for teaching cool and warm colors, complimentary colors, monochromatic colors, space, line, shape and form,
It's perfect for wrapping up the knowledge acquired from the school year all in one lesson.

---------------PRACTICE FISH-------------
I have kids start wit SHAPES. 
Here are some basic shapes to begin with for 4 fish. 
Add Detail, LINES to make TEXTURE on the fish. 

Here are three examples I made while showing classes how to do the fish from the 4 basic shapes. 
See how different they turn out when you change the details?

Draw lightly wit a pencil to get in the basic shapes and details.
Then go over the finished product darker or use marker. 
Draw light...... then go darker or use a marker. 

Get this poster here!

4th Period Art I Practicing
Danielle and Mikayla

                                                       Danielle Voyles Practice 97th grade)
HOT WARM PAPER
we are using warm paper because it stands out!
We want out main fish to grab your attention. 
(pick red, orange, yellow or pink).
 Transfer images onto warm colored paper.
Try your best to FILL UP THE SPACE of the paper so that you can get better details, outline without messing up the details and so that these warm fish will be EMPHASIZED more with the bold outline.
They are the stars of this show, because they are in the FOREGROUND. 
  After you transfer the practice ideas to the final HOT/WARM with pencil,
  outline all pencil with a black marker (including details). 
Use a darker shade of crayon/colored pencil to add shading and a white crayon to add highlights.
(see phases below) 


(above, teacher example and 7th grader Daniel Voyles) 


when deciding what color to use for your shading, 
find the HUE (color) of your paper and pick the matching SHADE.

 This is how it will end up.

Students drawing on Warm paper, outlining, shading and highlighting. 
James, Olivia and Myah


THE COOL OCEAN
Get this poster here... 
https://www.teacherspayteachers.com/Product/Picture-Space-handout-2718478

Before you start on the water, you need to understand depth and space. 
When things are closer to you in the water, they are more bold and  clearly defined. 
As they go back further from you, they become less defined (lighter and more blurry) 
This picture is a great representation of this element of art. 
FOREGROUND - closest layer. This layer is usually most colorful, most defined 
and has the biggest objects because it is closest. 
MIDDLEGROUD - middle layer. This layer usually gets less colorful, less defined 
and has medium sized objects 
BACKGROUND- back layer. This layer is the most dull, barley defined
and has the smallest objects because it is furthest away 


Then, using a cool colored background paper, draw an underwater scene with sand and plants at bottom. To make the background appear realistic and deep, 
Outline objects closest to you with with black marker.
Outline the object further away with a darker than your paper marker (ex: dark green on green)
 You can use complimentary colors to really make the fish "POP" or be Emphasized on the scene.
COOL PAPER for OCEAN
Pick Blue, green or violet for the ocean. 
Cool colors tend to recede instead of pop out. 

Finished on light blue
Student Backgrounds. 
Fransisco (7), Grayson (6) and Danielle (7)


1. Draw the MIDDLE GROUND towards the bottom. 
Outline with black marker.
This layer is supposed to be clean and defined. 
 2. Shade with a like color from your paper color, 
highlight with a white. 
3. Draw the BACKGROUND with a pencil. 
Outline with the shade you used to shade the middle ground (NOT black).
This layer is supposed to appear far back and blurry. 


CUTTING OUT HOT FISH

Cut out the fish you created on the hot paper, being careful not to cut off the outline. 
The outline helps POP the fish off of the paper. 
You can create the illusion of more fish by folding and cutting fish vertical down middle and 
glue them on the edges of the paper. 
This gives e 8 fish instead of four! and adds to the illusion of Space, 
as though the paper continues past what the viewer sees.
Do this with at least one of your fish. 

Have Fun!