


Mariana 8th grade
8th period art
Tania & Briana

Breanna, Marco, Chevelle & Preciosa
9th Period Art 2019
Lyndie, Luke & Gage

1st Period Art 2019
Ambria, Katie & Yuka

2nd period Art 2019
Chris, Francie, Addyson,
Moses & Lucy

3rd period Art 2019
Kaylee, Brooklyn,
Anonymous & Danielle

4th period Art 2019
Athena, Maddy,
Alisa & Bethany

We start by going outside to collect our leaves.
Hunt for leaves that are bigger than your palm, whole and untorn & unique in shape.
Bring them back to the classroom, dust them off and trace them on paper.
Fit as many as you can, then begin putting some underneath the others and overlapping them in your drawing. When something overlaps, remember that the leaf underneath is hidden in part. So, do not trace the entire leaf if it is supposed to look like it is underneath.

from


Start with a pencil when tracing. Draw the veins of the leaf.
Then trace with a permanent marker when done.

You don't have to trace...
This girl above is doing free handed leaves using her computer as a reference.
You can too!
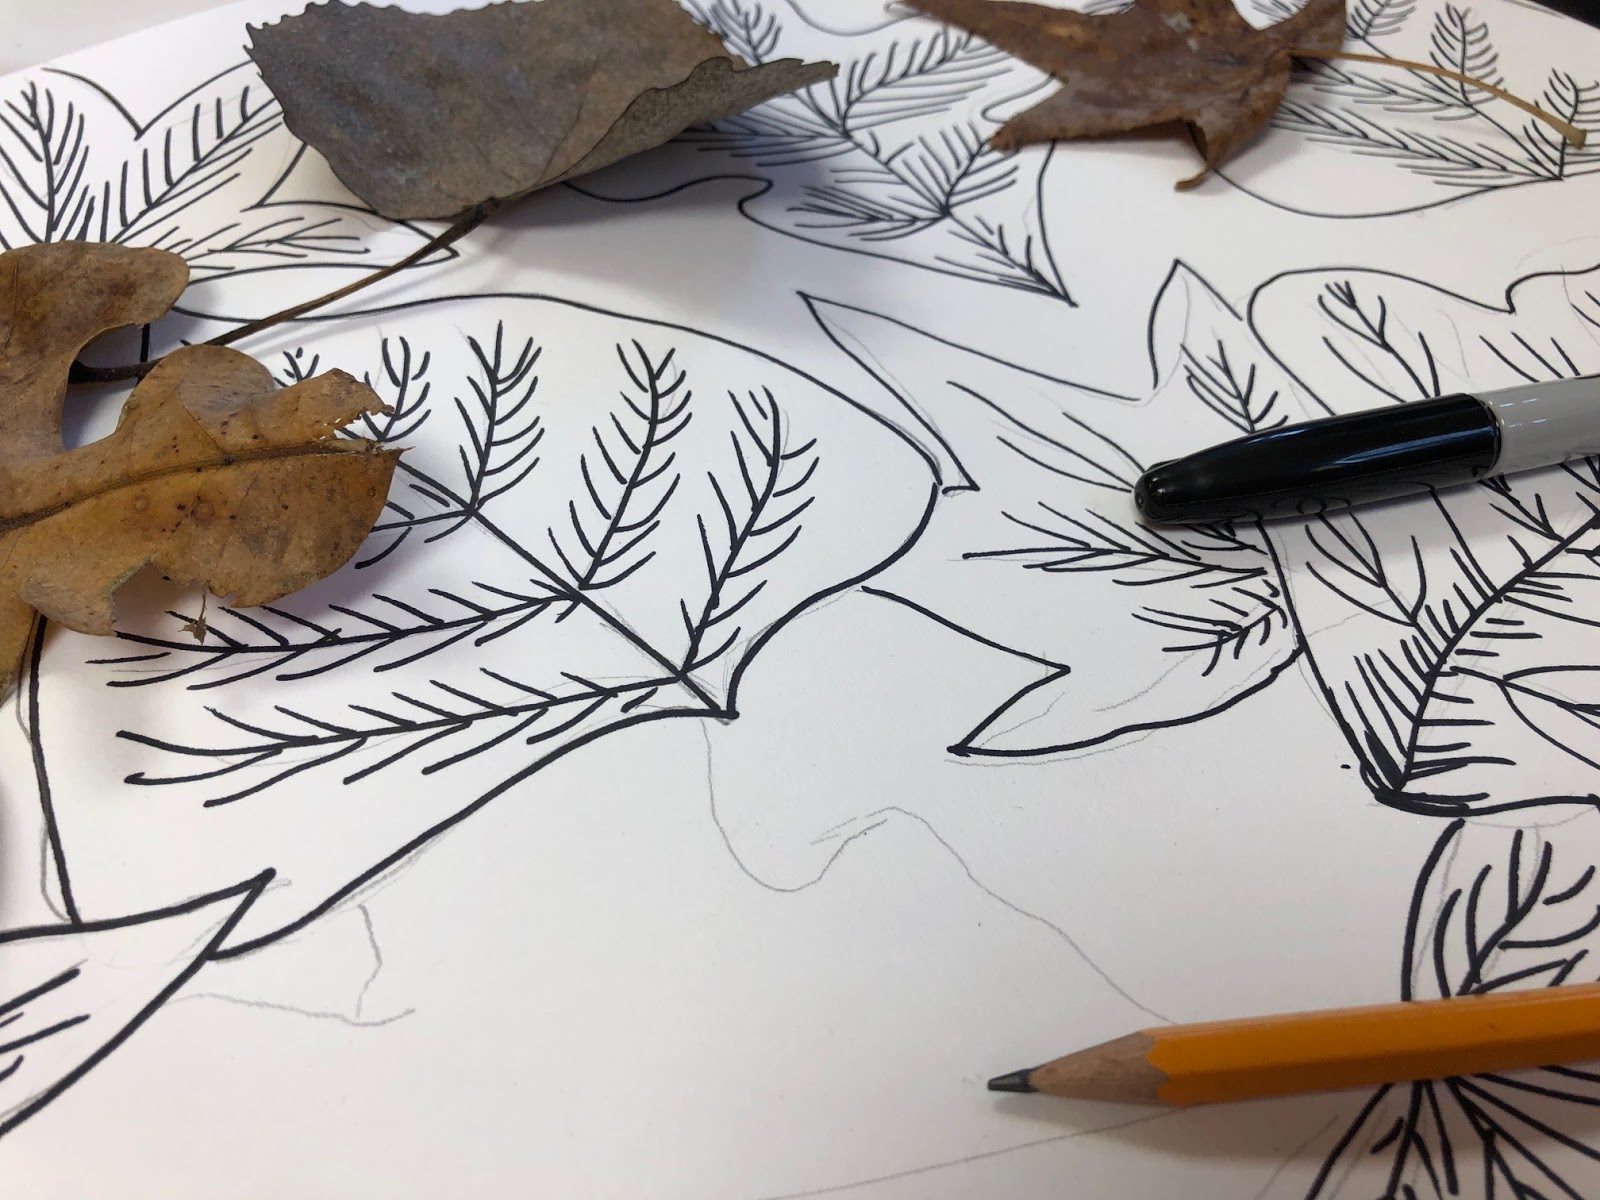
Overlapping is the hard part.
After you make an entire top layer of leaves, outline them.
Then put new leaves under them , only tracing or drawing the area that would be showing.
You should not see through a leaf into another one.
Once entire page is filled with leaves, outline with permanent marker and paint...
----------------------------------------------------------------------------------
Before we did this project, we did a sample project for watercolor..
See here...
These three techniques below are from the previous project here.
Three Techniques for Leaves
1. Wet on Wet watercolor
or watercolor wash

2. Watercolor Pencil

3. Marker Bleed


More detail on Watercolor Pencils.
I teach this project to teach kids how to overlap to create depth, to blend common colors on the wheel, how to use watercolor pencils, and the anatomy of a leaf.

I have a collection of card stock leaf stencils that I made from real leafs for the students to trace onto the paper. We use 12 by 18 inch paper that is medium to heavy weight to allow for water. Students trace leaves with pencil, draw in the veins of the leaf, then outline with permanent black marker.

I then take all students to the back when they are ready for coloring to demonstrate the proper use of watercolor pencils. I use the color wheel to show them what kind of colors should be blended as well as what kind of colors should be next to each other (opposites or complements) to avoid visual flatness. They use the pencils lightly on each leaf. Each leaf should contain at least 2 colors (to show blending of color knowledge). These pencils are NOT colored pencils (only look similar), so they do not need to be used as such.

After all leaves are colored, students use a medium to small size brush to blend the two colors on each leaf together. Each leaf should be blended individually. Do not use water and brush in one continual sweep over paper. Blending all colors on the page together at one time will result in a muddy color (neutral) appearance.

After water is used to blend each leaf,
I have the students do the last part.
EMPHASIS!
They can use colored pencils or markers to pop out the outside line and veins visually. This seems like an unnecessary step, but you would be surprised at how they come to life after this.
STUDENT EXAMPLES...

Emily

Celeste

Jeremiah


