Lost Sock Creations

Lost Sock Creations
what it's all about...
Showing posts with label study. Show all posts

Monday, April 15, 2019

Drawing Paintbrushes

This project is inspired by the famous artist
Jim Dine. 
He was considered a POP ARTIST because of his tendency to use common everyday objects as his subject matter. He like to paint bathrobes, art supplies, shoes, tools and toys. 

Here is a picture of Jim Dine from young and old. 
Here 


 The project we are starting is based on his everyday tools. Some of them were scissors, paintbrushes, wrenches and hammers. Will focus on art tools around the art room. Students will draw (not trace!) 5 or more art supplies beginning with pencil lightly. Guidelines are a good idea for keeping your brushes symmetrical and balanced down center (see below). 
Then they will outline the line drawing with a permanent marker. Shading will be added on and casted beneath (as if on table) with a pencil and blending stump. We will finally splatter the drawing with paint as he did with ink.

--------------------------------------------------------------------------


-------------------

Draw 5 Everyday Art Supplies
At least 2 brushes...
You can have them at different angles, overlapping or all in 1 row. 


Draw lightly withe pencil. Remember your view/perspective. You are drawing them as if they are sitting or scattered on table and you are looking directly from above. This view is called an "aerial view" or "bird's eye view". 
Make sure you stay symmetrical and proportionate to scale.
 Add detail (texture, lines)
Outline with Permanent black marker, 
Add a shadow on the objects (keeping a consistent light source) and 
add a cast shadow off of the object. 

3rd period Art 
2019 Mineola Middle School


You can also add other art tools like Jim Dine did. 
How about scissor or a permanent marker?

SEE ABOVE ORDER
1.Draw with pencil lightly keeping symmetry and proportion. 
Add details. 
2. Outline with Sharpie and erase pencil. 
3. Shade inside the brush with a consistent light source 
(above light is on left side)
4. Add cast shadows off/beside the tools on surface. 
(sit opposite light source, above on right side of brushes)
5. Splatter paint the brushes and background outdoors. 


2020

Gabby, Payton, 
Emmily, Kyla, 
Victoria and Braylee
Lucy, Kaylynn, 
Yarelli, Landon, 
Maiya and Lovella


2019
(below)


Like this?
Similar project from past Lost Sock Art Teacher
https://tabithaannthelostsock.blogspot.com/2015/11/pencil-power.html

Idea inspired by Instagram art teacher,
2art.chambers
Here is more info about her...


Wednesday, September 23, 2015

Cloudy Desert


We talked about the differnt types of clouds to get "artsmart" before we flipped the switch to creative.
We watched this 5 minute video to get sm"art" about cloud types...

After studying the clouds scientifically, we look at them artistically.
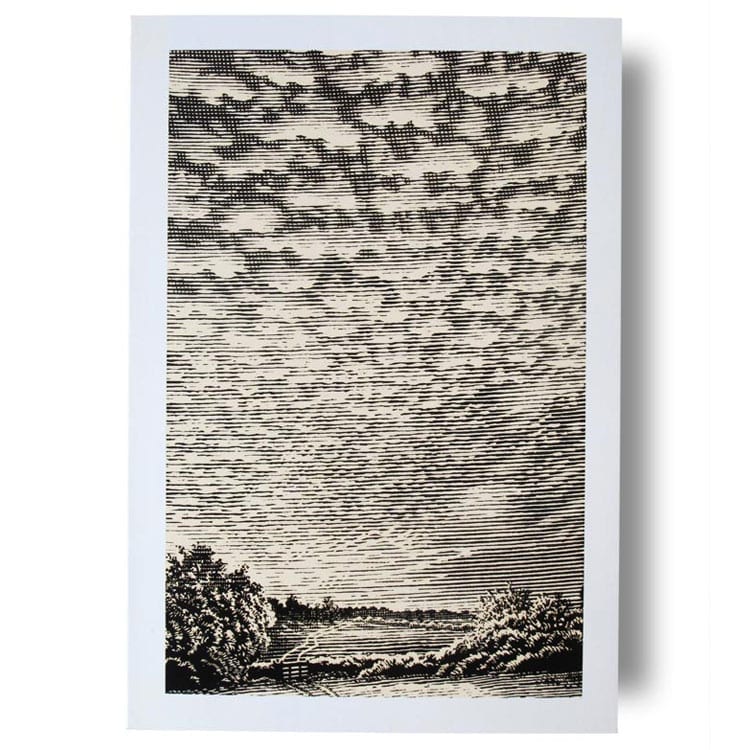
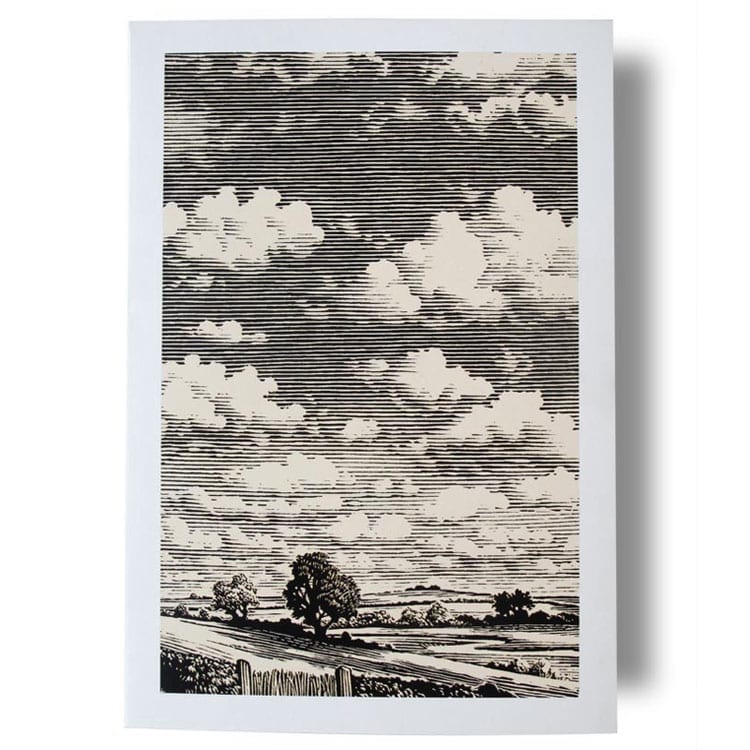
We look at artist that use clouds as a focal point of thier designs.
 
Bill Sanderson
(above)
 
EloiseRenouf
(above)
 
10 Types by
Tabitha Morgan (Me)
(Below)
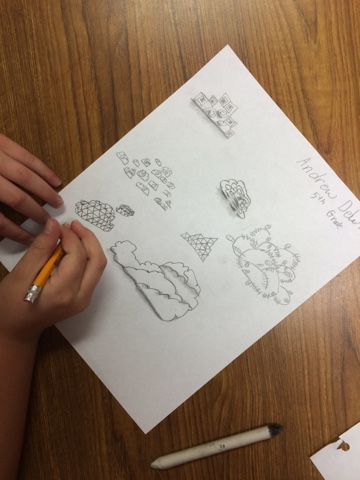
By Tabitha Morgan cloud study
(manilla paper, black marker & tan colored pencil)
 
I have the kids use bith scentific based design and some creative abstract design for their clouds.
I have them draw 10 clouds (at least) on paper, trace them with black marker, and shade them with a medium color (pencil with a blendy stump or colored pencil)

By Tabitha Morgan
White paper, black marker, pencil, blendy stump


By Tabitha Morgan
notebook paper, black marker, grey colored pencil
 
Before we begin the landscape, I have the students play with cloud designs.
They have to draw 10 totally differnt types of creative clouds.

Brianna, Summer, Innata, ? & Ava
Practice with pencil, marker, and
 blendy stump. 


----------------
Begin desert landscape
cloudy Desert
Sketch out 4 ideas
(Horizontal or vertical)
Use Ideas about Texas
-the Rodeo, desert, cactus, city skyline, horses, hay bails, barbed wire fences, bluebonnets, cowboy hat or boots on a fence post, armadillo, birds... Whatever)

  Make horizons me low in order to focus on cloudy sky. Use an interesting perspective by slanting horizon line. 
Continue lightly drawing lines upward beyond horizon. These will be guidelines for the cloud bases. 
Draw in tops of desert life at bottom of paper. Draw in distant desert on horizon line.
Clouds must be smaller if they are closer to horizon line. Clouds must be bigger if they are further (top of paper).
----------------------
Monochromatic 
Cloudy Desert
-----
Mrs. Elijah's 5th grade
Nathan, Hissan & Camryn
Jacob & James (above)
James, Anonymous & Elissia 
----------
Mrs. Hall's 4th grade class
Matthew, kelly & Violet
------------
Mr. Cramer's 4th class
LeAnne & Amanda
Arely, David, jayhson & no name
-------------
Mrs. Blankenship's 5th grade class
Taylor C. & Anonymous 
Kadin, Lisa, Diego & anonymous 
---------
Mrs. Clanton's 4th grade class
(Below) Mara, Andruw, Anonymous...
Mariah & Jade. 
------
Mrs. Parker's 5th graders

Donte, Arnez, Cole & Michael

This is How you do it...

Choose your paper color.
Draw your low horizon line and landscape at bottom of picture.
Draw clouds in shy (bigger are higher and smaller are lower).
OUtline landscape with black marker.
Outline clouds with the marker that is the same color as your paper.
Use white colored pencil or crayon to highlight objects in picutre according to light source.
Use a colored pencil or crayon of the color you chose to add shading according to light source.
Add detail in the landscape to make it appear closer. 
I used multiple colors as an example to show what it looks like to shade & highlight on colored paper. 
After tracing with marker... 

After shading & highlighting. 

I have done this monochromatic picture with 5th grade before and it turned out amazing.
Click here and scroll down to bottom to view student examples...
Monochromatic Landscapes


And here too