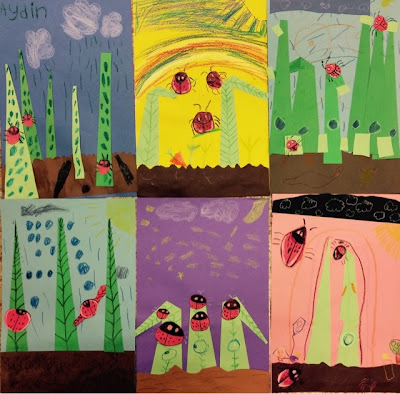
Teacher Example (above)
-------------------
Mrs. Kolon's kinder 2016
Lily (below)
Maci, Angie, Kylie,
Asher, Zaina & Alicia
(Below)
Mrs. Baylor's kinder 2016
Tobias, Maddy, Braylen,
Emily, Cairo & kana
---------------
Mrs. Ayer's kinder 2016
Sophia, Hannah & max.
-----------
Mrs. Penn's kinder 2016
Melik (big),
Sammi, Ethan, Kyra,
Chloe, Harmony & Landon
------
Mrs. Zarella's kinder 2016
Aidan & Miles
------
Below 2015
Mrs. Ayer's kinder class (below)
Emma, Ash, Kyla & katelyn
-----------------------
Mrs. Bluhm's 1st grade (below)
Sarah, Kaitlein, Anna Blair & Trevor
----------------
Mrs. Mara's 1st grade (below)
Austin, Jake, Jamie, Leo, Addison, Shelby & Joseph (single)
-------------------
Mrs. Simbles' first grade (below)
Hayden, Lauren & Callie
-----------
Mrs. mcGinley's first grade (below)
Pink; Hailey & Allison
Blue: Jocelyn, Trent & Vanshikha
---------------------
Mrs. Baylor's kinder (below)
Jessalyn, Ashton & Gunnar
-------------
Mrs. Kolon's kinder class (above)
Alyssa, Justin k., Kais, Kiras, Caleigh, Luis, hunter, Gabriella
-----------------
Mrs. Erck's kinder class (above)
Bryan, Chau, Ciara, Torrin,Mia
-----------------
Mrs. Smee's 1st grade class(above)
Joshua, Zeke, Melanie, Erin
---------------------------
Mrs. Parker's 1st grade (above)
Ahyan, Alexis, Patrick, Lauren, Ria, Jason
-------------------------
Basic supplies...
Choose a background color for sky (no green, red, black or brown)
Use crayons to decorate sky...
I try to get the students thinking of a place for their bugs to live before they get there. Are they going to live under a mushroom, in a park, in a vegetable garden, flowerbed... Also, let them know that the world looks HUGE to little LadyBugs. So, if they draw something, draw it BIG!!!
I also showed some student pictures of lady bugs on grass blades with water droplets on them. I tried to get my 1st graders to attempt the drops if they were feeling extra creative and up for a challenge.

Use a 1/3 piece of brown or black paper to represent dirt... They can make it bumpy at to if desired.

Only glue sides and bottom down (you will see why later)...

Cut strips of green grass for bugs to crawl up. You will need 3-5...

Tuck the grass under the dirt pile.
Some can be added on top to add variety and depth.
Have fun decorating. Bend blades of grass down to look weighed down by rain or ladybug.

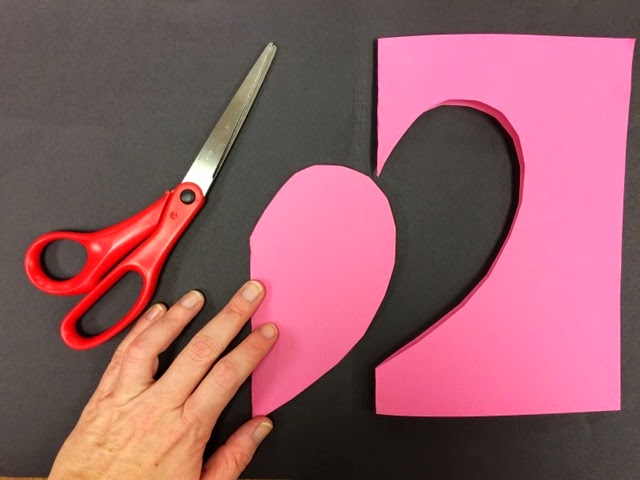
Draw ladybugs (using step by step instructions) onto a separate smaller paper.
---------------------------------------------
Kindergarten step by step
(Simple)
1st grade step by step
(adding highlight & shadows)
This could be done with crayons or markers (or combination).
Have kids do 3-5 ladybugs using 1-5 dots on bugs body (help with symmetry, counting up, even numbers, and double addition).
Cut out ang glue bugs going up the grass. Draw on 6 legs and 2 antennas.
If there is extra time, students could add texture to grass...
Below- same thing with a little different details. Just me experimenting 😄
Inspired from Whitney Elementary School's Artonia "ladybugs in grass" kinder art...


